PDB Actions
Catalog Requests
Ref: API documentation - Catalog Requests
Catalog Request 1: "Provision PDB"
On the customer's ESC web portal, on the 'Catalog' tab, filter with 'PDB':

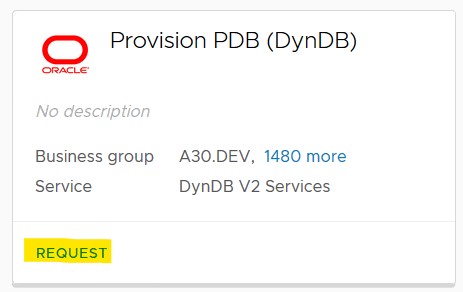
Select the 'Provision PDB (DynDB)' item and click 'REQUEST':
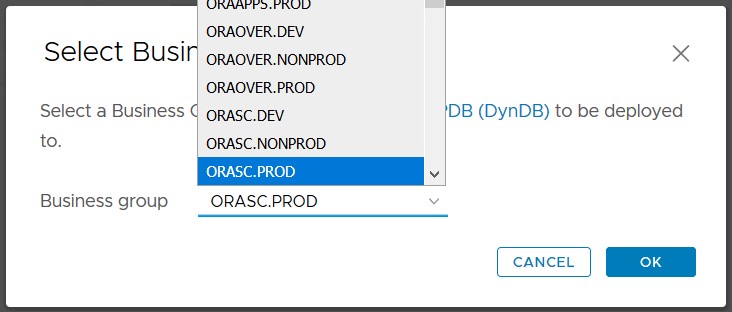
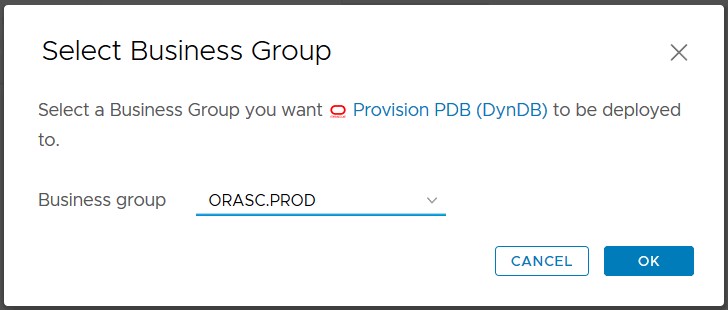
Select the 'Business Group' as required:
Fill up the PDB information:
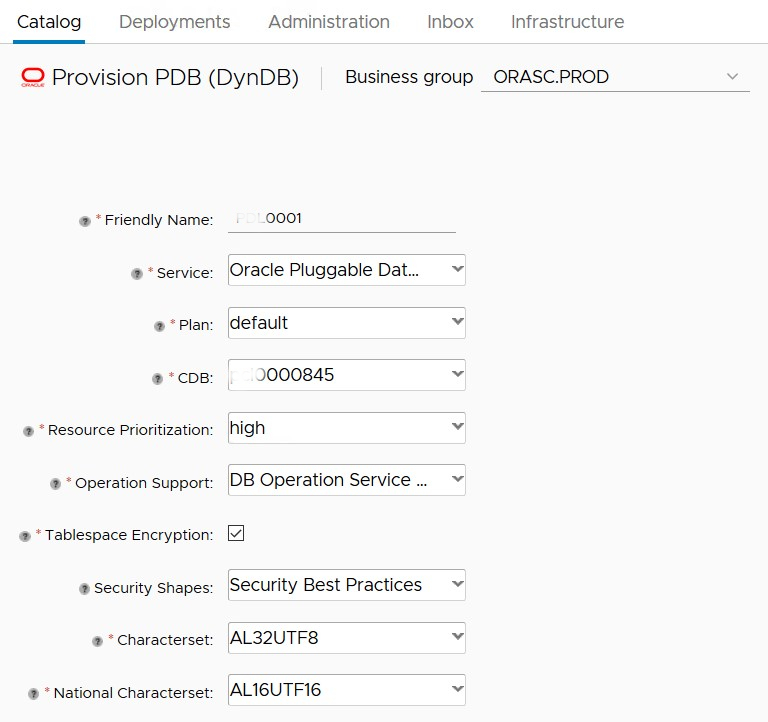
Specify a 'Friendly Name' for the PDB:

Service:

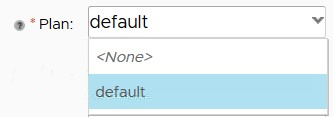
Plan:
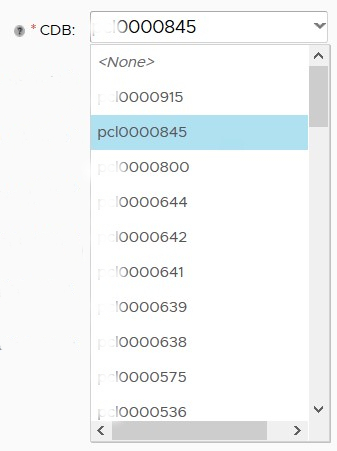
Select the Container Database (CDB) to host the PDB, among the list of the Container Databases of the customer:
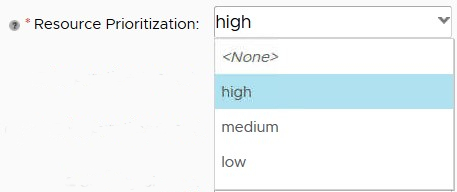
Select the Resource Manager profile to be applied to the PDB:
Select the Service Level Agreement (SLA) to apply to this PDB:
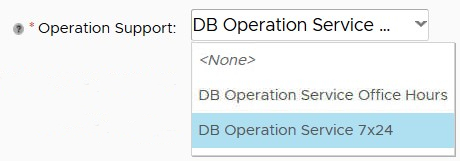
Indicate whether encryption is required for tablespaces:
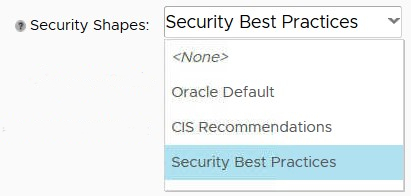
Select the Security Shape (level of database hardening) to be applied to the PDB:
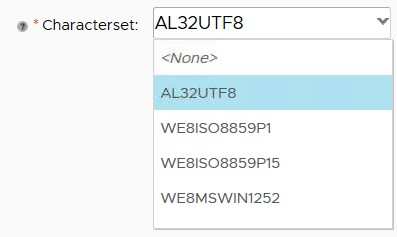
Select the Character Set of the PDB:
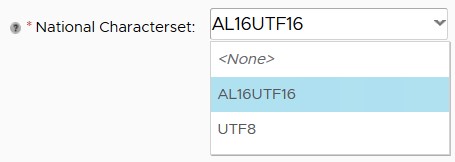
Select the National Character Set of the PDB:
Then click the 'SUBMIT' button to launch the PDB creation process.
Day 2 Actions
Ref: API documentation - Day 2 Actions - PDB Actions
The Day 2 actions are accessible via the Web interface or via a programmatic API.
Example with the Web User Interface (ESC portal for the customer):
On the customer's ESC web portal, on the 'Deployments' tab, filter with 'DynDB PDB' component:

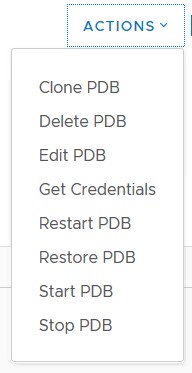
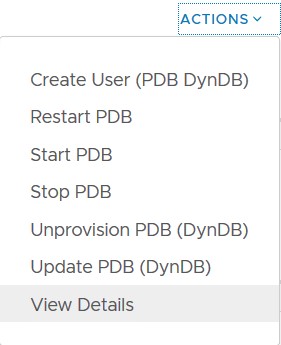
For the chosen PDB, select the 'Actions' drop-down menu:
Day 2 Action 1: "Create User"
Required parameters:
- provider-username : string
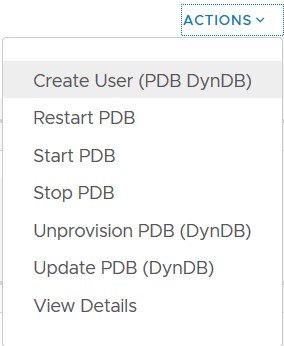
With the Web UI, select 'Create User (PDB DynDB)' from the drop-down menu:
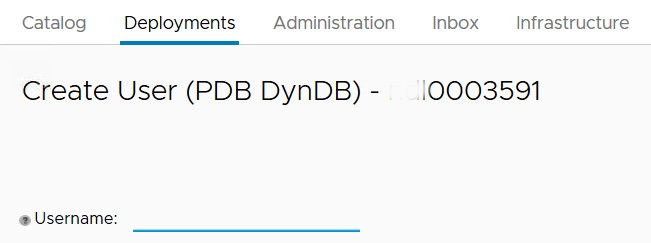
Specify the username for the PDB user:
Day 2 Action 2: "Show Password"
Required parameters:
- provider-confirm : boolean
Note: feature accessible only via the programmatic API.
Day 2 Action 3: "Restart PDB"
No parameters required.
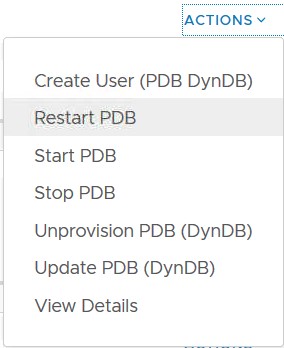
With the Web UI, for the selected PDB, select 'Restart PDB' from the drop-down menu:
Day 2 Action 4: "Start PDB"
No parameters required.
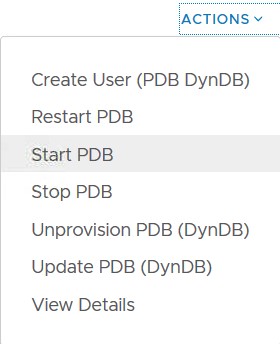
With the Web UI, for the selected PDB, select 'Start PDB' from the drop-down menu:
Day 2 Action 5: "Stop PDB"
No parameters required.
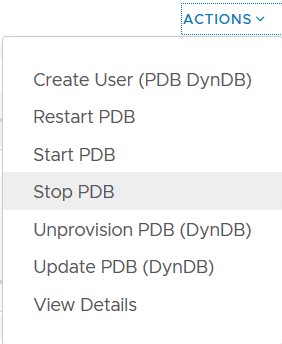
With the Web UI, for the selected PDB, select 'Stop PDB' from the drop-down menu:
Day 2 Action 6: "Unprovision PDB"
No parameters required.
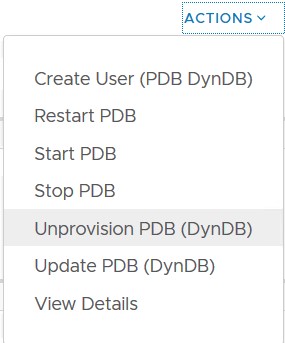
With the Web UI, for the selected PDB, select 'Unprovision PDB' from the drop-down menu:
Day 2 Action 7: "Update PDB"
Required parameters:
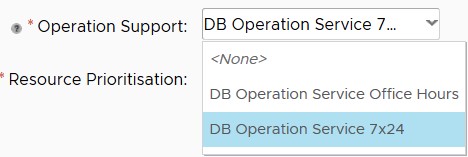
- p_operation_support : string Values from list:
- DB Operation Service 7x24
- DB Operation Service Office Hours
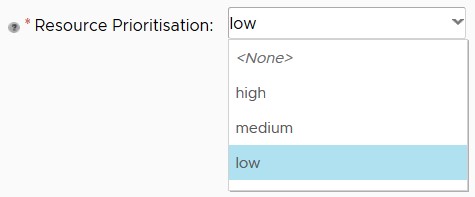
- p_resource_prioritization : string Values from list:
- Low
- Medium
- High
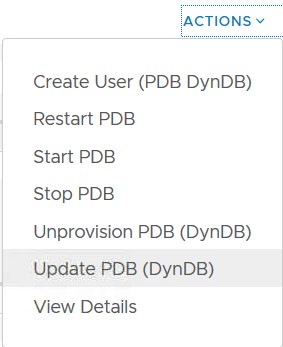
With the Web UI, select 'Update PDB' from the drop-down menu:
Update PDB page:
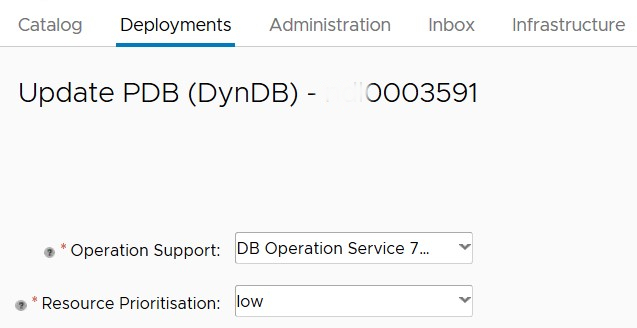
Select the SLA:
Select the PDB resource manager profile:
Day 2 Action 8: "View Details"
No parameters required.
With the Web UI, select 'View Details' from the drop-down menu:
PDB Details page:
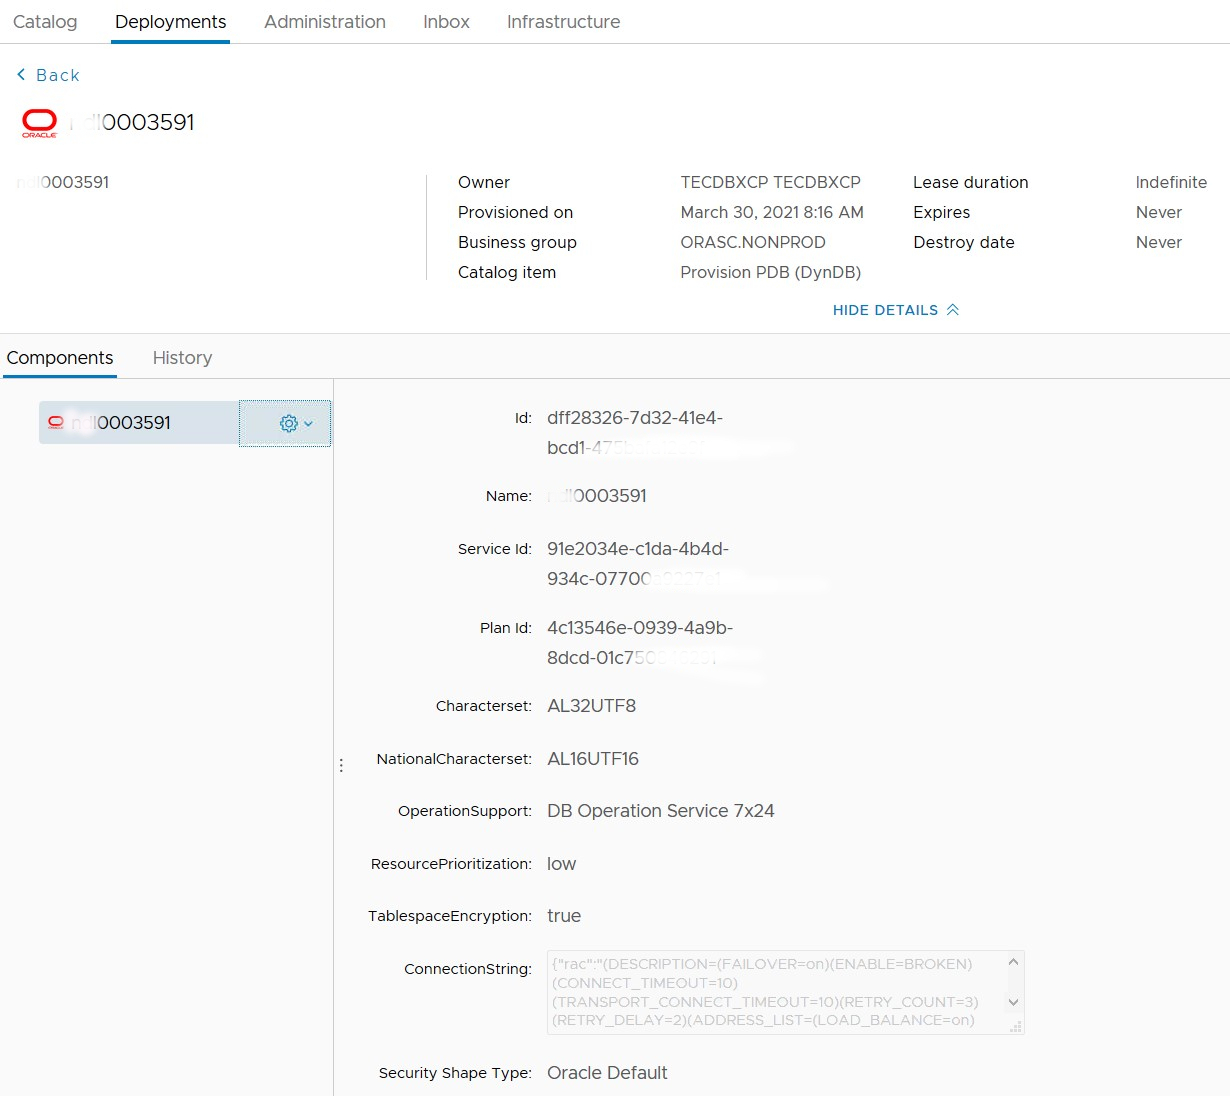
Day 2 Action 9: "Restore PDB"
The PDB can be restored to any point-in-time within the retention period. Currently, the retention period is 11 days. The timestamp must not point into the future and must not point back more than 11 days. Otherwise an error message will be returned. If you try to restore from a timestamp without an available backup, the restore will fail.
Note: Be aware, that the restore operation overwrites the existing PDB.
Select Restore PDB from the PDB Actions dropdown list:

Specify the desired point in time for the restore
Select the desired point in time (within the past 11 days) for the PDB restore:
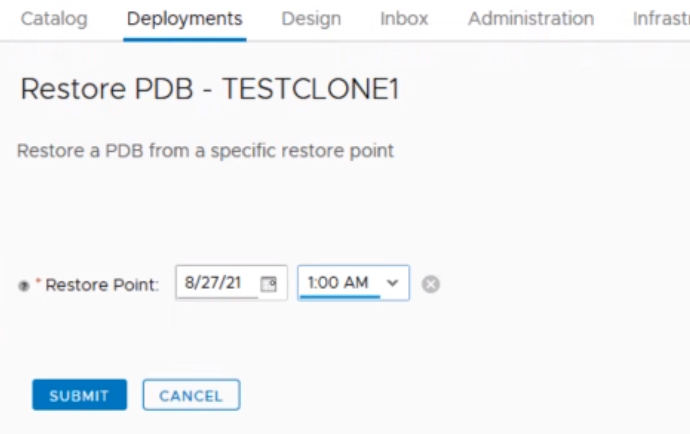
Start the PDB restore workflow by pressing the SUBMIT button.
Show progress of the restore
Once the restore operation is submitted, the progress can be monitored as follows:
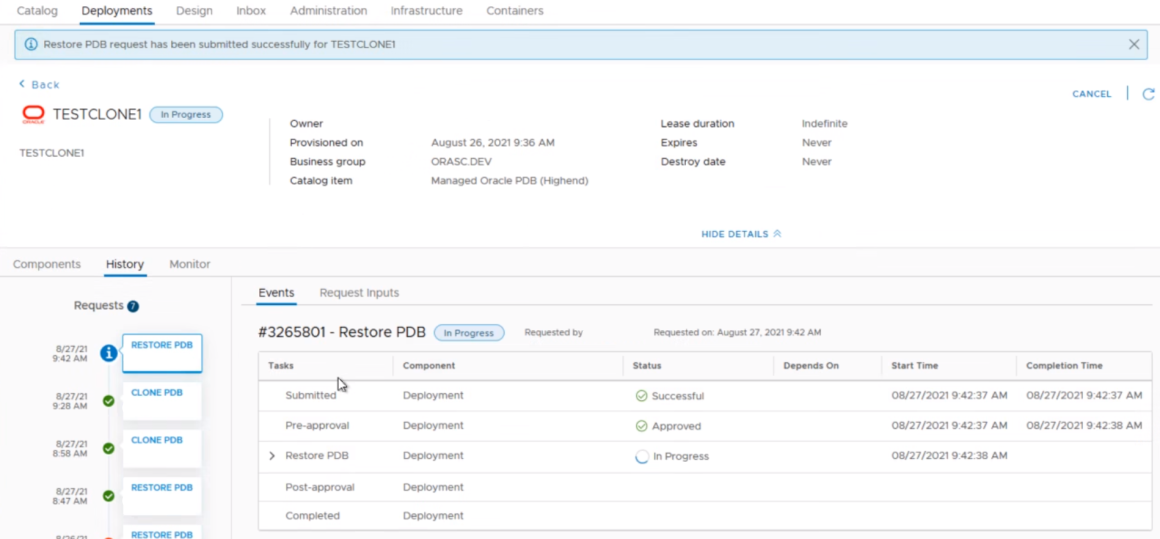
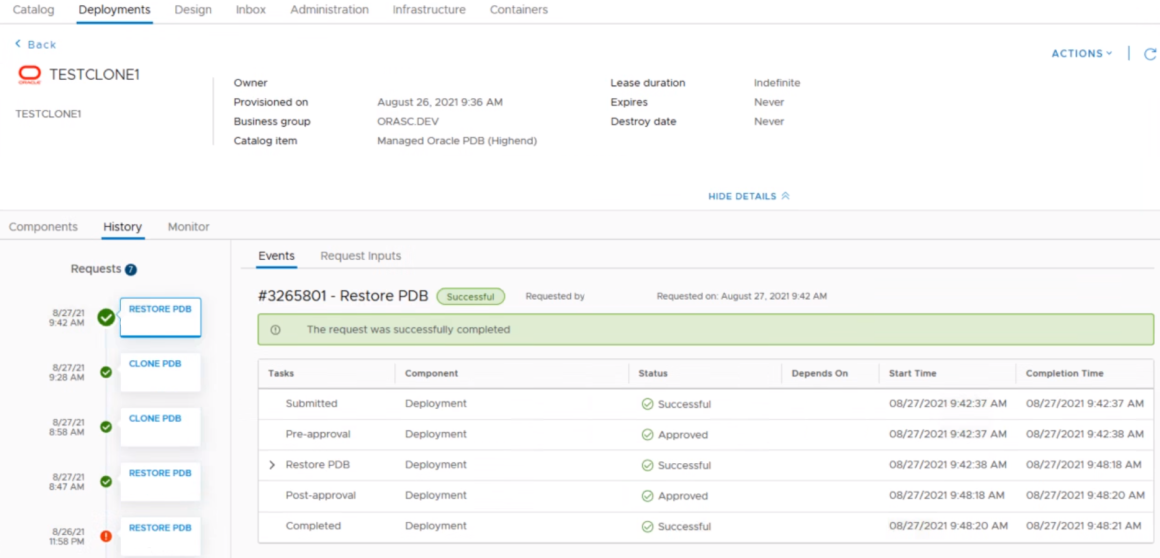
Once the workflow has been executed, you can check the result of the restore PDB operation:
