Create a cluster
There are two ways to trigger the creation of a new cluster:
- via the ESC Portal's Catalog;
- via the Kubernetes Environment.
Create a cluster via the Catalog
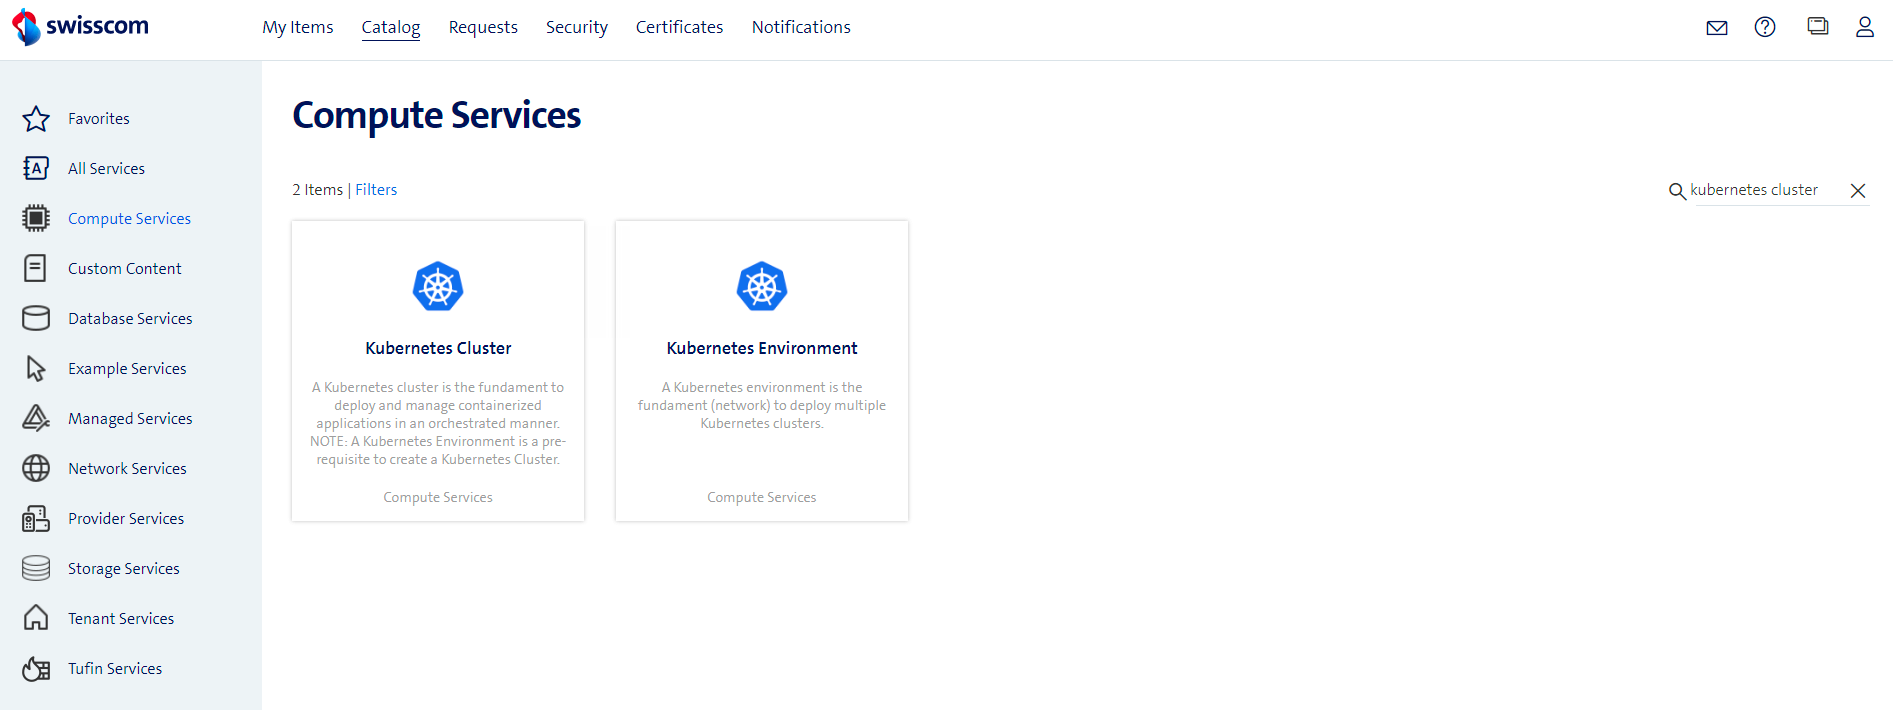
Navigate to the Portal's Catalog and select the "Compute Services".
Then, you will be able to find the blueprint for the "Kubernetes Cluster".
When you choose this method, you will firstly need to specify the Business Group for the new cluster.
Then, the following creation form will be opened:
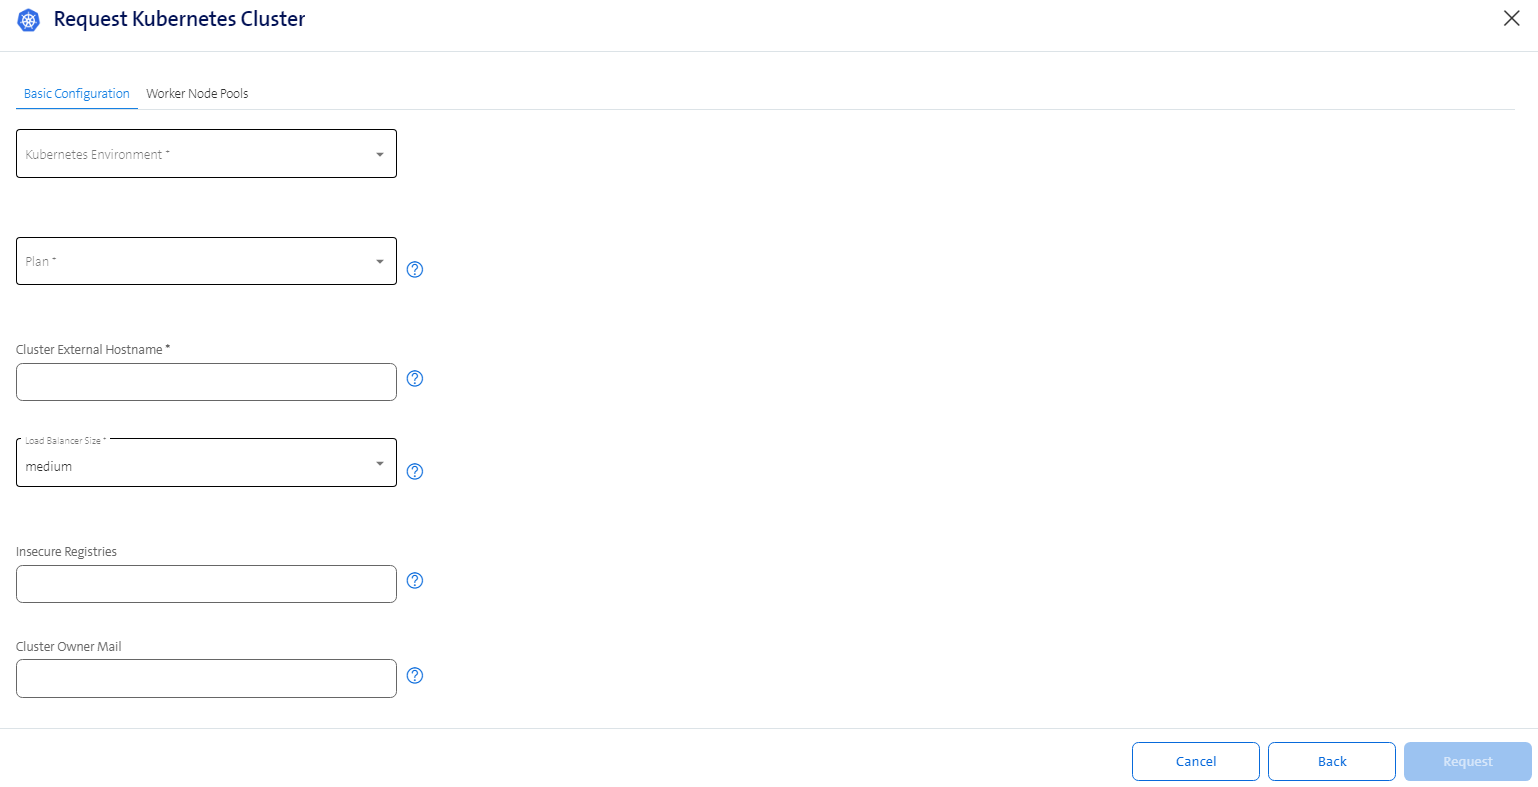
In the "Basic Configuration", you could specify:
- Kubernetes Environment: Choose the Kubernetes Environment to place your cluster in. This defines the networking settings of your cluster.
- Plan: Choose between "basic" and "advanced". This defines if the Control Plane of the cluster is in HA setup.
- Cluster External Hostname: The DNS Name of your cluster api. This should be a FQDN. This is the domain that should be in your DNS Server with the IP you will get after cluster is provisioned.
- Load Balancer Size - Choose between "medium" and "large". This defines the size of the loadbalancing instance used for Ingress to the cluster.
- Insecure Registries - (Optional) Allows you to specify image registries which will only be accessible via HTTP. If you need to specify a custom CA for secure access to your registry then please follow the guide here.
- Cluster Owner Mail - (Optional) Provide the emails of the cluster responsible people.
Create a cluster via the Kubernetes Environment
Navigate to a Kubernetes Environment.
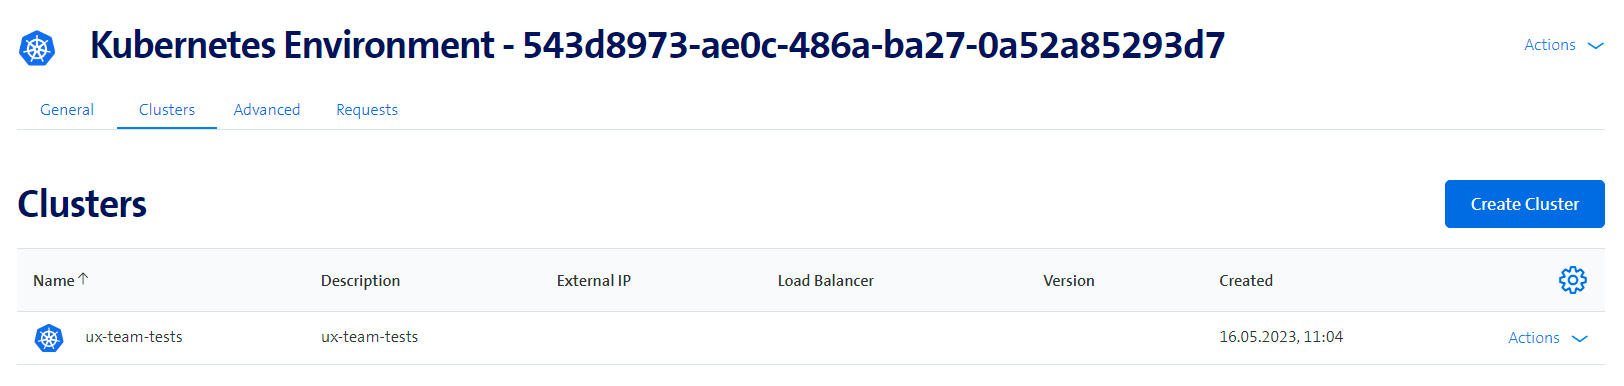
In the "Clusters" tab, there is a button "Create Cluster".
This will open the following creation form:

In the "Basic Configuration", you could specify:
- Plan: Choose between "basic" and "advanced". This defines if the Control Plane of the cluster is in HA setup.
- Cluster External Hostname: The DNS Name of your cluster api. This should be a FQDN. This is the domain that should be in your DNS Server with the IP you will get after cluster is provisioned.
- Load Balancer Size - Choose between "medium" and "large". This defines the size of the loadbalancing instance used for Ingress to the cluster.
- Cluster Owner Mail - (Optional) Provide the emails of the cluster responsible people.
- Insecure Registries - (Optional) Allows you to specify image registries which will only be accessible via HTTP. If you need to specify a custom CA for secure access to your registry then please follow the guide here.
Worker Node Pools
The "Worker Node Pools" tab in the creation form allows you to manage the compute instances of your cluster. Please read more here.
Day-2 actions
After your cluster is created you will see your cluster settings, you should be able to check the following list of Actions:
- Delete Kubernetes Cluster: This allows you to delete your cluster. Tick the box to confirm the deletion.
- Get Kubernetes Credentials: This allows you to retrieve a Kubernetes configuration as a JSON string that can be used with the
kubectltool. - Update Kubernetes Cluster: Modify your existing cluster. See the relevant section below for a description of what can be updated.
- Get Details: Retrieve information on your deployed cluster, such as its IP. See the relevant section below for a detailed description of the available information.