Import OVA from S3
This page describes the Import VM functionality and how to use it. It is provided as a XaaS blueprint and it can be used either from vRA UI or over API.
The goal of this feature is to allow end-users to be able to import their own OVA VM template within vRA for further provisioning, or to import a VM directly.
Prerequisites
- Currently, we only support
.ovaformat (import of .ovf, .vmdk, .iso etc. will be unsuccessful) - When providing a template/vm, please ensure that a right virtual hardware version is configured (at the moment we are supporting: vmx-11, vmx-12 and vmx-13). Please note that at the moment we do not support other hardware families (e.g. VirtualBox). In case you have a VirtualBox .ova image please change the configuration parameter as explained here.
Note: use a supported hardware version (e.g. vmx-11) - Please ensure that there are no CPU or Memory resource allocation limits set in the template - they are not supported and will be removed regularly.
- We support .ova VM/Templates up to 4TB.
- Hardware configurations:
- As a Network Adapter we support following default type: "VMXNET 3".
ESXi networking features provide communication between VMs on the same host, between VMs on different hosts and between other virtual and physical machines.
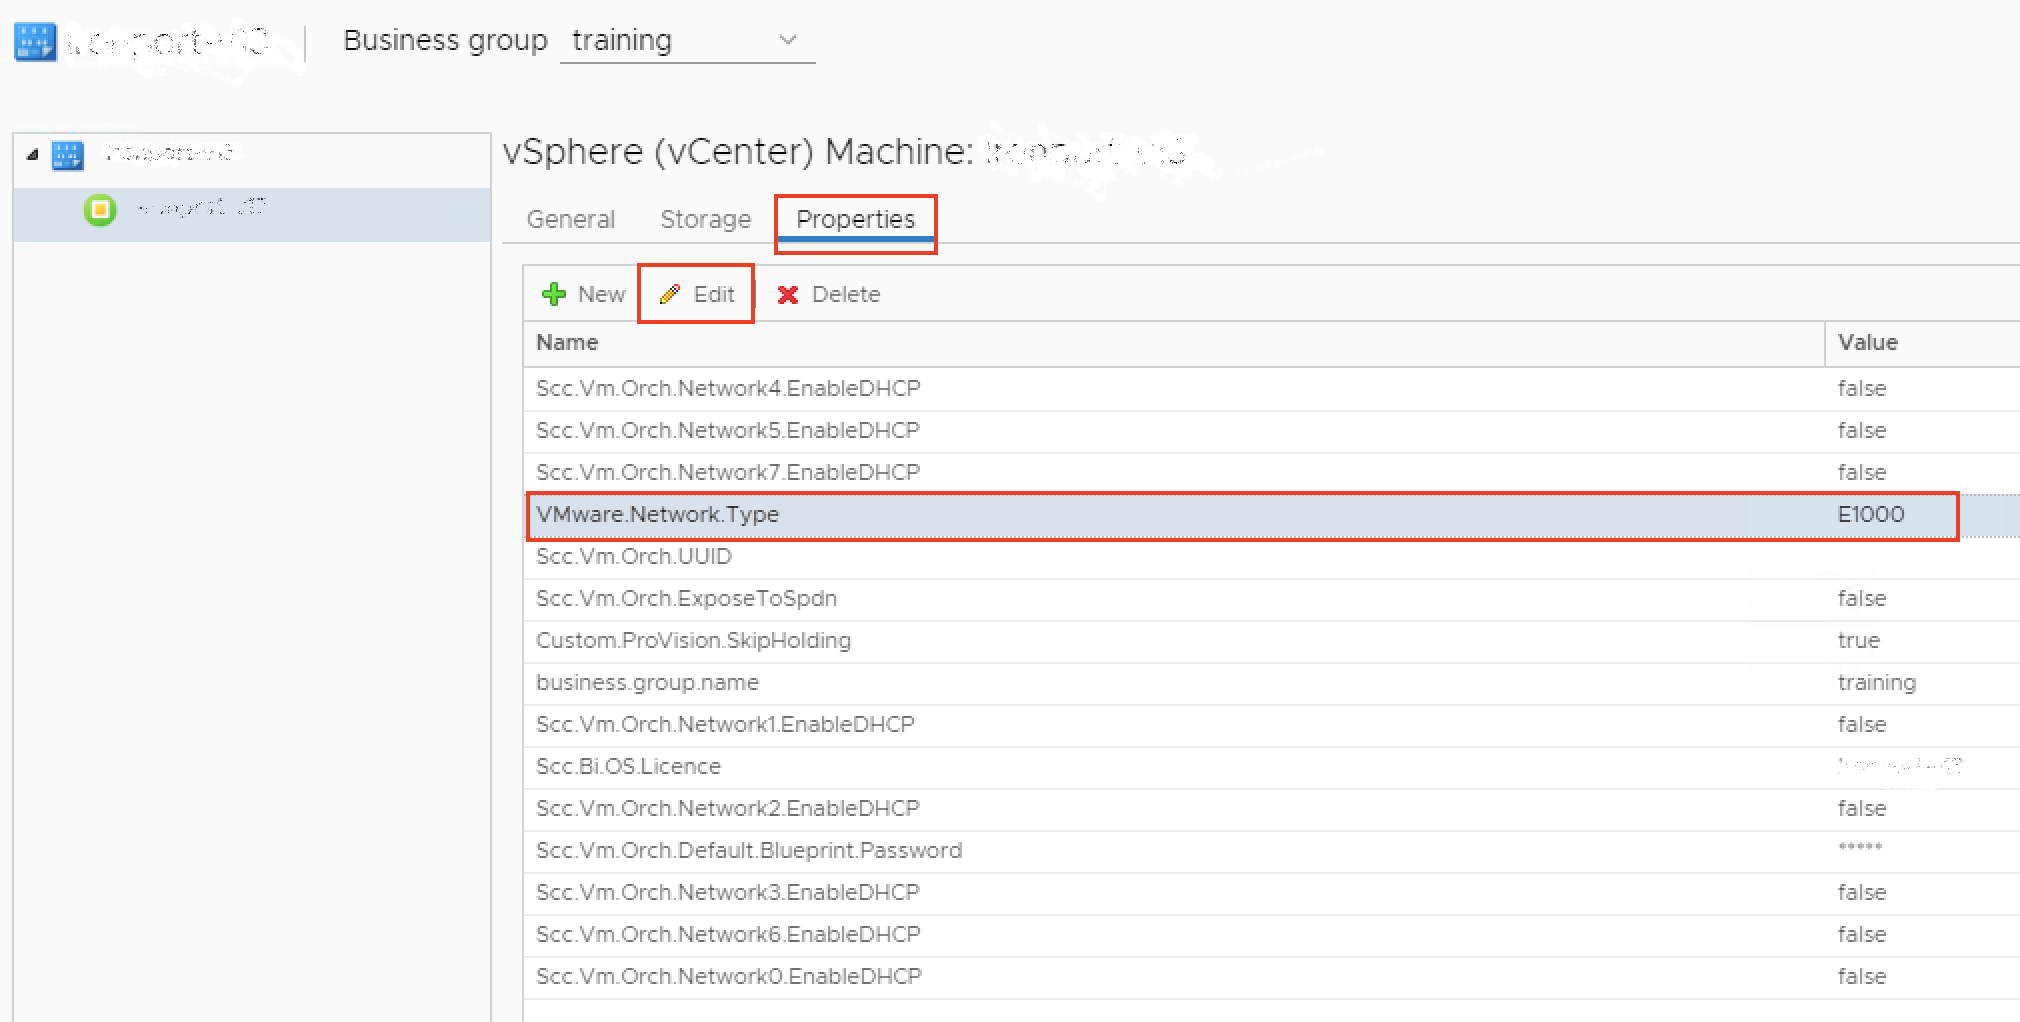
We do also support the "E1000" network type, please refer to your appliance supplier documentation for more information. In case you need to use the "E1000" type, you will need to modify the network type property only for this deployment. Go to Properties in the deployment form, edit the field VMware.Network.Type and change the value to E1000.
- As a SCSI Controller we support following type: "VMware Paravirtual"
SCSI controller provides access to virtual disks.
- As a Network Adapter we support following default type: "VMXNET 3".
Other Implications
- Networking: When importing .ova as the template, all vNICs remain in the template, but they will not be connected to the customer's network. In case of VM import, all vNICs are removed from the VM and the user has to reconfigure the VM via day 2 actions.
Licences
Windows Licence
Every operating system is licensed by Swisscom. Swisscom license on ESXi Host Level Microsoft Server Datacenter Edition. In the Swisscom Portal the licence Windows Server Standard is shown.
The customer's own Windows licences cannot be taken into account.
Also see here for a comparison of Standard and Datacenter edition.
Activate Redhat Licence
This action is provided as a XaaS blueprint and it can be used either from vRA UI or over API.
For more information like converting units of subscriptions or a detailed guide how to enable Cloud Access please consult the official documentation on the Red Hat Portal and here.
Using "Import OVA from S3"
Follow the steps described below under The Process
When you choose "Red Hat Enterprise Linux" in the Operating System dropdown, you will see an additional dropdown where you can choose if the Swisscom licence should be used or not.
On existing deployments
Activating a licence on an existing deployment needs to be done by Swisscom. If you want to activate this service, you can order it by opening a Service Request.
The Process
Before you Start
Note: A VM image can be imported as either template (named blueprint in vRA) or as standalone VM.
Prepare your VM image inside your favorite hypervisor
- On your desktop for example with VMware Workstation or VirtualBox
- On your virtualization infrastructure on-premise (e.g. vSphere/vCenter)
Export this VM image as an Open Virtual Appliance (OVA) compliant file format
- In addition to the usual VM image template best practice (sysprep/vmdk punchzero/…), ensure to be compliant with the prerequisites for OVA import described here
Upload the OVA VM Image to your Swisscom-shared "Object Storage S3" bucket via S3 protocol
When image is fully loaded on the bucket, write down the exact bucket and file name and request the action called "Import OVA from S3" as described below.
Step by Step
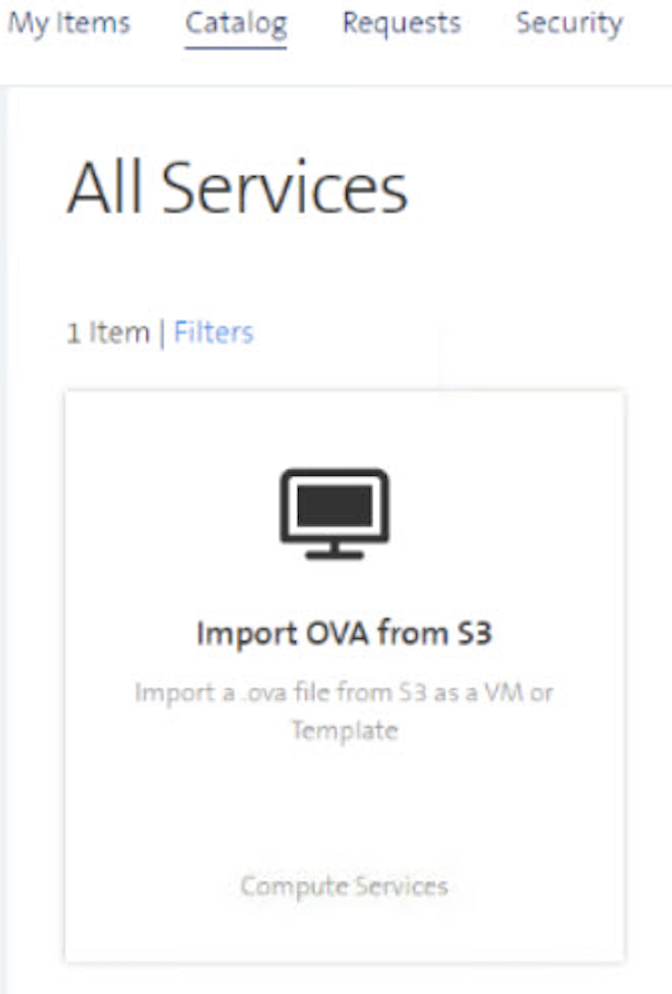
Step 1: Request a XaaS action "Import OVA from S3"

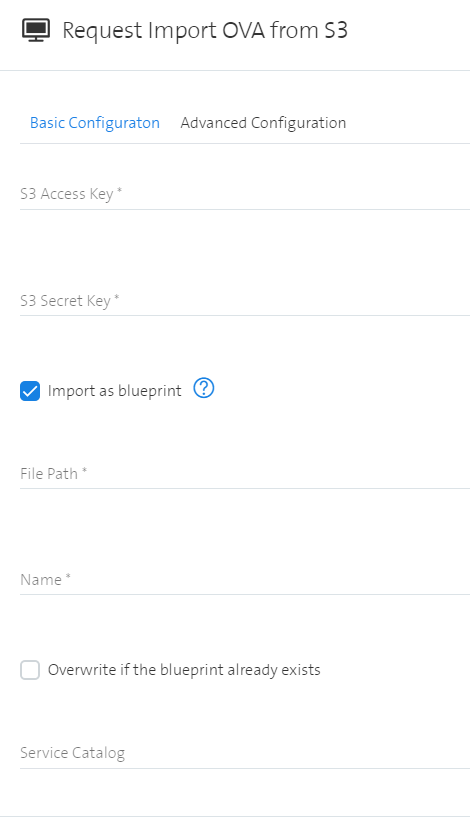
Step 2a: Import .ova as a blueprint

Basic Configuration inputs:
| Input | Description |
|---|---|
| S3 Access Key | Tenant-specific S3 Access Key. |
| S3 Secret Key | Tenant-specific S3 Secret Key. |
| File Path | The relative path containing the bucket, folder, filename, and ending with .ova extension (e.g., my-bucket/my-folder-if-any/mylinux.ova). |
| Add vTPM device | Add vTPM device option when using Import OVA from S3 catalog item. |
| Name | The Blueprint name in the Service Catalog (e.g., MyImportedTemplate). This name has to be unique. |
| Overwrite if the blueprint already exists | Overwrite an existing blueprint, if it exists. |
| Service Catalog | Destination service in vRA catalog. |
| Password | Root (Linux) or Administrator (Windows) password for the given template. |
| Password Repeat | Same as Password. |
| Operating System | Select the guest operating system to import. |
| Use Swisscom licence | Note: Not shown if Windows is selected, as Windows is always licensed by Swisscom. The operating system license can be purchased through Swisscom. In case self-licensing is chosen, all VMs need to be properly registered in the portal of the corresponding OS vendor (Red Hat Cloud Access, CCSP, SUSE PCSSP). |
| Min CPUs | Minimal number of CPUs in a Blueprint. |
| Default CPUs | Default number of CPUs in a Blueprint. |
| Max CPUs | Maximum number of CPUs in a Blueprint. |
| Min Memory | Minimal memory size in a Blueprint. |
| Default Memory | Default memory size in a Blueprint. |
| Max Memory | Maximum memory sizeCPUs in a Blueprint. |
| Icon | Base64 representation of the icon image. |
| Description | Blueprint description. |
Advanced Configuration inputs:
| Input | Description |
|---|---|
| Property Groups | List of property groups you want to add to the Blueprint |
| Machine Prefix | Machine prefix you want to add to the Blueprint |
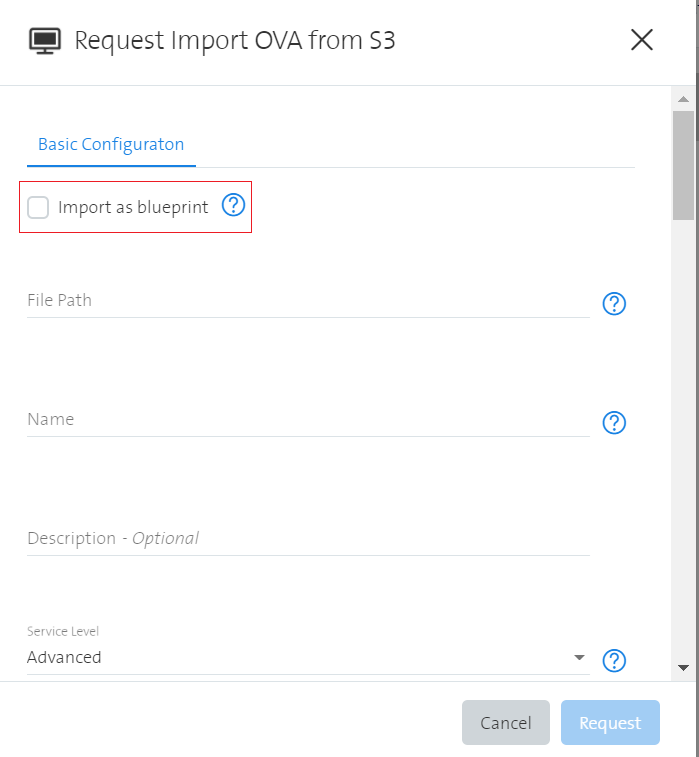
Step 2b: Import .ova as a VM

| Input | Description |
|---|---|
| S3 Access Key | Same as for the blueprint import. |
| S3 Secret Key | Same as for the blueprint import. |
| File Path | Same as for the blueprint import. |
| Add vTPM device | Enables vTPM during the OVA import |
| Name | The VM name. |
| Description | The VM description. |
| Service Level | Service Level has the same meaning as when provisioning a VM. |
| Location | Location has the same meaning as when provisioning a VM. |
| Operating System | Select guest operating system to import |
| Blueprint name | Name of the VM that should be taken to assign the VM to |
| vNic 1-8 | Select up to eight networks in which the VM should be attached. |
Common issues
Unsupported vmx hardware version
In order to fix this issue follow these steps:
- Extract files from ova file (use 7-zip or ovftool).
- Open ovf file and change vssd:VirtualSystemType to vmx-13. We currently support templates that have a hardware version of vmx-13.
- Change the hash of the ovf file in the mf file.
- Create a new tar archive out of the three files (mf, ovf, vmdk's) with a zip tool or ovftool (ovatool will do some additional validation checks).
Unsupported hardware family
Often when users are exporting OVA's from VirtualBox it can come to incompatibilities with vCenter which results in error messages during the OVA import.
For example:
This OVF package requires unsupported hardware.
Details: Line 33: Unsupported hardware family 'virtualbox-2.2'.
To fix this you will have to unpack the OVA to OVF and change parts of the XML.
$ ovftool.exe --lax source.ova destination.ovf

Open destination.ovf
Change the following line:
   <vssd:VirtualSystemType>virtualbox-2.2</vssd:VirtualSystemType>

to:
   <vssd:VirtualSystemType>vmx-07</vssd:VirtualSystemType>
Timeout with Guest Customization
In case you don't have access to your root account, deployment of the workload will fail as it cannot access it for the customization task.
To resolve this issue, you will need to open a Service Request.
As soon as the Service Request was completed and the deployment was successful, you will need to set the IP parameters (IP, gateway, DNS) manually.
