Manage Virtual Machines
Manage a virtual machine
This section applies to the management of a Virtual Machine which is created from an older blueprint. Some of the older blueprints are:
Users have the opportunity to order a virtual machine (VM) via the portal and subsequently edit it. Before a virtual machine can be created, it must be ensured that a network already exists.
Actions like create, edit, delete or create template are described below. All other basic actions can be found in the official vRA documentation.
Create a virtual machine
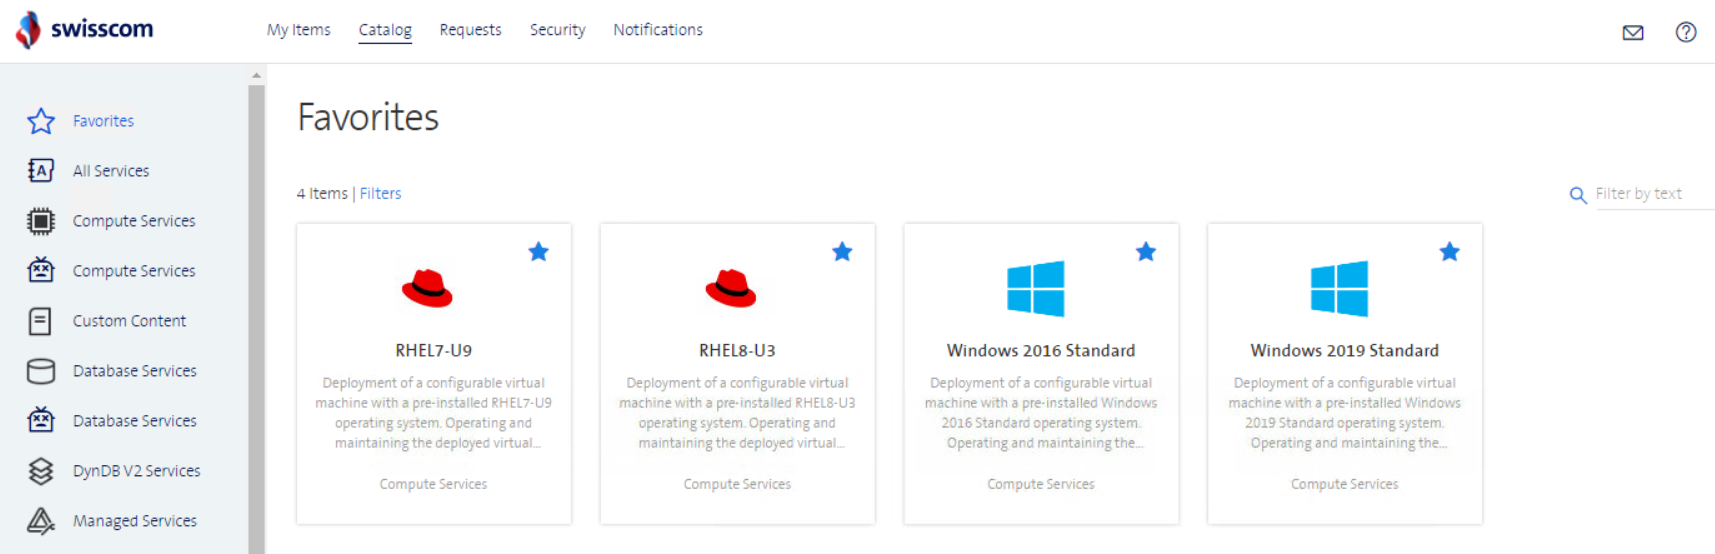
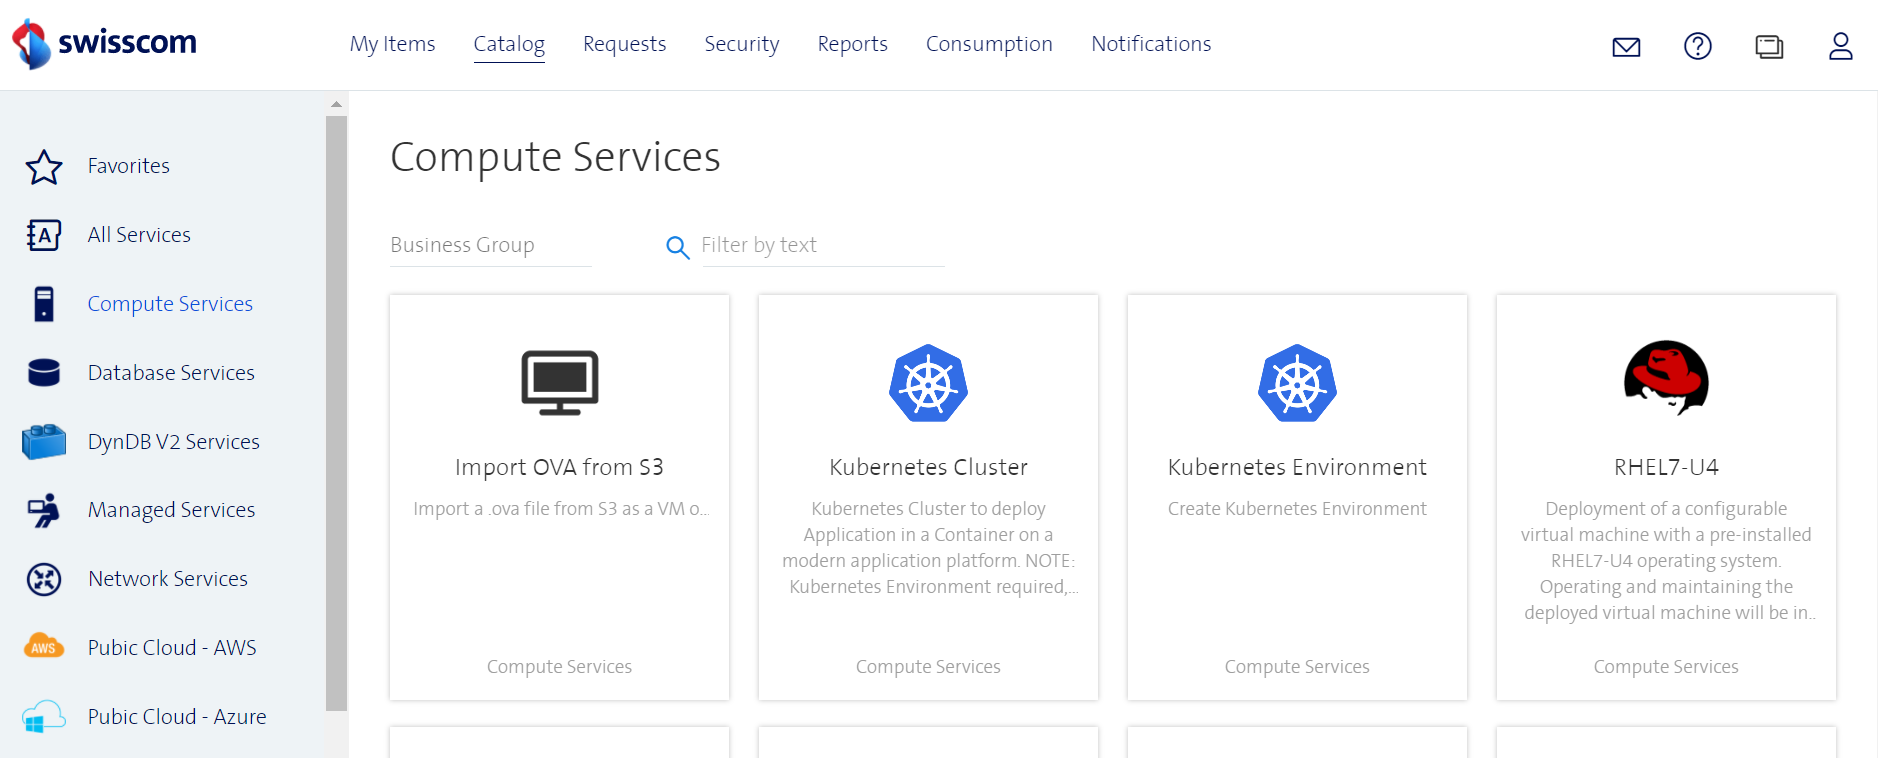
If you want to create a new virtual machine, go to the Catalog tab in the Portal and select Compute Services. The pictures are an example for a Linux RHEL7-U4 machine, the same settings are available for all the operating systems.
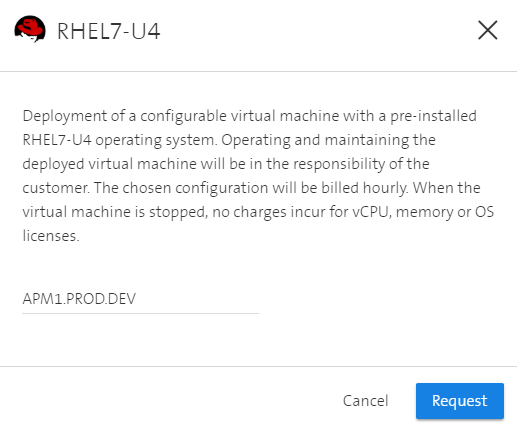
Click on the desired machine blueprint (the pictures below are an example of a Linux RHEL7-U4 machine)
Choose a Business Group and click on Request
To change the settings for the requested VM, click on the VM in the left tree
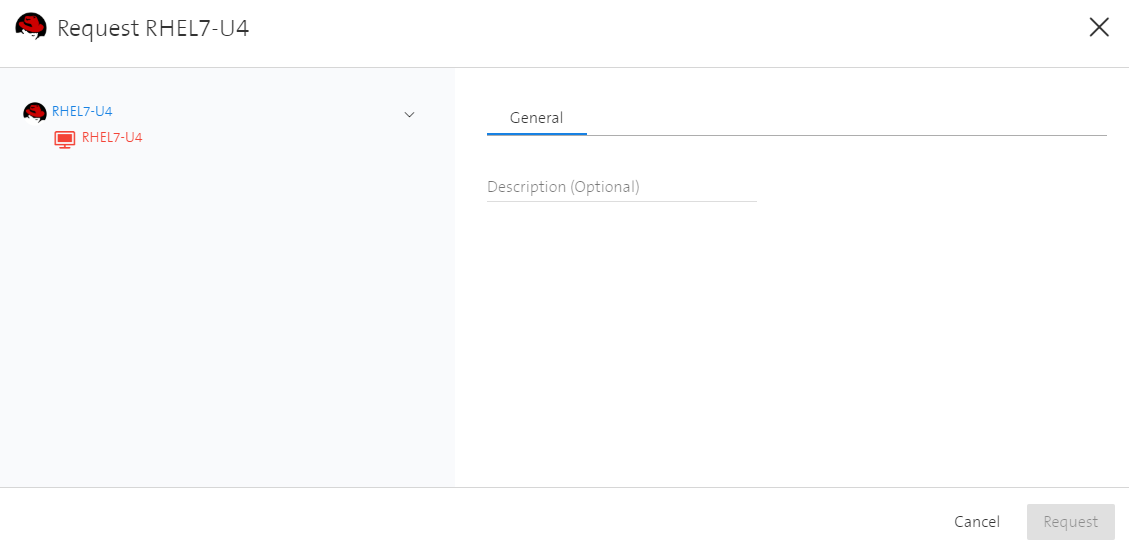
The next window shows the configuration page for the settings. The configuration page is divided into two tabs General and Storage, which are described in the sections below.
To request the VM with the configured settings:
Click on Request
Then the VM will be provisioned. The progress is shown in the Requests tab.
General configurations
This section describes the configuration options which are available in the General configuration tab.
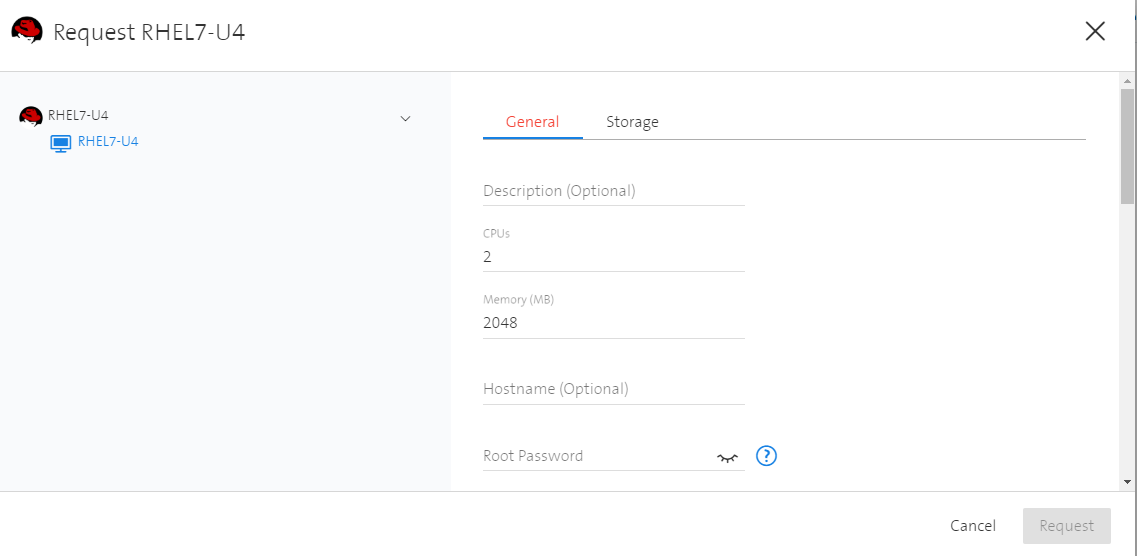
Description (Optional): Optionally, enter a description of the machine.
CPUs: Specify the number of CPUs here. For the CPU configuration, please refer to VM configuration recommendations for more details regarding ESC hypervisors and NUMA.
Memory (MB): Specify the memory for the VM.
Service Level: Select the Service Level that should be assigned to the VM. The Service Level defines the values for High-Availability and ITBC:
| Service Level | High Availability | ITBC |
|---|---|---|
| Basic | No | No |
| Standard | Yes | No |
| Advanced | Yes | Yes |
- Select a location: Select on which cluster in what location your VM will be placed. The available choice depends on the chosen Service Level. A VM can only be placed on a stretched cluster if the Advanced Service Level is selected.
- Select a location constraint: If Advanced Service Level is selected, a wish on which cluster in what location the VM should be placed can be selected.
- Start VM after deployment: Select if the VM should or should not be started after its creation.
- Backup Policy: Select whether or not the VM should be backed up by Imaged-Based Backups (IBB) and define details about the backup policy (like retention time of the IBB backups and backup schedule). For more details see here.
- vNic 1-8: Select up to eight networks in which the VM should be attached.
General Customization for Linux VMs
This section covers all settings which are specific for Linux based Virtual Machines.

- Hostname: Specify the hostname of the VM. Please follow the RFC hostname specification, otherwise the validation of the field will fail. Please note that only the hostname of the guest operating system will be changed, the displayed name in the vRA portal is not affected. If left empty, the displayed name of vRA will be taken as the hostname.
- Root password: Specify the password for the root user. Make sure to choose a secure password to secure your system as much as possible.
General Customization for Windows VMs
This section covers all settings which are specific for Windows based Virtual Machines. 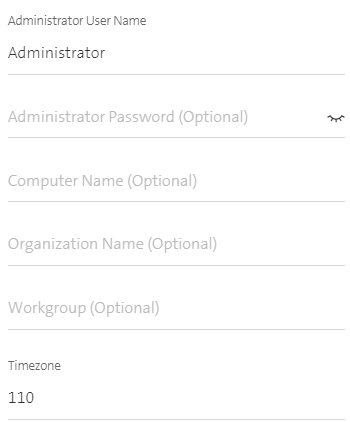
- Administrator User Name: Specify the name of the Administrator user.
- Administrator Password: Specify the password for the Administrator user. Make sure to choose a secure password to secure your system as much as possible.
- Computer Name: Specify the computer name of the VM. Make sure to follow the RFC hostname specification, otherwise the validation of the field will fail. Please note that only the computer name of the guest operating system will be changed, the displayed name in the vRA portal is not affected. If left empty the displayed name of vRA will be taken as the computer name.
- Organization Name: Specify the Organization Name for the VM.
- Workgroup: Specify the workgroup name to which the VM should be joined to.
- Timezone: Specify the timezone of the VM. See Microsoft Time Zone Values for more information.
Storage configurations
This section describes the configuration options which are available in the Storage configuration tab. The maximum allowed size for a virtual disk (VMDK) is 4TB. This limitation ensures to have optimal performance for large disks. It is still possible to create larger disks by spanning/striping disk snippets in the OS (see below).
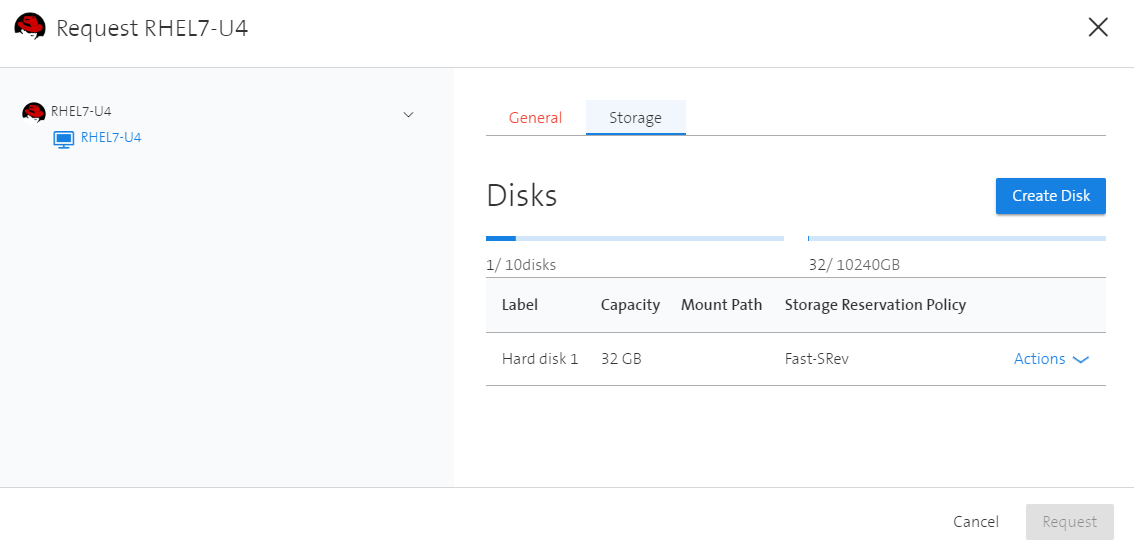
In the tab Storage, Disks can be added or edited. For each disk added, the user must enter a label and its capacity.
To edit a disk:
- Click on the Actions button to edit an existing Disk
- Click on Edit to edit the settings
To create a disk:
- Click on the Create Disk button to add a new Disk
- Enter a label and the capacity
- Optional: Add a Mount Path and/or a Storage Reservation Policy
Storage Reservation Policy
| Storage Eco | For applications with low performance requirements (e.g. development/test systems) on a shared storage infrastructure. up to 250 IOPS/VM with average latency < 12ms max 10 Disks, max. 4 TB per disk, max. 10 TB per VM |
| Storage Fast | For applications with high performance requirements on a shared storage infrastructure. from 251 up to 3'000 IOPS/VM with average latency < 6ms max 10 Disks, max. 4 TB per disk, max. 10 TB per VM |
| Storage Ultra Fast | For applications with very high performance requirements, particularly for databases on a shared storage infrastructure. from 3'001 up to 10'000 IOPS/VM with average latency < 2ms max 10 Disks, max. 4 TB per disk, max. 10 TB per VM |
Edit a virtual machine
To edit a virtual machine click on the tab My Items in the Portal and select the desired VM. This will open the settings window where the user can edit the pre-filled settings.
General tab
In the General tab the user can edit the following properties.
Description (Optional): Optionally, change the description of the machine.
CPUs: Specify the new number of CPUs here.
For the CPU configuration, please refer to VM configuration recommendations for more details regarding ESC hypervisors and NUMA. Please make sure that the VM is powered off before adding or removing CPUs. Only during startup of the VM the operating system and the applications are loading the CPU architecture properly and also allows proper placement on the underlying ESXi host.Memory (MB): Specify the memory for the VM here. Please make sure that the VM is powered off before increasing or decreasing memory. Only during startup of the VM the operating system and the applications are loading the proper memory configuration.
Snapshot tab
In the Snapshot tab the user can view and create snapshots for the virtual machine.
For more information about Snapshots click here.
Storage tab
In the Storage tab the user can edit the same properties as described for the creation of a virtual machine.
Properties tab
In the *Properties tab the user can view the currently configured properties for the VM. Some properties can be changed with the Action *Advanced Reconfigure* while the VM is powered off.
Networking tab
In the Network tab the user can view the currently configured VLAN, IP Address and MAC Address for the VM.
Requests tab
This tab shows the requests history and the progress of currently ongoing tasks.
Manage a virtual machine (for newer blueprints)
This section applies to the management of a Virtual Machine which is created from a newer blueprint. Some of the newer blueprints are:
Users have the opportunity to order a Virtual Machine (VM) via the Portal and subsequently edit it. Before a virtual machine can be created, it must be ensured that a network already exists.
Actions like create, edit, delete or create template are described below. All other basic actions can be found in the official vRA documentation.
Create a virtual machine (for newer blueprints)
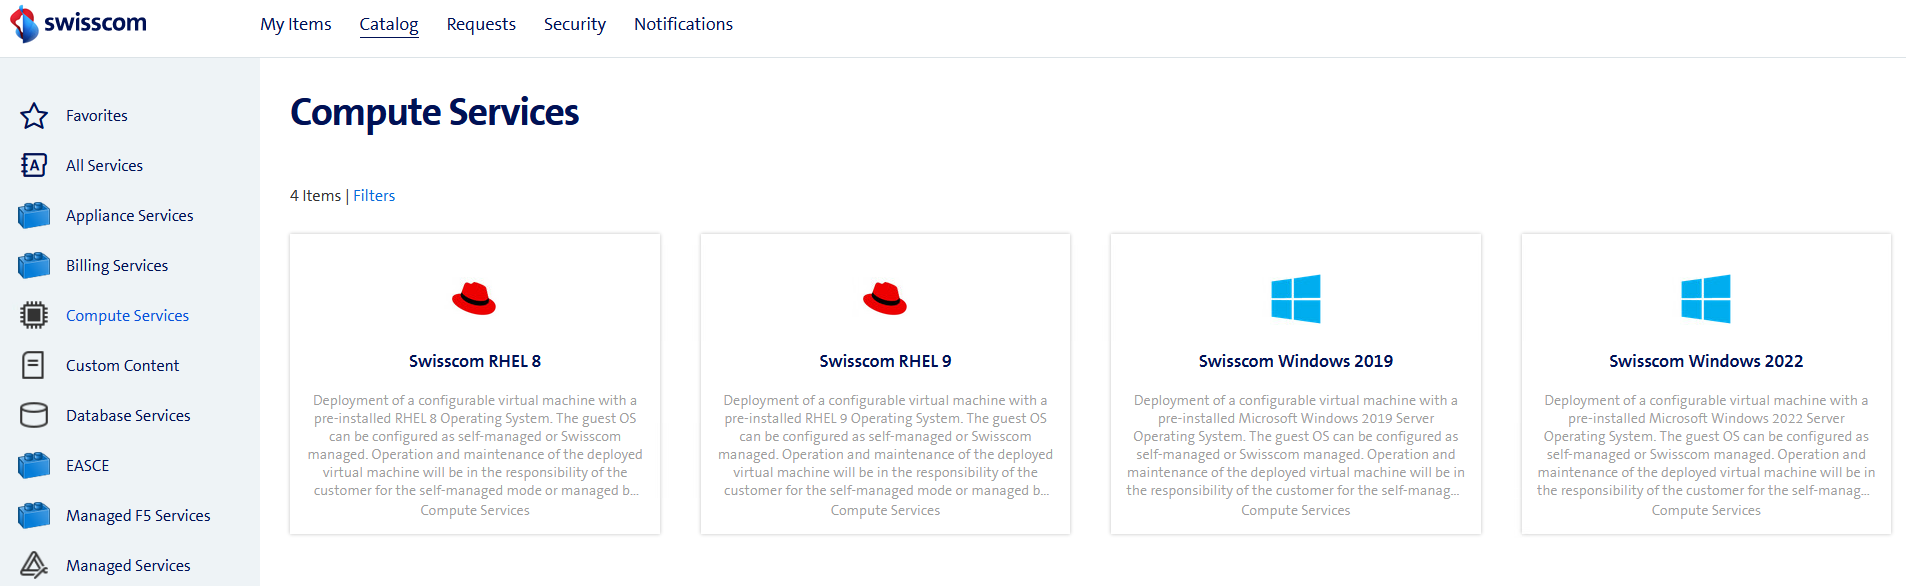
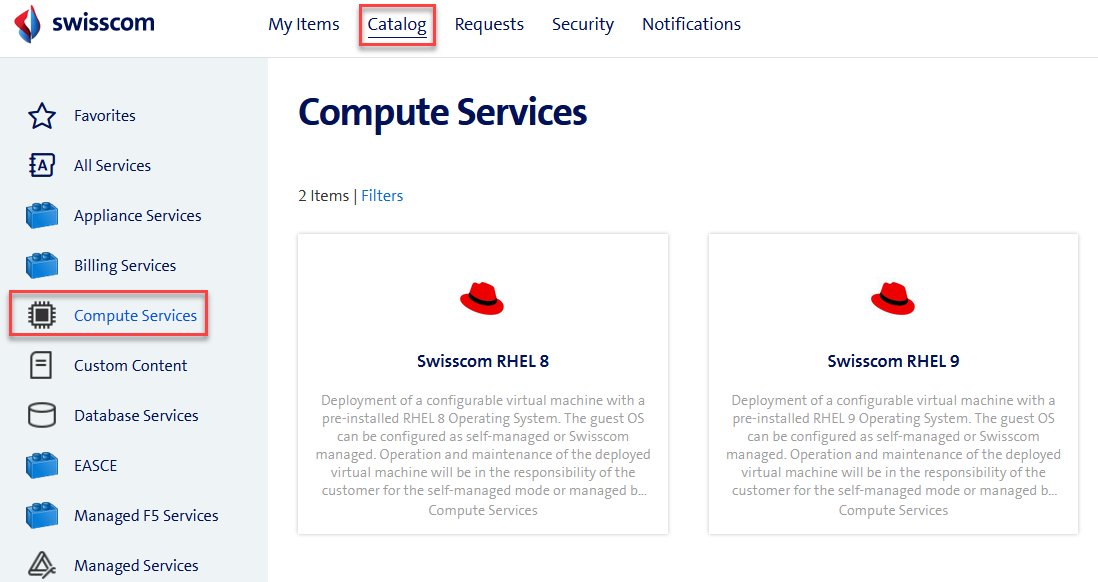
If you want to create a new virtual machine, go to the Catalog tab in the Portal and select Compute Services. The pictures are an example for a Red Hat Enterprise Linux 8 virtual machine, the same settings are available for all the operating systems.
Click on the desired machine blueprint (the pictures below are an example of a Red Hat Enterprise Linux 8 virtual machine)
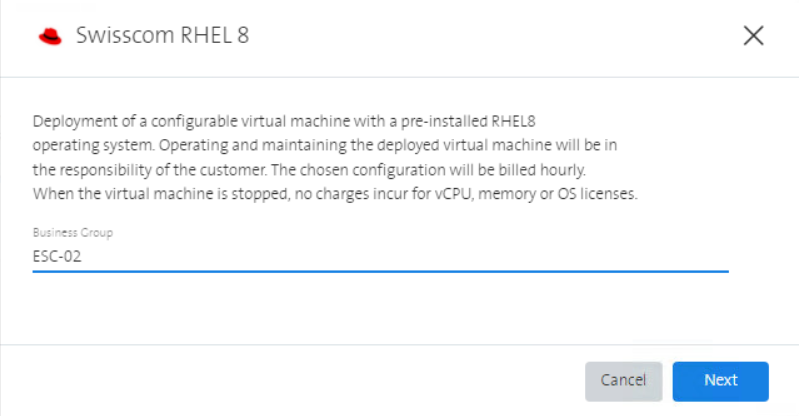
Choose a Business Group and click on Next
The next window shows the configuration page for the machine configuration. It is divided into four tabs Deployment, VM, Networks, Storage which are described in the sections below.
Deployment configurations
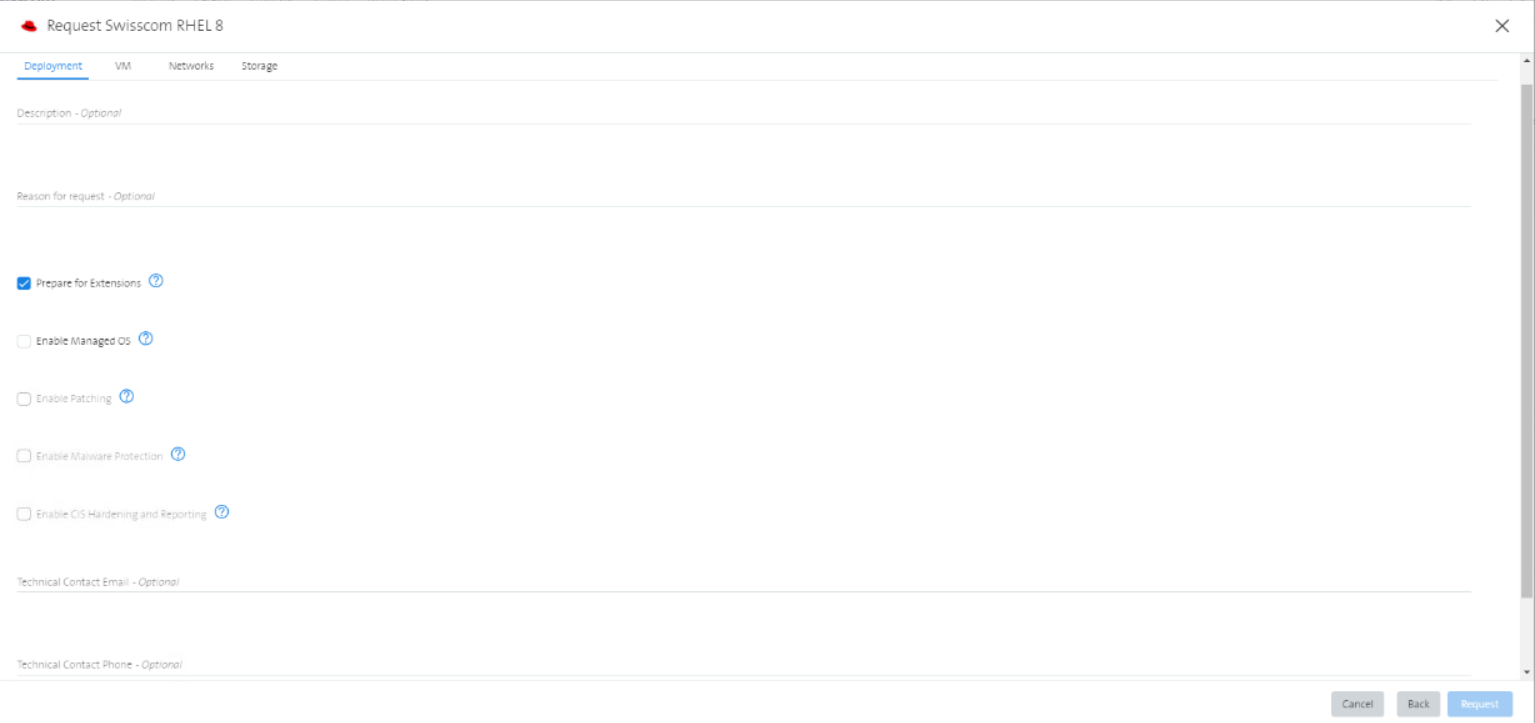
In the Deployment tab, you can
- add a Description of the deployment (optional)
- add a Reason for the request (optional)
- select Prepare for Extensions (optional). For Red Hat, selecting this checkbox will prepare the VM for the usage of additional features and is a prerequisite for the Managed RHEL service. A dedicated service user is created and the required sudo permissions are applied. For Windows, selecting this checkbox will prepare the VM for the usage of additional features and is a prerequisite for the Managed Windows service. A dedicated service user is created and the required administrative privileges are applied.
- select Enable Managed OS (optional). This extension will configure the operating system according to Swisscom standards so that the operation can be taken over by Swisscom. For more details see here.
VM configurations
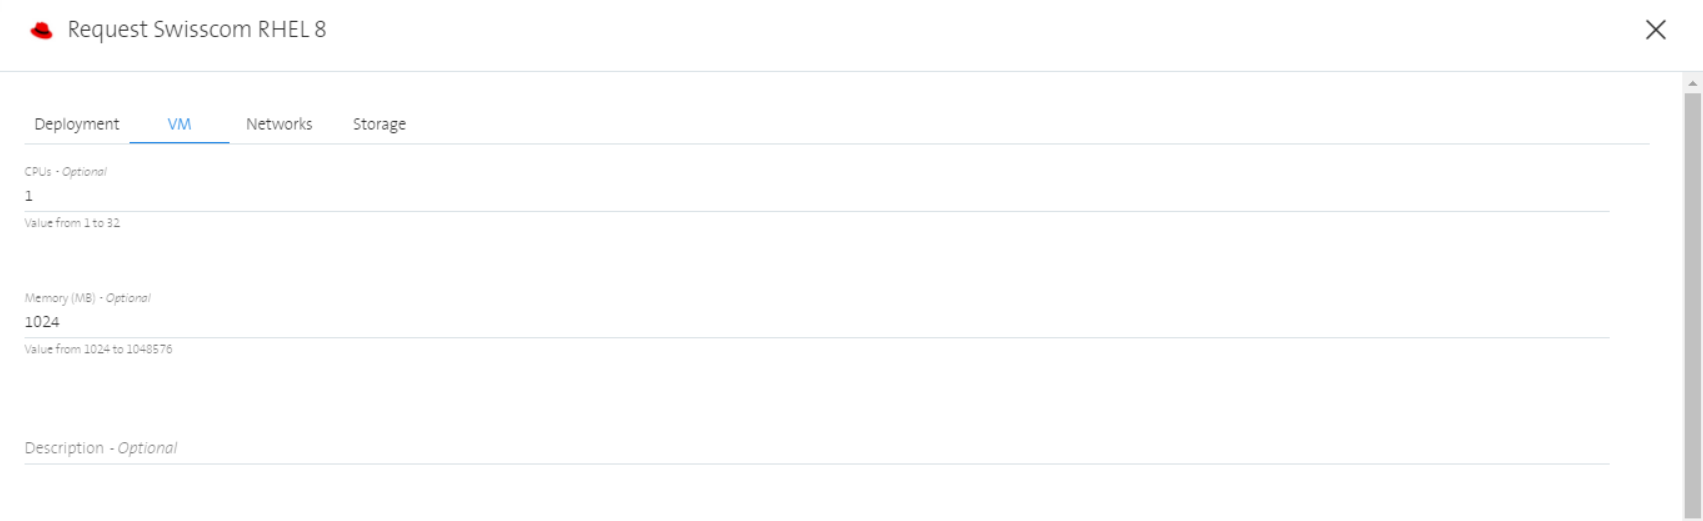
In the VM (Virtual Machine) tab, you can
CPU: Specify the number of CPUs here. For the CPU configuration, please refer to VM configuration recommendations for more details regarding ESC hypervisors and NUMA.
Memory (MB): Specify the memory for the Virtual Machine in MB.
Description (Optional): Enter a description of the Virtual Machine.
Then there is an operating system specific part.
For Linux system, you have

- Hostname: Specify the hostname of the Virtual Machine. Please follow the RFC hostname specification, otherwise the validation of the field will fail. Please note that only the hostname of the guest operating system will be changed, the displayed name in the vRA portal is not affected. If left empty, the displayed name of vRA will be taken as the hostname.
- Root Password: Specify the password for the root user. Make sure to choose a secure password to secure your system as much as possible.
For Windows systems, you have

- Administrator Password: Specify the password for the Administrator user. Make sure to choose a secure password to secure your system as much as possible.
- Domain to Join: Specify the domain to which the Virtual Machine should be joined to.
- Domain Join Username: Specify the user name for the domain join.
- Domain Join Password: Specify the password.
- Computer Name: Specify the computer name of the Virtual Machine. Make sure to follow the RFC hostname specification, otherwise the validation of the field will fail. Please note that only the computer name of the guest operating system will be changed, the displayed name in the vRA portal is not affected. If left empty the displayed name of vRA will be taken as the computer name.
- Timezone: Specify the timezone of the Virtual Machine. See Microsoft Time Zone Values for more information.
Please note that if you did select in the tab Deployment the option Enable Managed OS, the inputs Administrator Password, Domain to Join, Domain Join Username, Domain Join Password are not possible and are missing.
Again for all operating system types is then the following part:
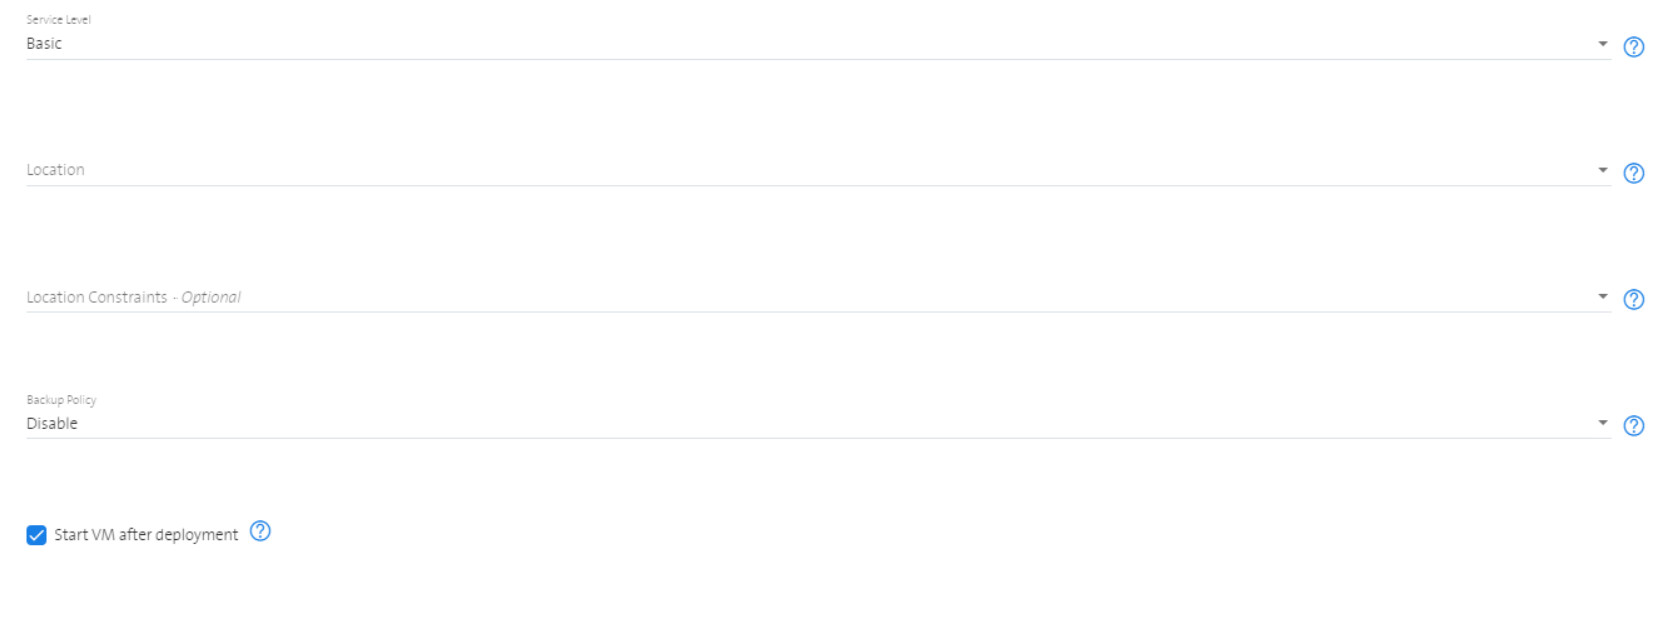
Service Level: Select the Service Level that should be assigned to the Virtual Machine. The Service Level defines the values for High-Availability and ITBC:
Service Level High Availability ITBC Basic No No Standard Yes No Advanced Yes Yes Select a location: Select on which cluster in what location your Virtual Machine will be placed. The available choice depends on the chosen Service Level. A Virtual Machine can only be placed on a stretched cluster if the Advanced Service Level is selected.
Select a location constraint: If Advanced Service Level is selected, a wish on which cluster in what location the Virtual Machine should be placed can be selected.
Backup Policy: Select whether or not the VM should be backed up by Imaged-Based Backups (IBB) and define details about the backup policy (like retention time of the IBB backups and backup schedule). For more details see here.
Start VM after deployment: Select if the Virtual Machine should or should not be started after its creation.
Networks configurations
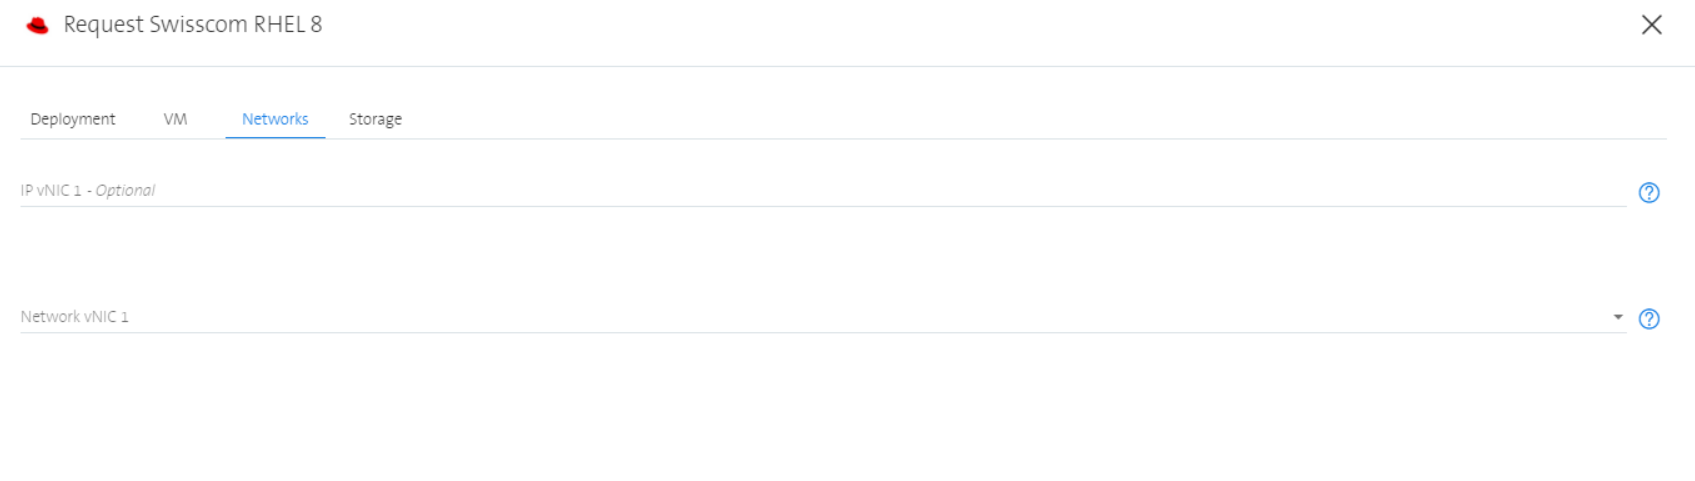
In the Networks tab, you can select networks to which the Virtual Machine should be attached. Additional input fields pop-up to enter additional networks (up to 8).
- IP vNic 1-8 (Optional): IP to be used with this vNic.
- vNic 1-8: Select a network that should be attached to this Virtual Machine with this vNic.
Storage configurations
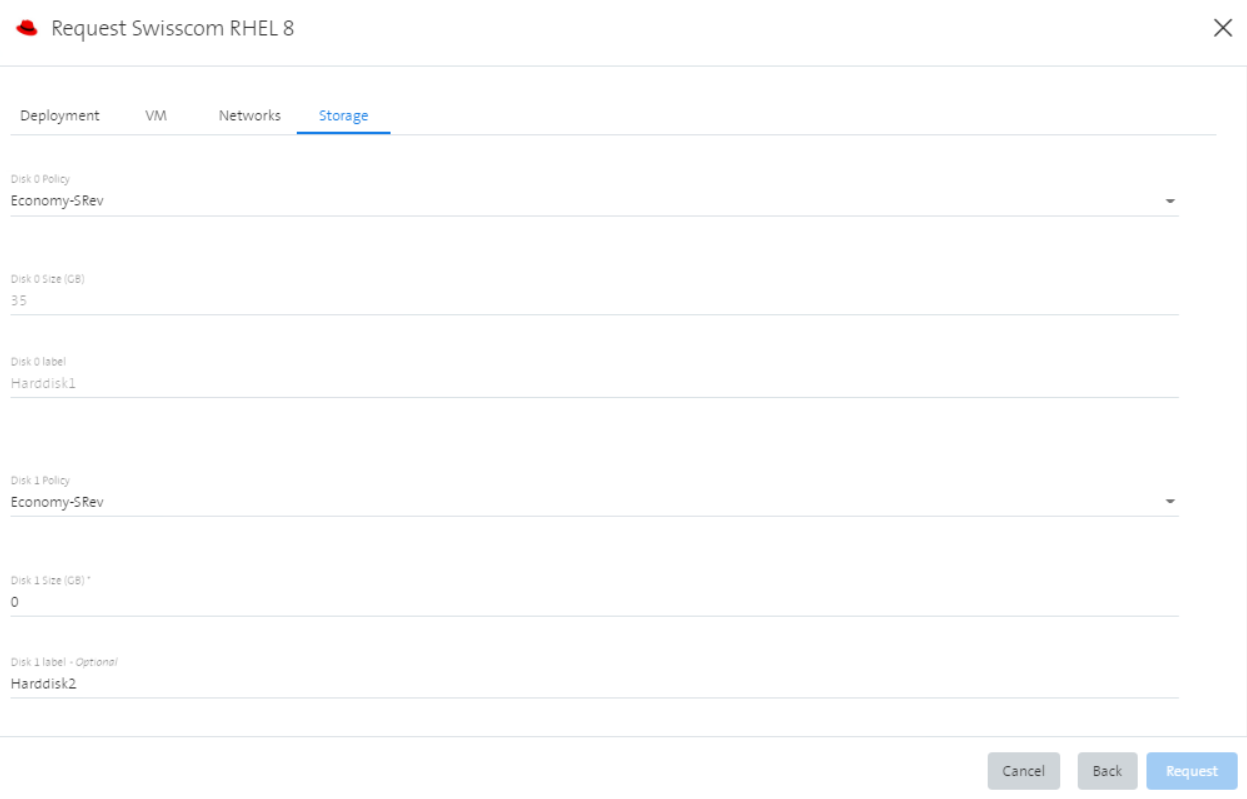
In the Storage tab, you can configure up to 10 disks for the virtual machine with the following parameters:
- Disk Policy:
| Storage Eco | For applications with low performance requirements (e.g. development/test systems) on a shared storage infrastructure. up to 250 IOPS/VM with average latency < 12ms max. 4 TB per disk, max 10 disks per VM, max. 10 TB per VM |
| Storage Fast | For applications with high performance requirements on a shared storage infrastructure. from 251 up to 3'000 IOPS/VM with average latency < 6ms max. 4 TB per disk, max 10 disks per VM, max. 10 TB per VM |
| Storage Ultra Fast | For applications with very high performance requirements, particularly for databases on a shared storage infrastructure. from 3'001 up to 10'000 IOPS/VM with average latency < 2ms max. 4 TB per disk, max 10 disks per VM, max. 10 TB per VM |
- Disk Size:
A disk with disk size 0 is not added to the Virtual Machine. The maximum allowed size for a virtual disk (VMDK) is 4TB.
This limitation ensures to have optimal performance for large disks. It is still possible to create larger disks by spanning/striping disk snippets in the OS.
- Disk Label: Add a drive letter for the disk.
To request the Virtual Machine with the configured settings:
Click on Request
The Request button will be blue once all mandatory configuration parameters have been provided in the four tabs. If the Request button is not blue, at least one mandatory input is missing in one of the four tabs. If you click on Request, the Virtual Machine will be provisioned. The progress is shown in the Requests tab.
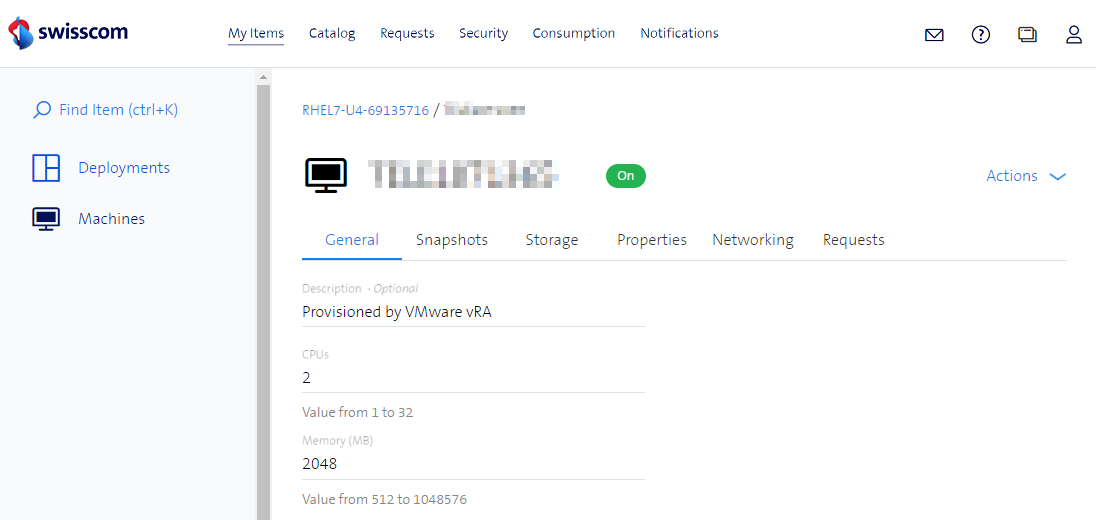
Edit a virtual machine (for newer blueprints)
To edit a virtual machine click on the tab My Items in the Portal and select the desired Virtual Machine. This will open the settings window where the user can edit the pre-filled settings.
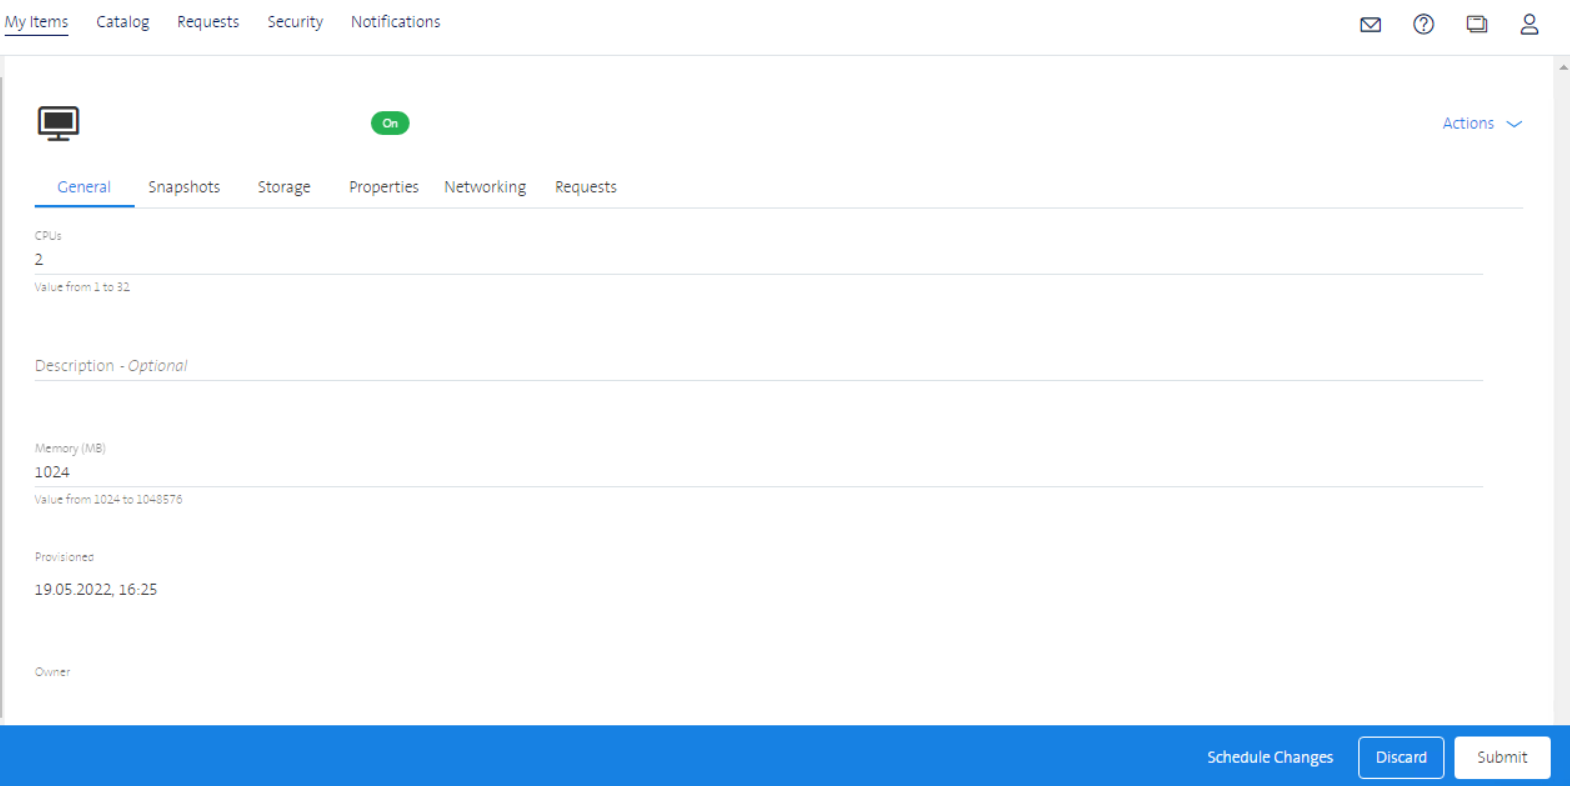
General tab
In the General tab the user can edit the following properties.
CPUs: Specify the new number of CPUs here.
For the CPU configuration, please refer to VM configuration recommendations for more details regarding ESC hypervisors and NUMA. Please make sure that the VM is powered off before adding or removing CPUs. Only during startup of the VM the operating system and the applications are loading the CPU architecture properly and also allows proper placement on the underlying ESXi host.Description (Optional): Optional, change the description of the machine.
Memory (MB): Specify the memory for the Virtual Machine here. Please make sure that the Virtual Machine is powered off before increasing or decreasing memory. Only during startup of the VM the operating system and the applications are loading the proper memory configuration.
Once you change a value in there, you get a blue bar at the bottom where you can submit or discard the change.
Instead of submitting for immediate change, you can also select Schedule Changes. In this case, the following windows pops up where you can enter when and how the change should be performed.
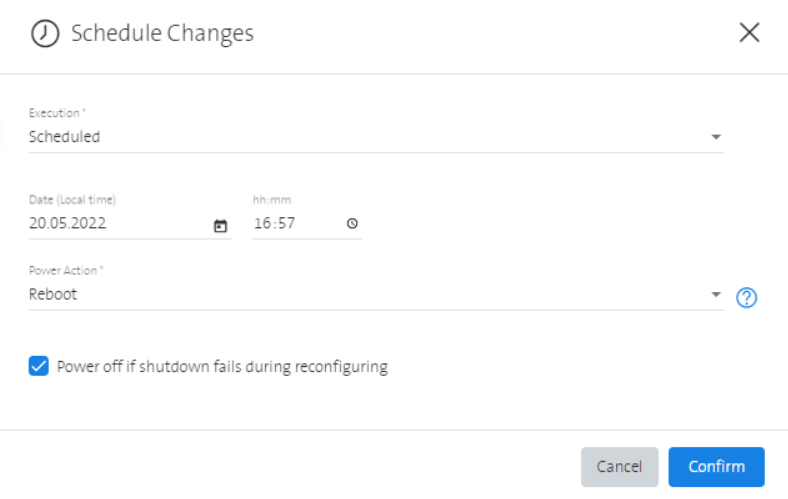
- Execution: Select Immediate for an immediate execution and Scheduled for a scheduled, later execution.
- Date and Time: In case you selected Scheduled, you can select here the day and time for the scheduled execution.
- Power Action: Select if the machine has to be rebooted. If the machine is powered-on, a machine reboot is required before reconfiguration if you are making a CPU, memory, or storage change and hot add is disabled. If the machine is in a shutdown state, it is not rebooted. You can also select whether or not you want to power off the Virtual Machine if the shutdown fails during reconfiguration.
Snapshot tab
In the Snapshot tab the user can view and create snapshots for the virtual machine.
For more information about Snapshots click here.
Storage tab
In the tab Storage, disks can be added or edited. For each disk added, the user must enter a label and its capacity.
To edit a disk:
- Click on the Actions button to edit an existing Disk
- Click on Edit to edit the settings
To create a disk:
- Click on the Create Disk button to add a new Disk
- Enter the capacity
- Enter a Storage Reservation Policy
Properties tab
In the Properties tab the user can view the currently configured properties for the Virtual Machine. Some properties can be changed with the Action Advanced Reconfigure while the Virtual Machine is powered on or off.
Networking tab
In the Network tab the user can view the currently configured network, IP Address and MAC Address for the Virtual Machine.
Requests tab
This tab shows the requests history and the progress of currently ongoing tasks.
Manage disks
You can also manage disks (add, edit, delete) via the Manage Disks action in the VRA Portal.
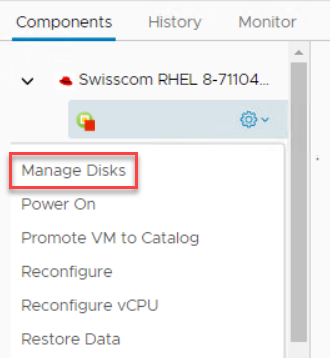
Under Deployments select the desired deployment and click under Components on the Virtual Machine.
Click on Actions and choose Manage Disks
Add a disk
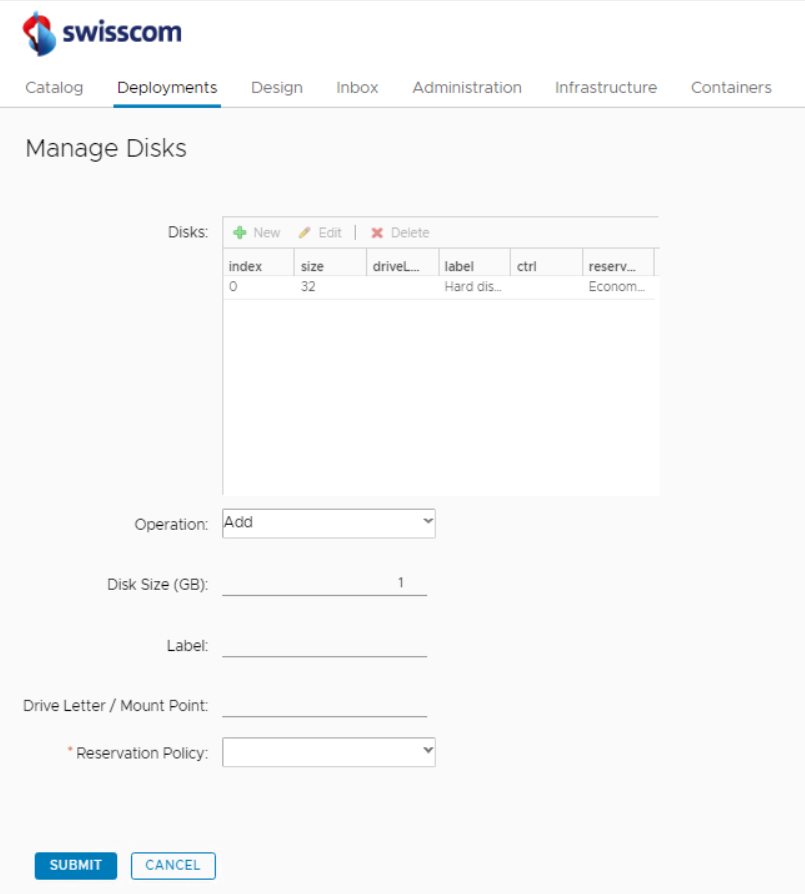
Operation: Select Add
Disk Size (GB): Enter the size of the disk in GB (max. 4096 GB per disk, max. 10 disks per VM, max. 10 TB per VM).
Label (Optional): Enter a label for the new disk
DriveLetter/Mount Point (Optional): Enter for Windows system a drive letter and for UNIX systems a mount point
Reserveration Policy: Select a storage reserveration policy.
Press Submit to submit the request to add this disk
Edit a disk
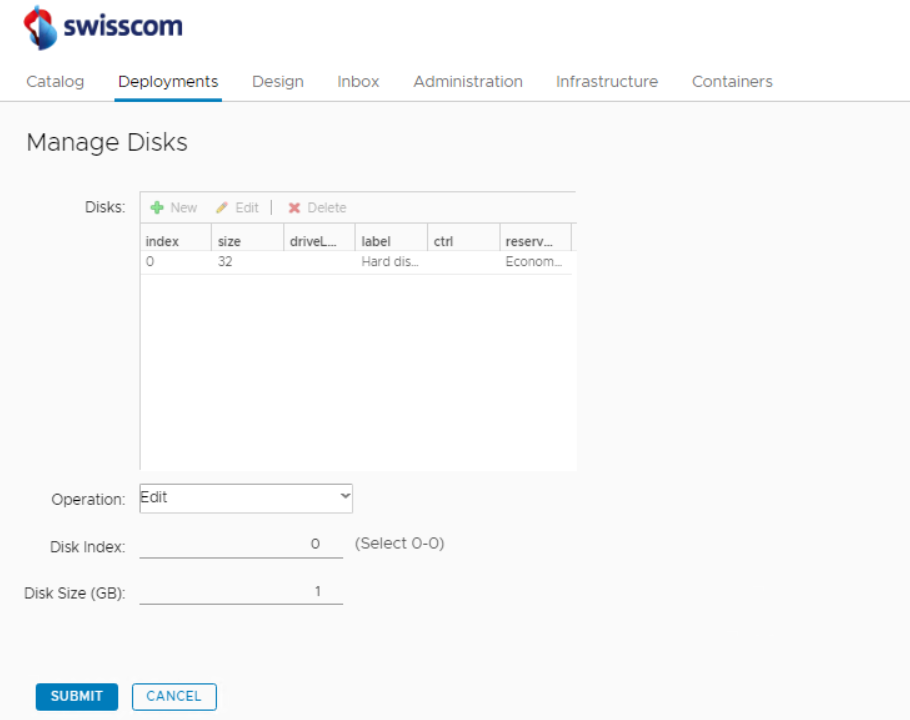
Operation: Select Edit
Disk Index: Select the index of the disk you want to edit. See above in the Disks field the possible index values.
Disk Size (GB): Enter a new size of the disk in GB (max. 4096 GB per disk, max. 10 disks per VM, max. 10 TB per VM).
Press Submit to change the size of the selected disk.
Delete a disk

Operation: Select Delete
Disk Index: Select the index of the disk you want to edit. See above in the Disks field the possible index values.
Press Submit to delete the disk with the selected index.
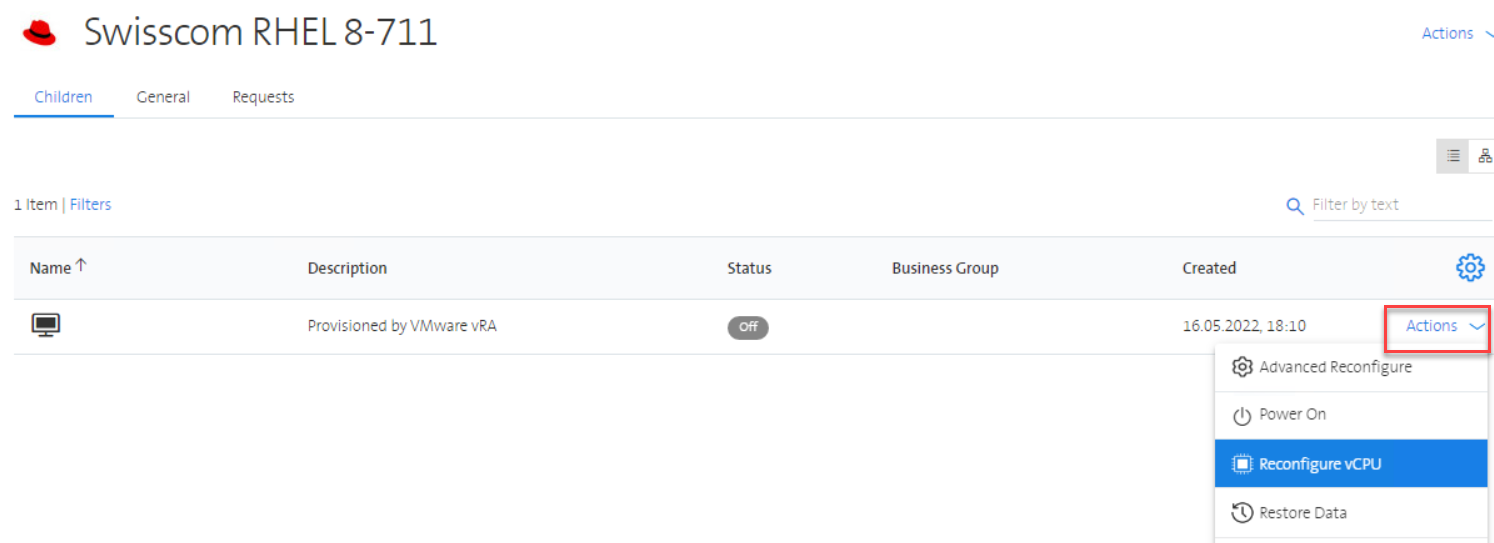
Change vCPU
With the action Reconfigure vCPU you can modify the vCPU of a Virtual Machine.
Select in the Portal the action Reconfigure vCPU
Enter the number of vCPUs you want to have
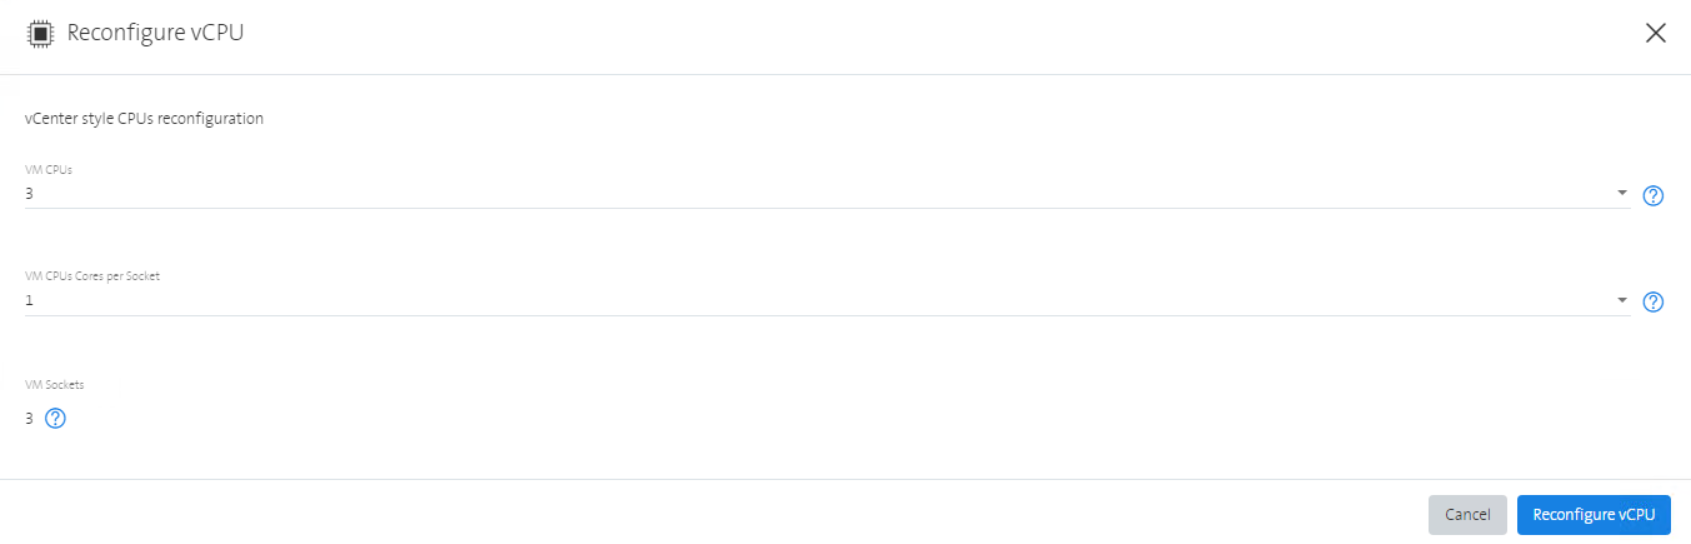
Enter the number of cores per socket which you want to have. The number of resulting sockets is calculated automatically.
Press Reconfigure vCPU to submit the change.
Change Computer Name
You can change the Computer Name only in the vRA Portal. In order to change the Computer Name, the VM needs to be powered off.
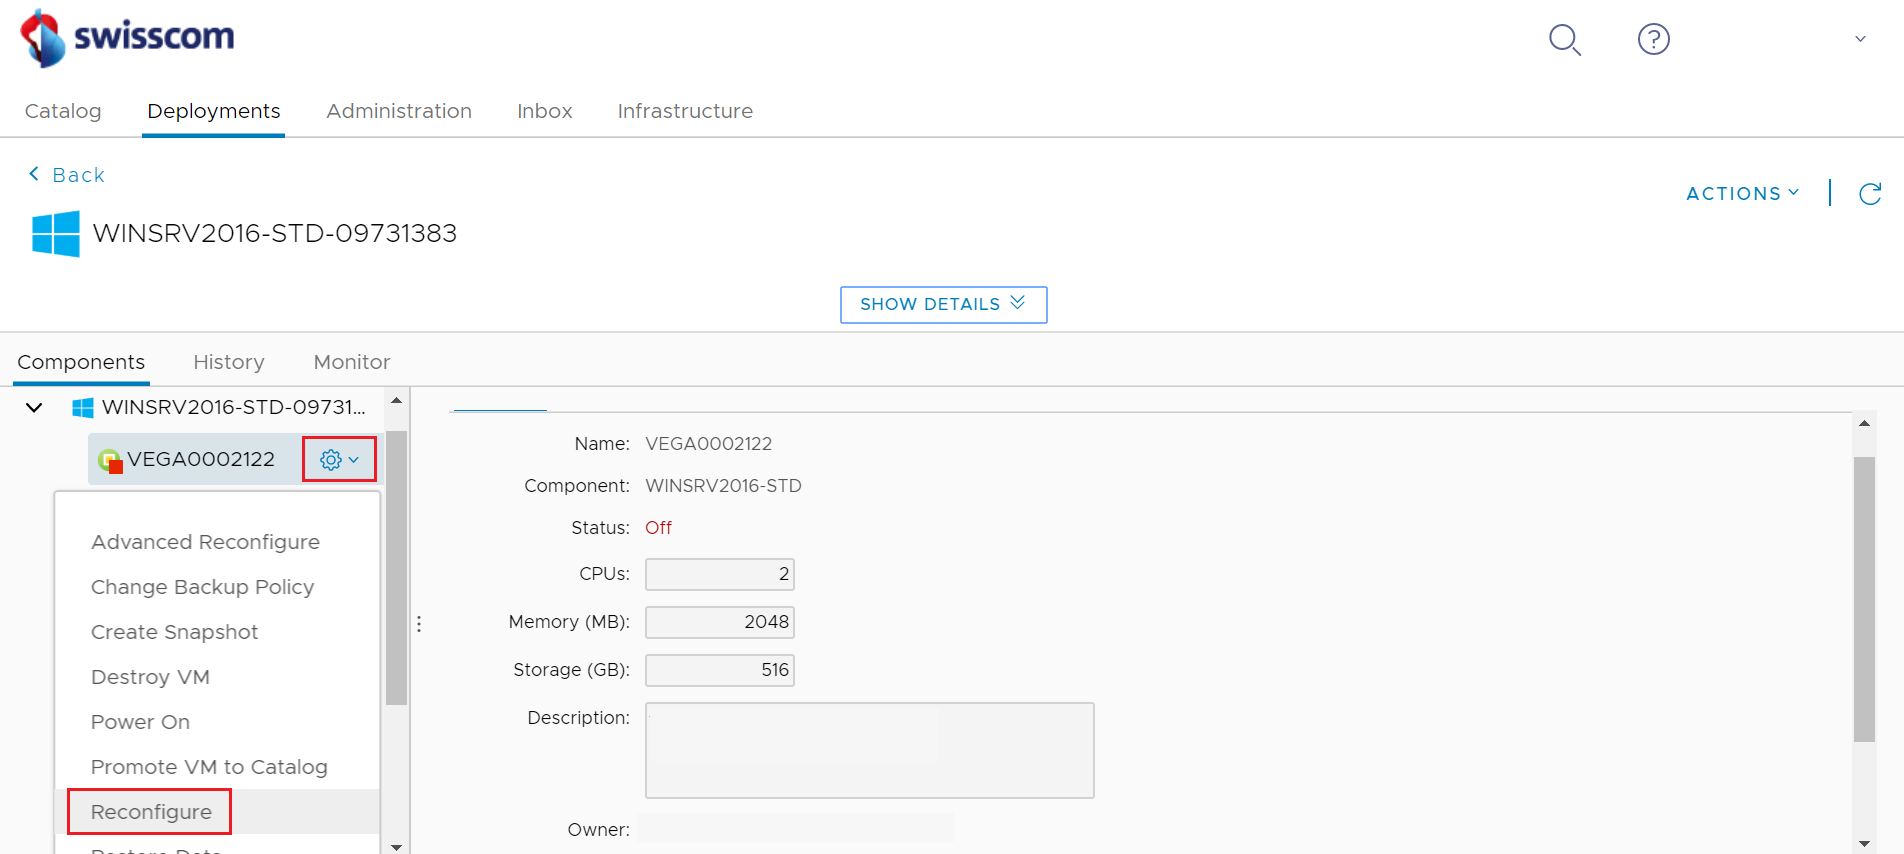
Under Deployments select the desired deployment and click under Components on the VM.
Click on Actions and choose Reconfigure
Click on the tab Properties and find the property called SysPrep.UserData.ComputerName
Double-click on the field next to SysPrep.UserData.ComputerName and change the Computer Name
Click on the green check to save the name and click on Submit to confirm the change

This Computer Name will be shown on the Consumption Reports as a reference. In order to keep consistency throughout all systems, it is recommended to also change the Computer Name to the same one in your Operating System.
Delete a virtual machine
To delete a virtual machine click on the tab My Items in the portal and select the desired VM, click on Actions and select Destroy VM. A new window appears where the deletion has to be confirmed.