Manage File Service
Create a File Service
To create a File Service Premium instance, click on Catalog in the Swisscom Portal.
Click on the service File Service Premium.
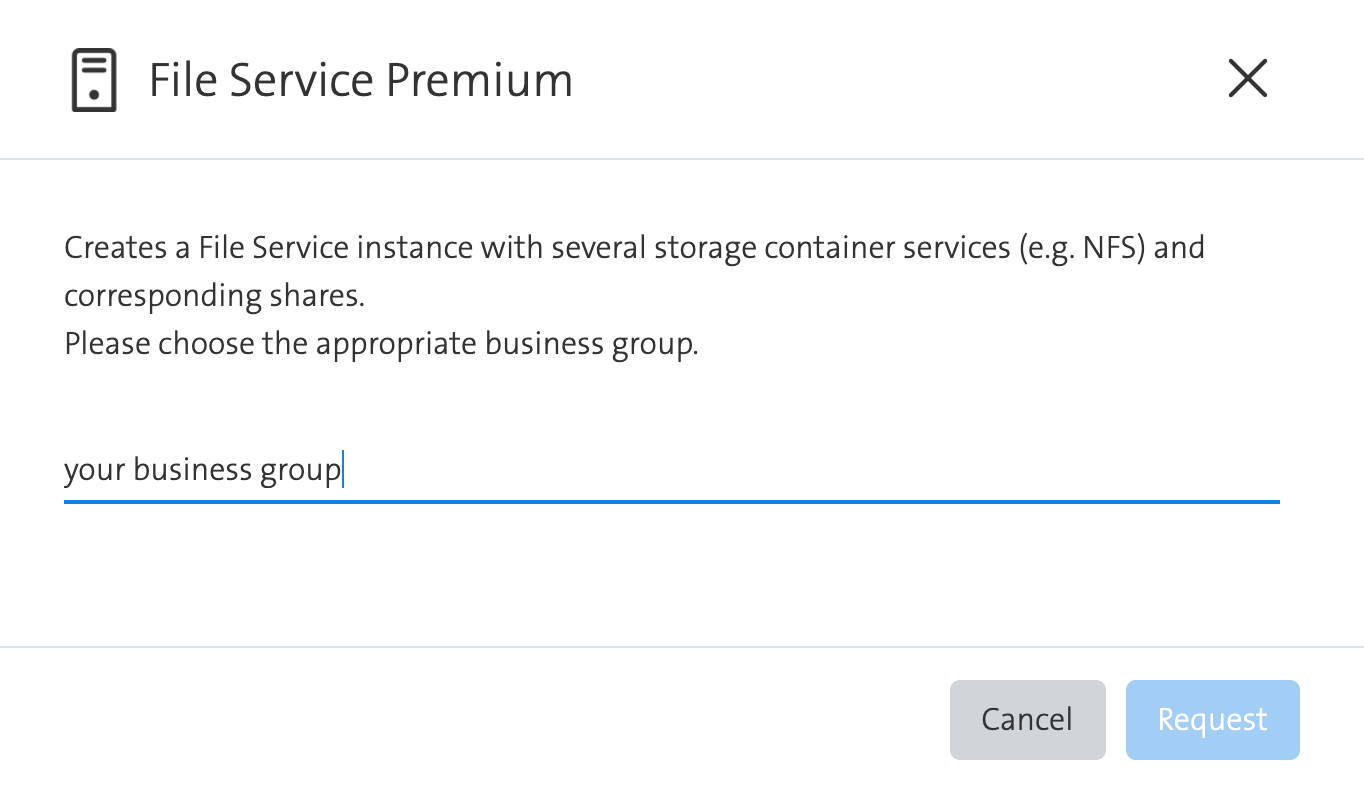
Choose the Business Group and click on Request.

Fill in or choose from the drop-down list:
- Friendly Name: A name for this File Service. With this name, the instance can be identified on the bill.
- Uplink Topology: Choose the network (uplink topology or service group) to which the File Service networks will be interconnected.
- Aggregate: Choose the network aggregate from which you want to select the network ranges used by this file service, see Network 1 & 2 below. If no aggregate exists, you can create one with the
Create Service Networkrequest. - Network 1: Defines the IP-network for datacenter #1 which will be used for this file service.
- Network 2: Defines the IP-network for datacenter #2 which will be used for this file service.
Optional and only required for NFSv4: DNS Resolvers: Define the nameservers which are used to resolve hostnames. Multiple servers can be separated by a colon. e.g: "192.168.1.1,192.168.10.1,192.168.100.50" (Note: no whitespaces are allowed)
DNS Domain Name: Defines the default domain to be used for DNS resolution. e.g "storage.local"
NFSv4 Domain Name: Sets the NFSv4 domain name to be used. In many cases, this is equal to the DNS domain. Only if this field is filled out, NFS Version 4 will be enabled (if left empty, only NFS Version 3 will be enabled).
Click on Request
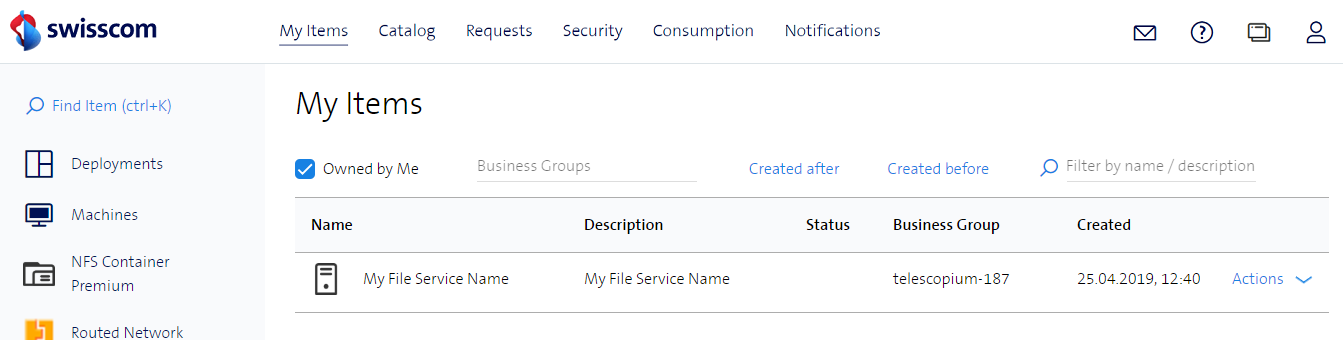
As soon as the File Service Premium instance is created successfully, it will be shown under My Items.