Manage iSCSI
To create iSCSI Containers, Initiators and LUNs you need to set up a File Service first. See Create a File Service.
Add iSCSI Container
- Select the desired File Service instance and click on Actions
- Click on Add iSCSI Container
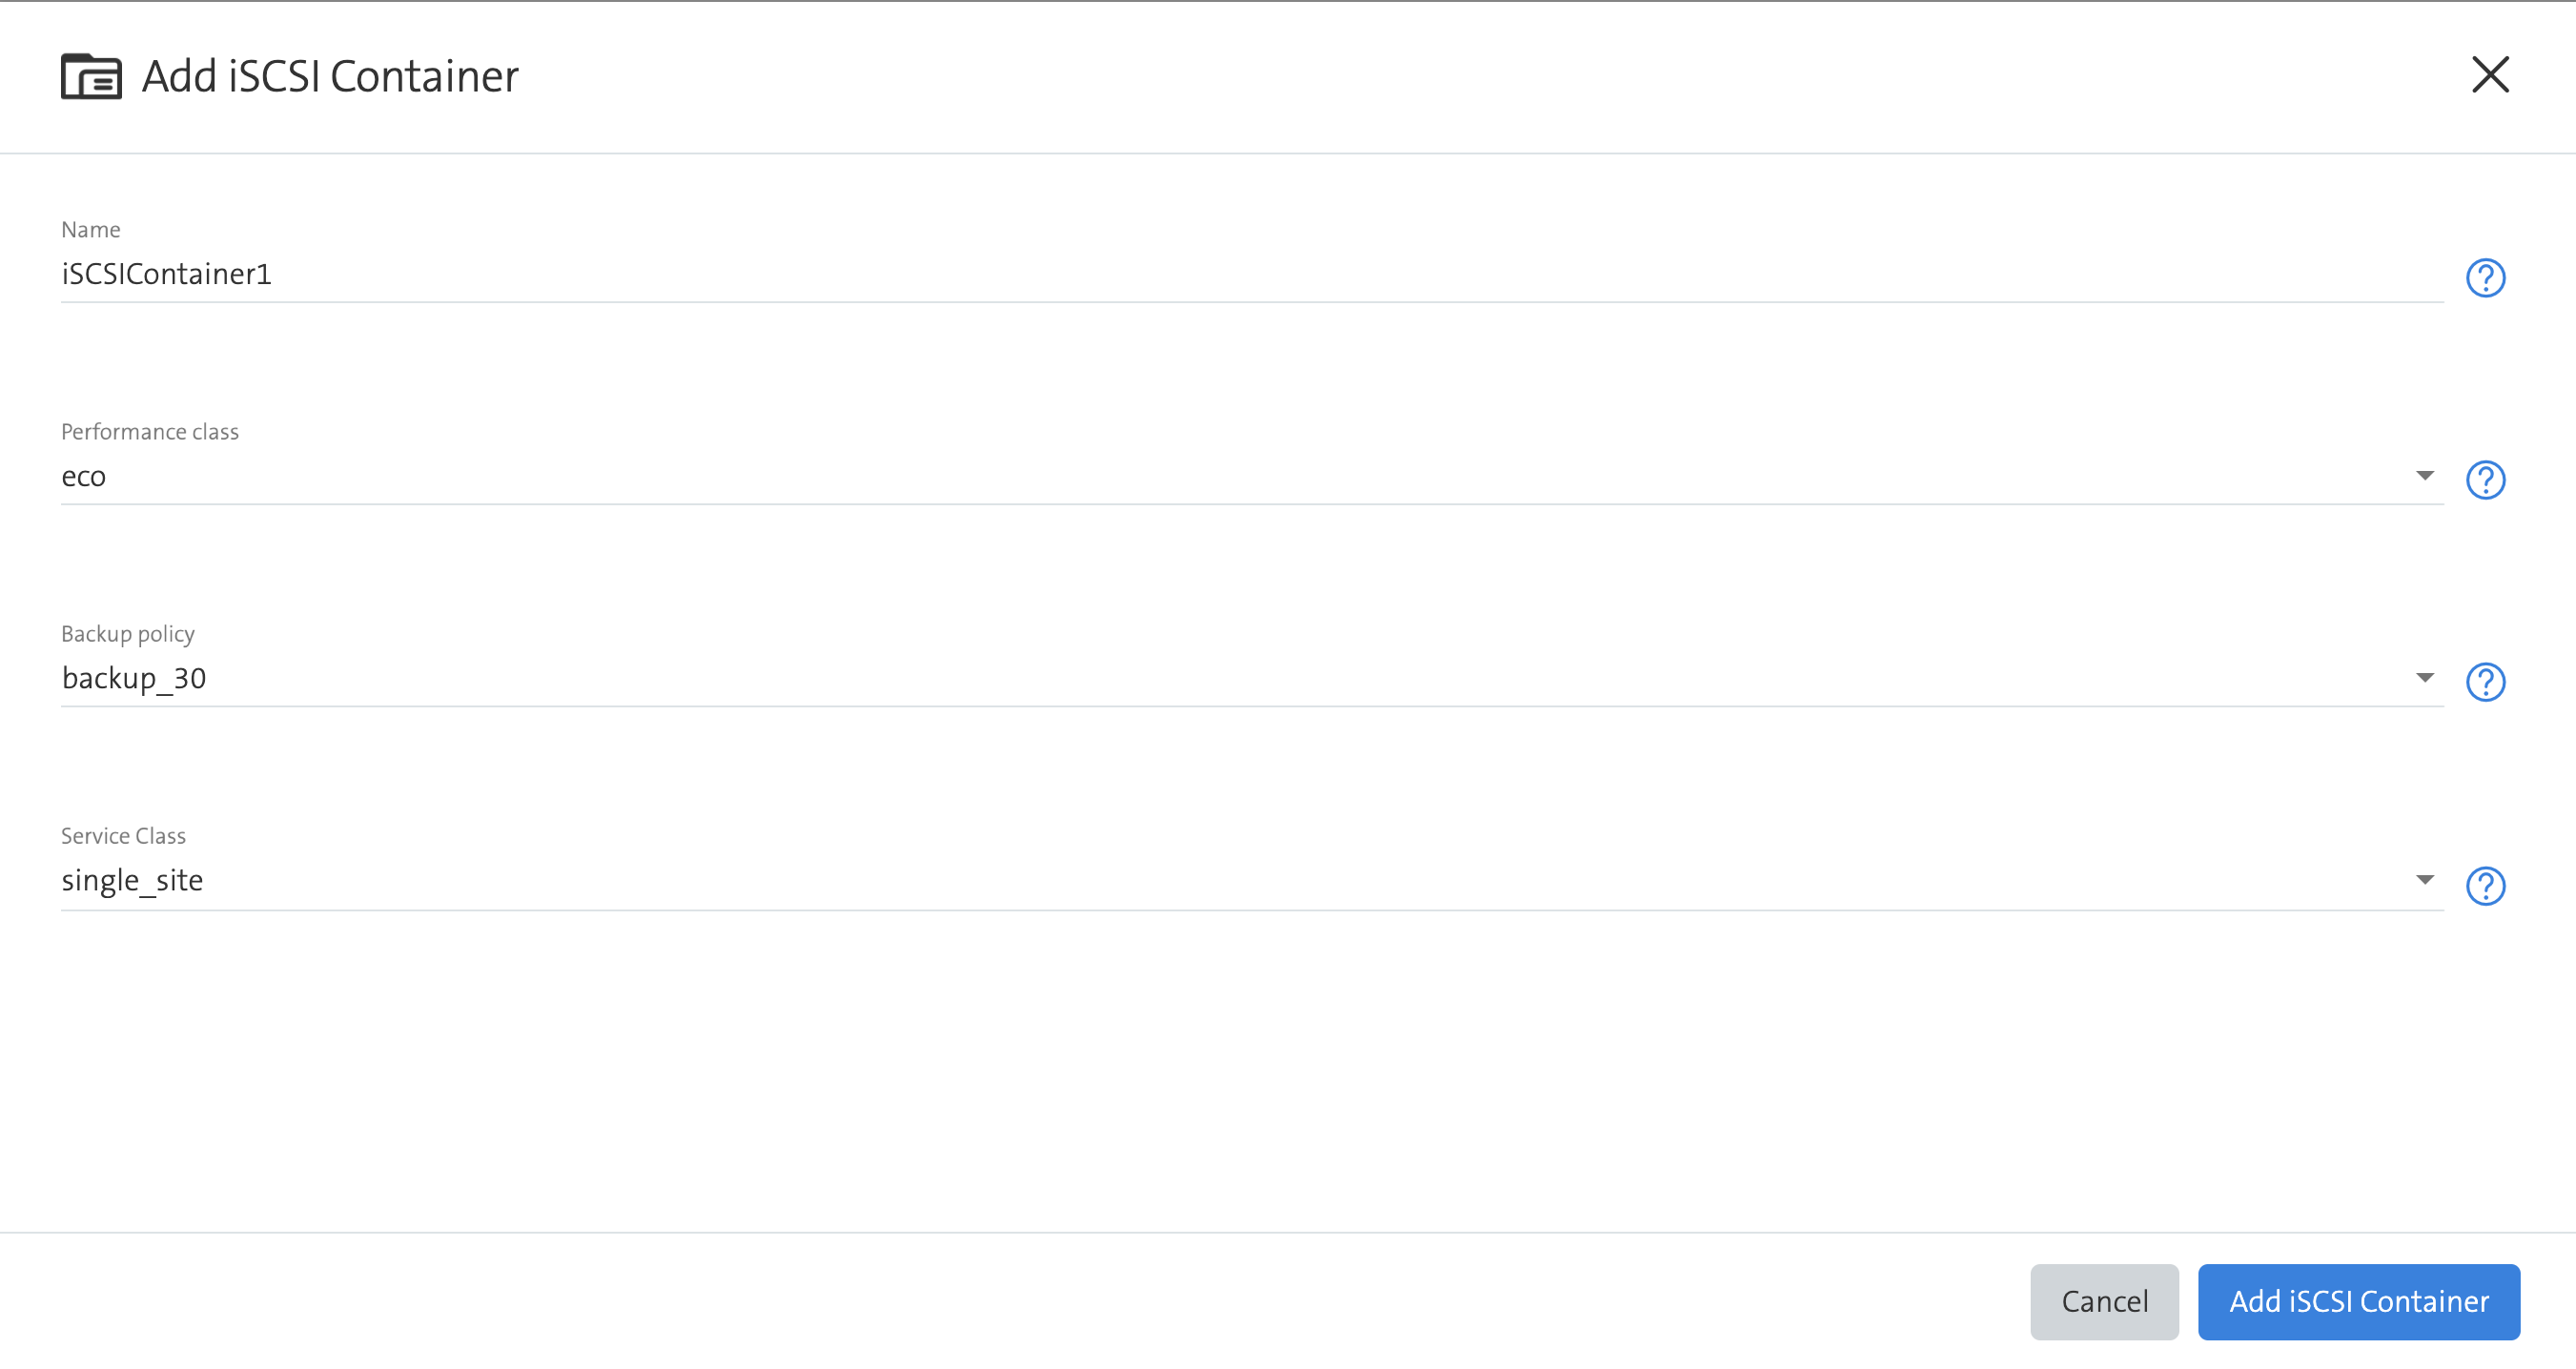
- Fill in the form and click on Add iSCSI Container
Add iSCSI Initiator Group
- Select the desired File Service instance and click on Actions
- Click on Add iSCSI Container
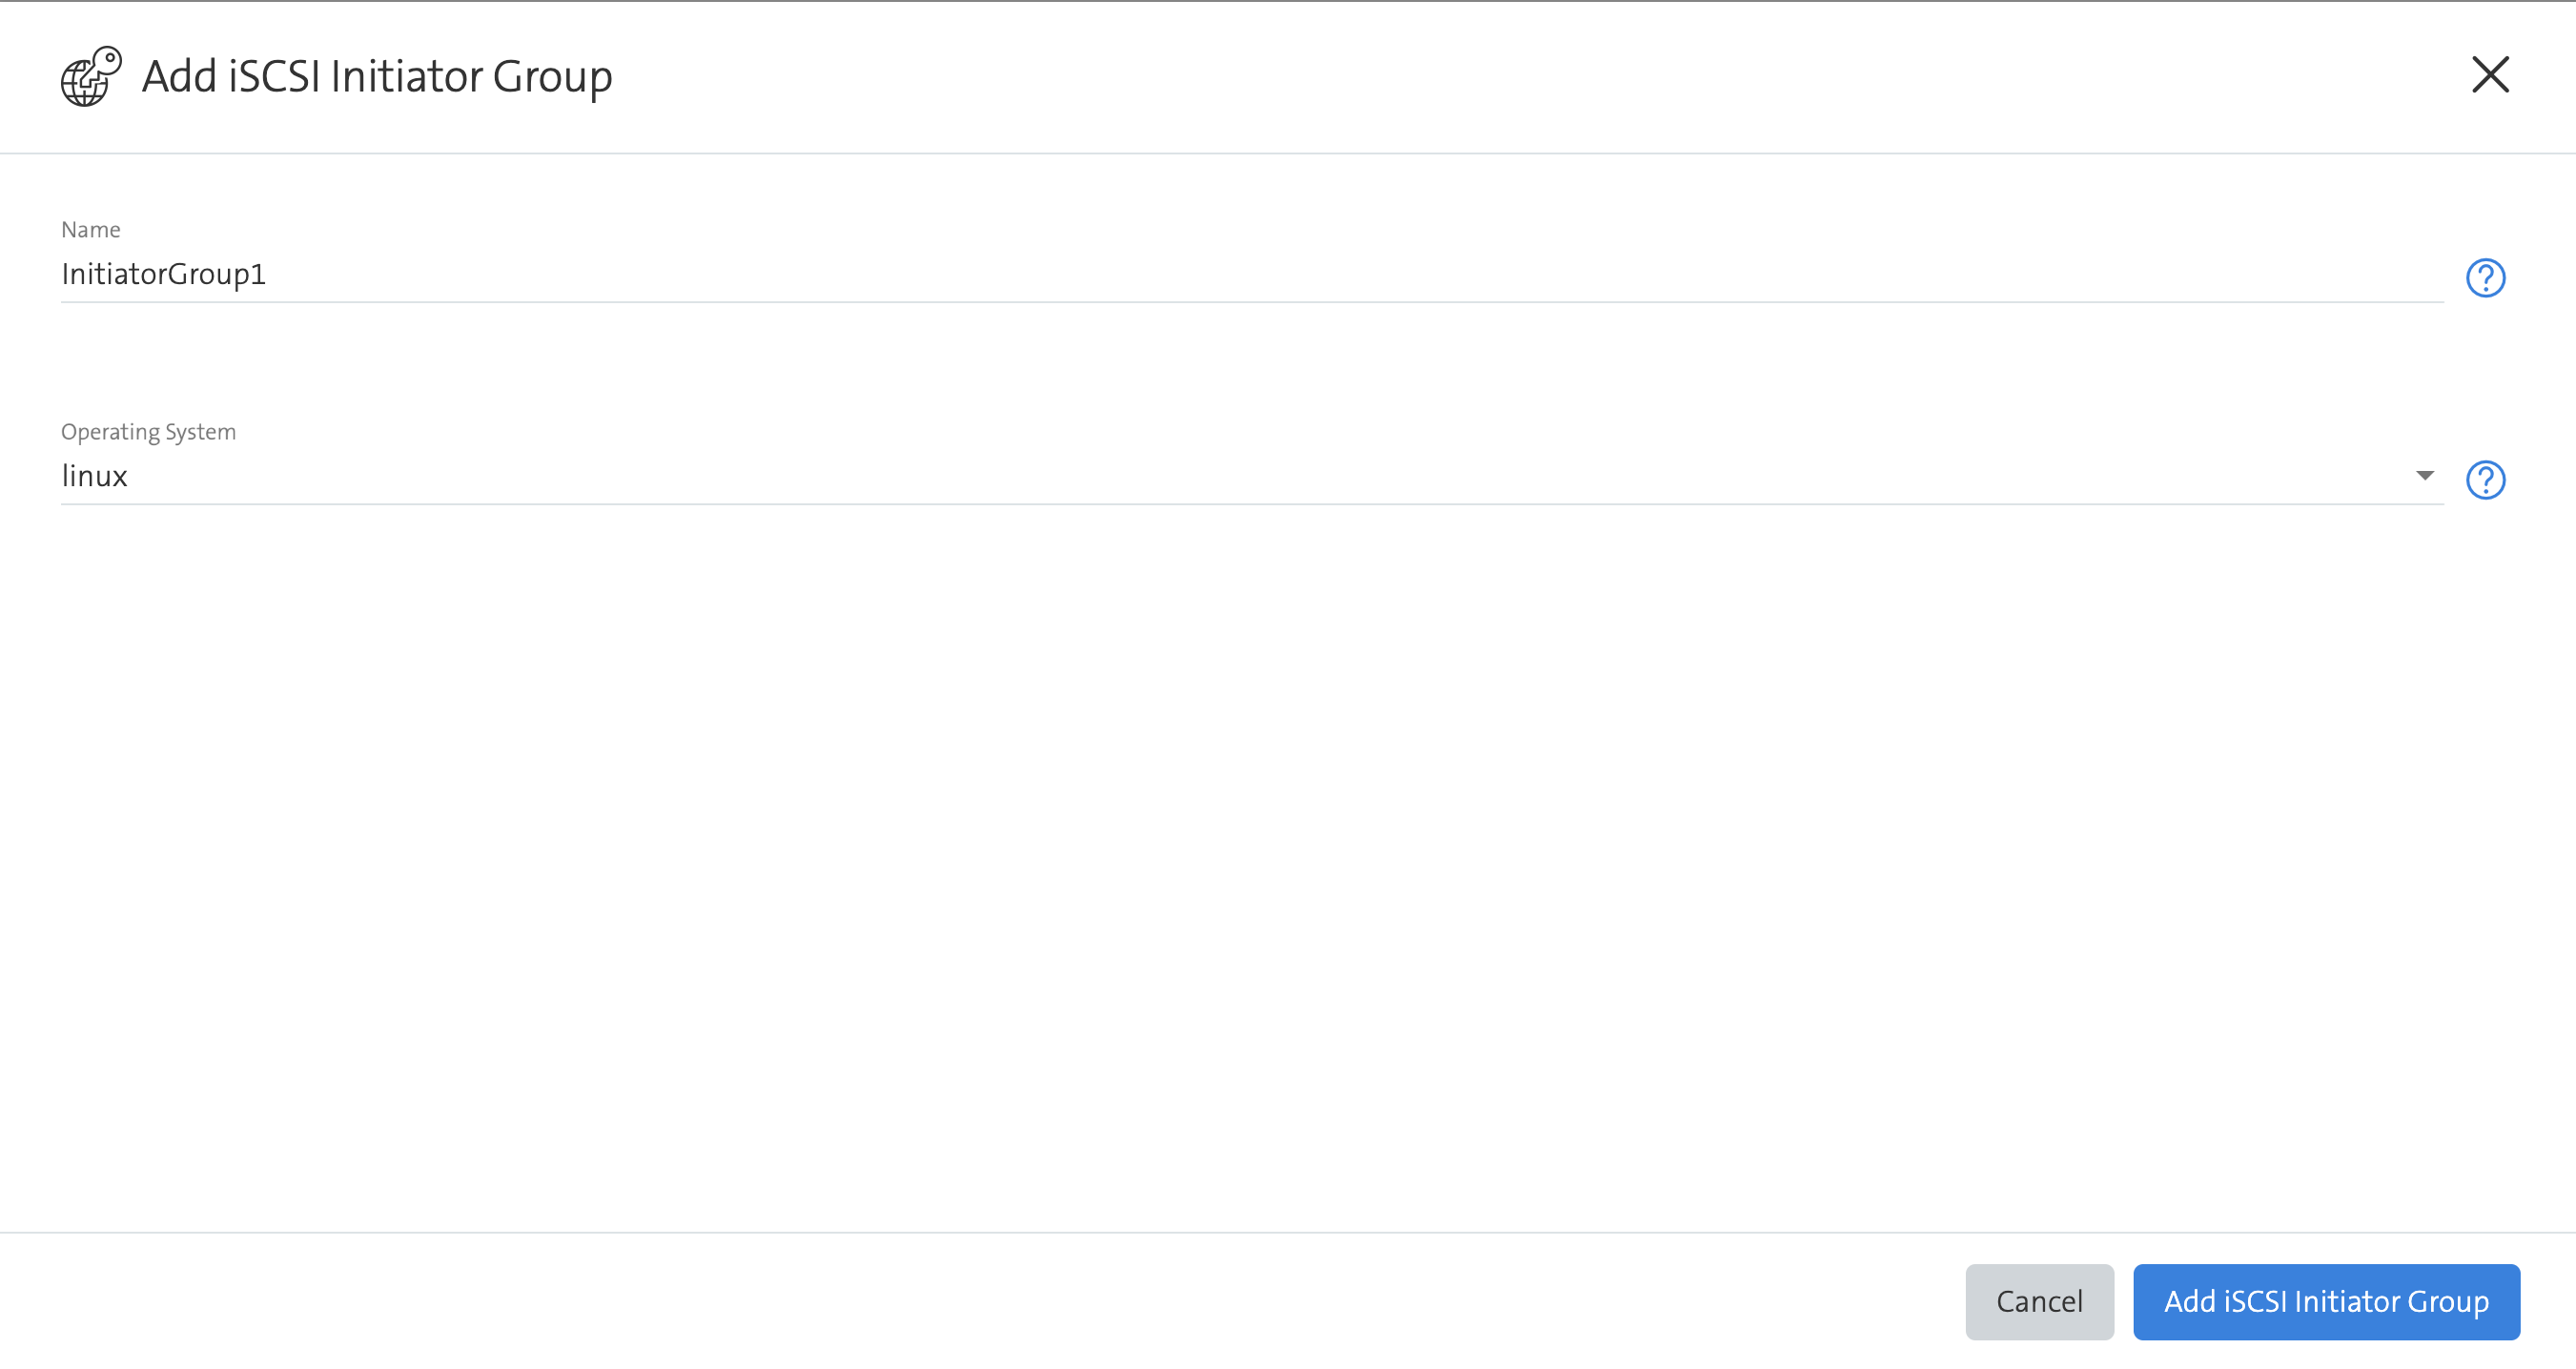
- Fill in the form and click on Add iSCSI Initiator Group
Add iSCSI LUN
- Make sure you have an initiator group created beforehand.
- Select the desired iSCSI Container instance and click on Actions
- Click on Add iSCSI LUN
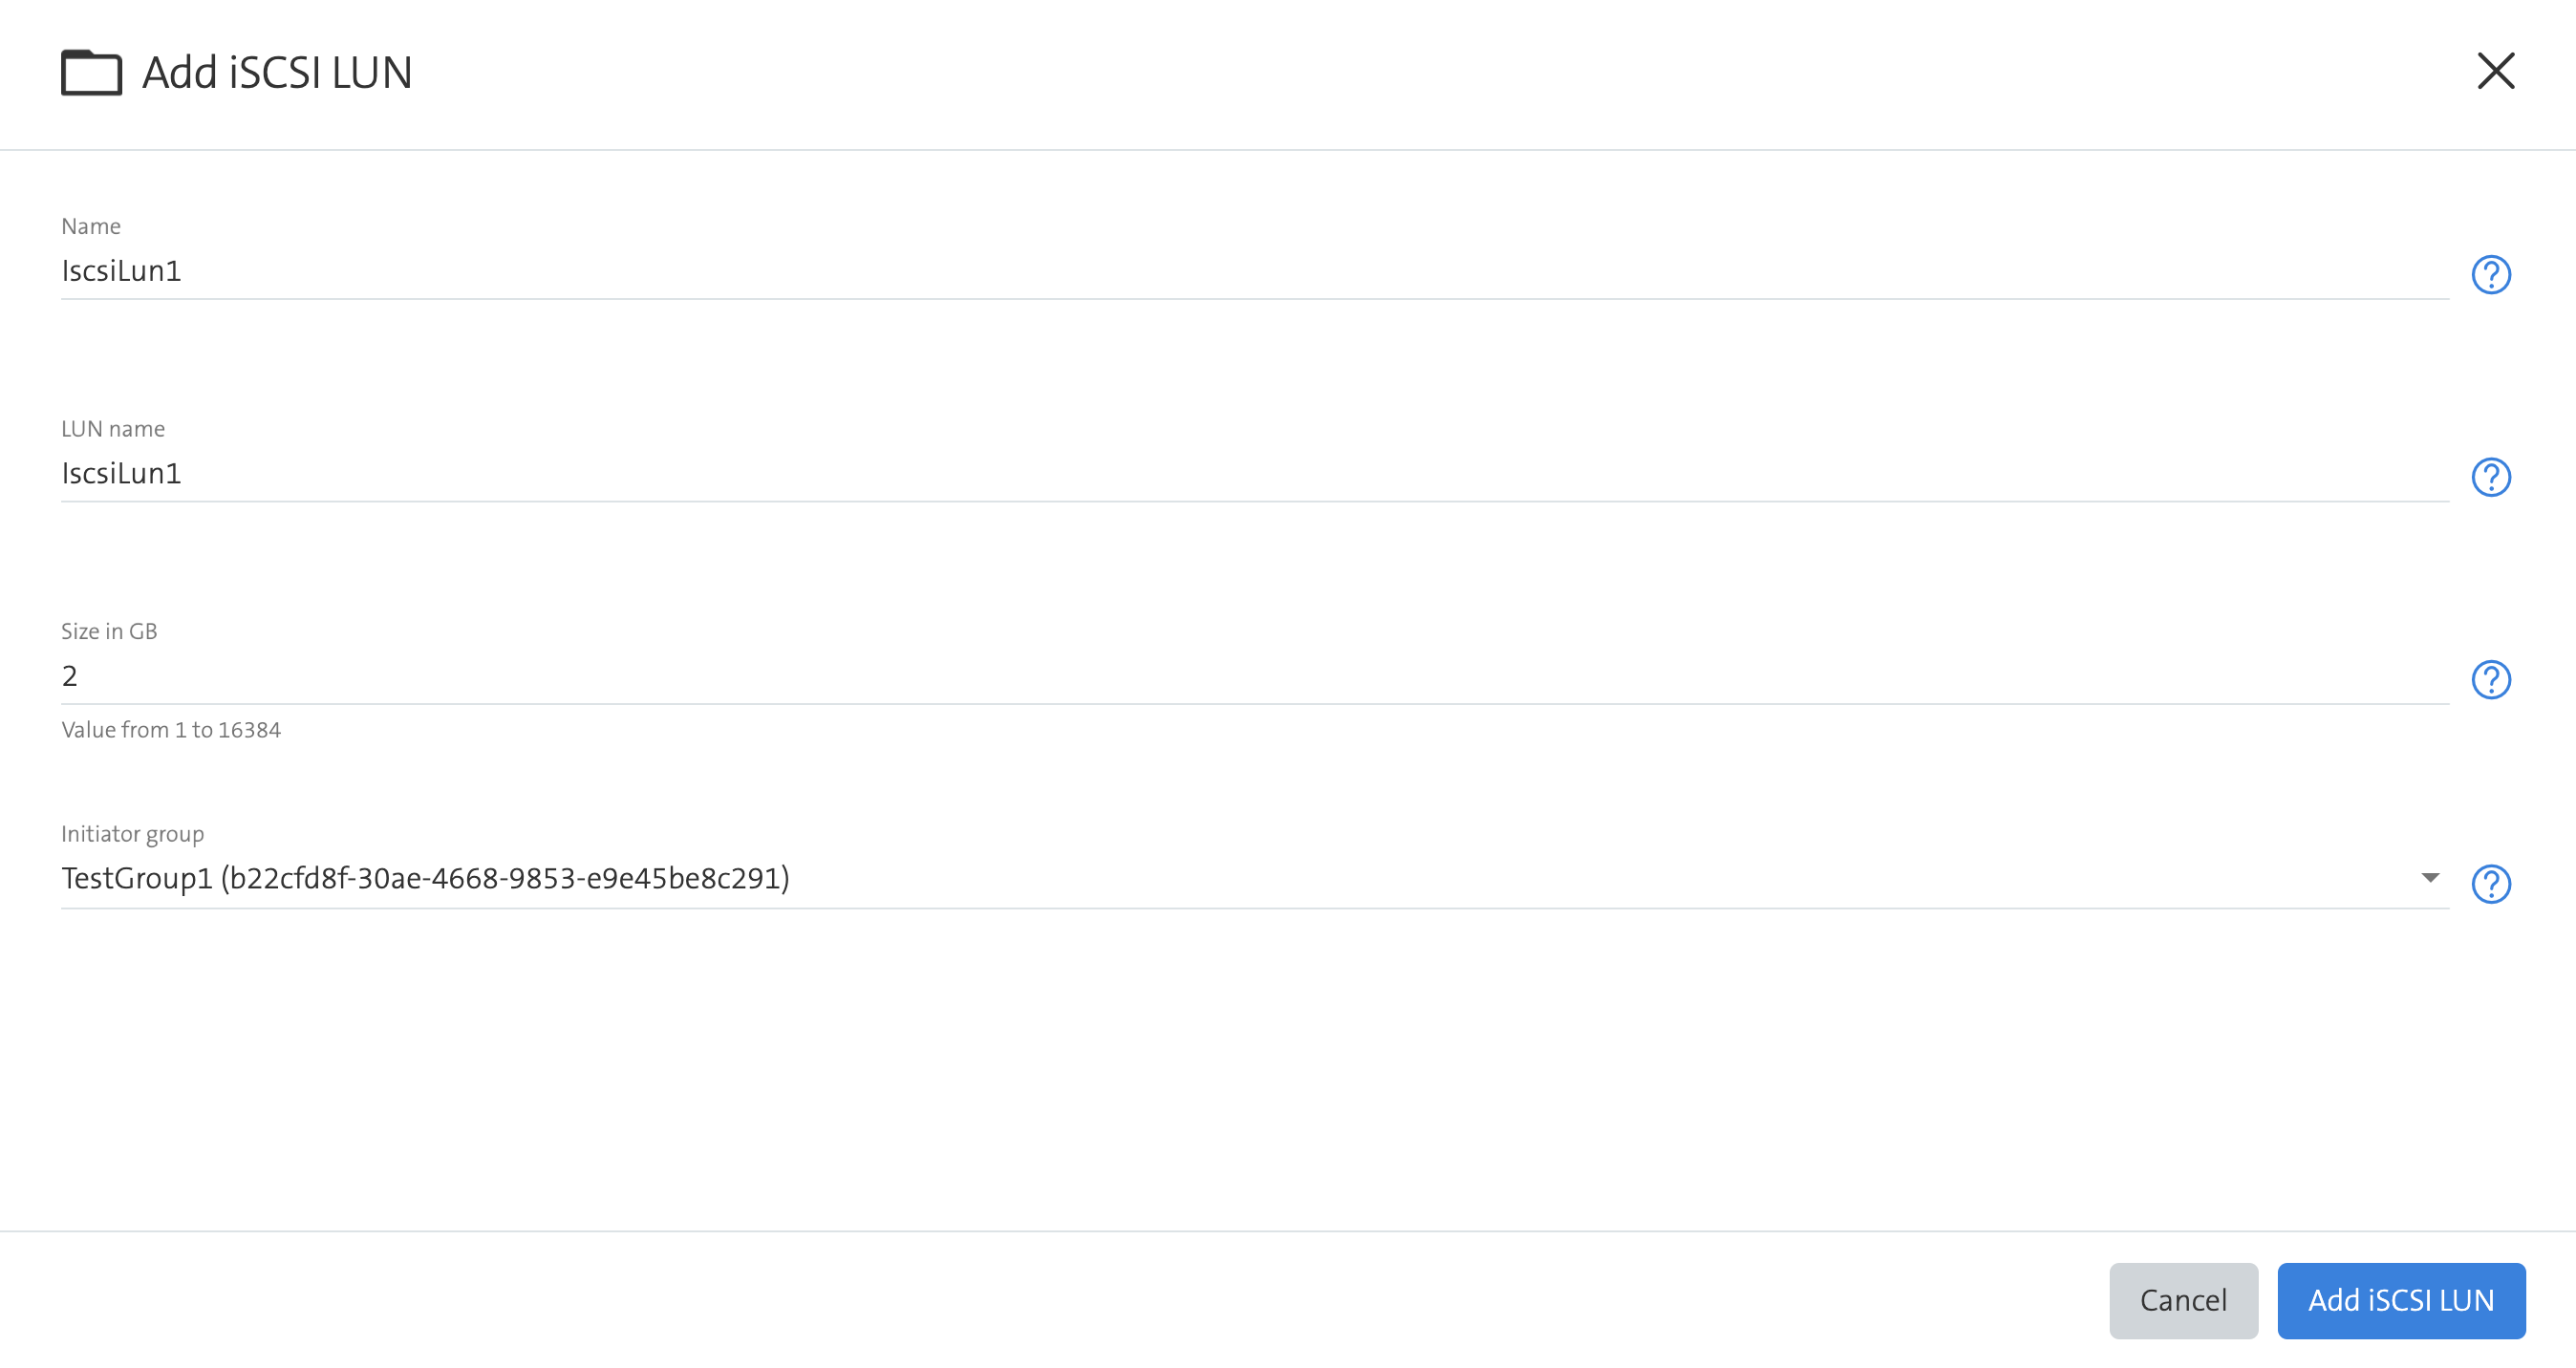
- Fill in the form and click on Add iSCSI LUN
Add iSCSI Initiator
Select the desired iSCSI Initiator Group instance and click on Actions
Click on Add iSCSI Initiator
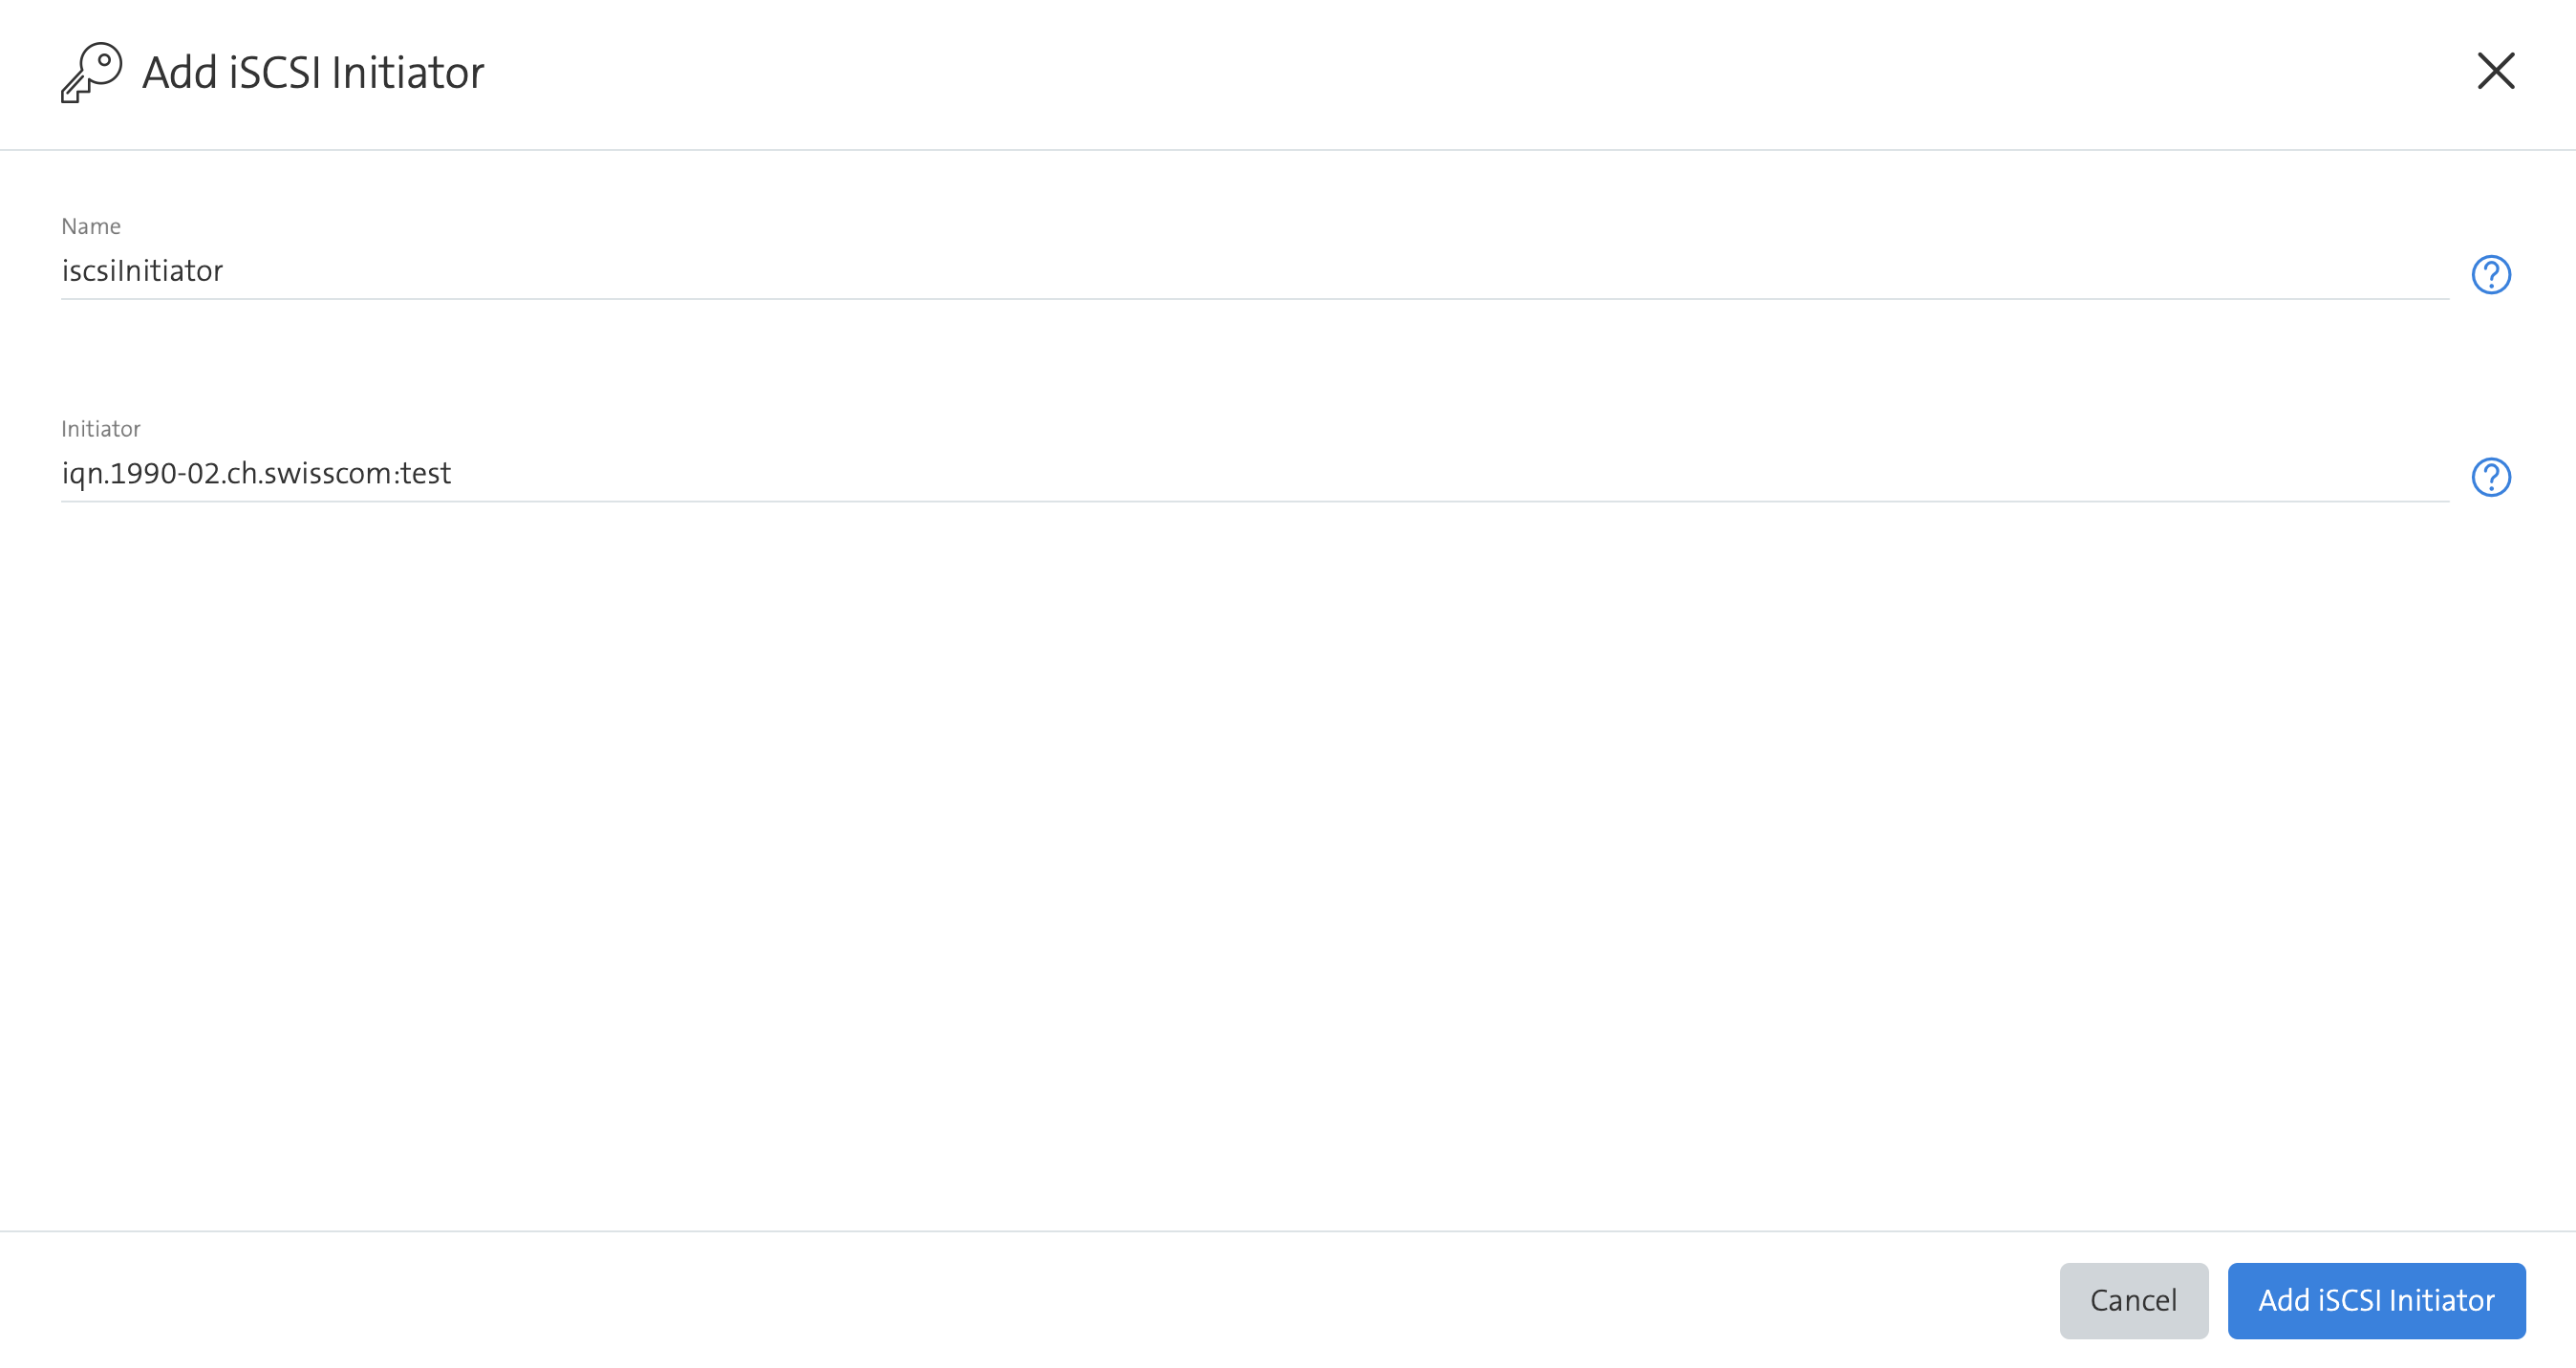
The initiator identifies a client and is used to map permissions to access a LUN.- Format: IQN or EUI
- Examples:
iqn.1990-02.ch.swisscom:testoreui.0123456789ABCDEF
Fill in the form and click on Add iSCSI Initiator
Get Credentials
- Select the desired iSCSI Initiator instance and click on Actions
- Click on Get Credentials
- Click on Close
Be aware that the Submit button is disabled for this action.
Delete iSCSI Container
To delete the iSCSI Container, click on the desired item in the Swisscom Portal.
- Select the desired Item and click on Actions
- Click on
Delete ...to delete the desired item