Create Container Database CDB
The following section describes how to deploy a container database (CDB) step-by-step. See also the API documentation for the detailed specification of the available resource actions.
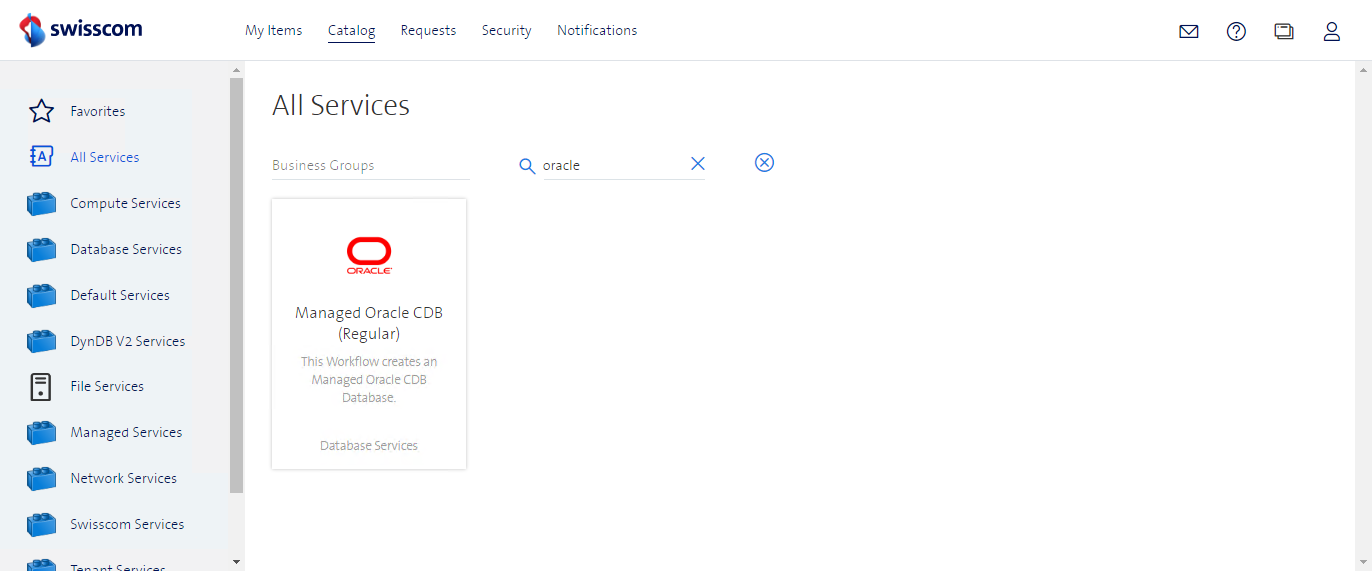
Step 1 - Select Catalog Item
Under "Catalog" menu search for "oracle" to display the Managed Oracle CDB Regular catalog item. Select the item to start the Oracle Container Database creation process.
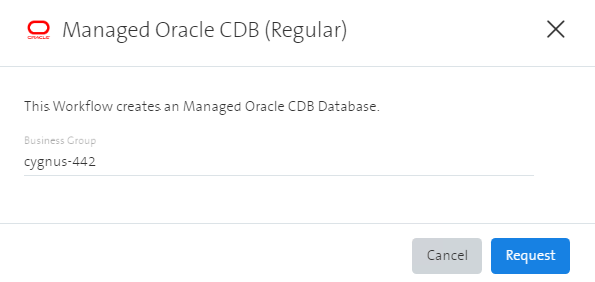
Define the Business Group where the Database should be created and press Request.
Example Screenshot when Business Group name is cygnus-442.
Step 2 - CDB Creation Page
The CDB creation page displays all CDB deployment parameters.
Tipp:
- Make sure the required IP ranges for CDB provisioning are available in advance. You need them as input values in the further CDB creation process.
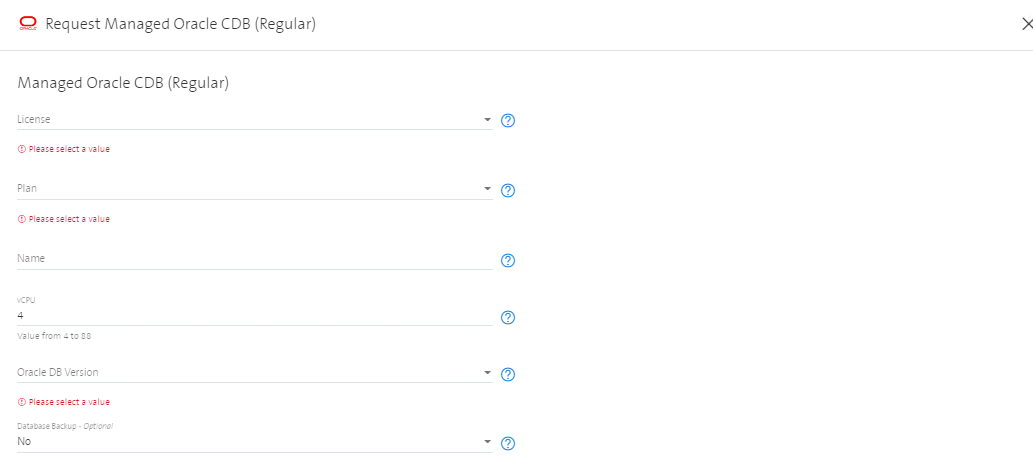
Step 3 - License and Plan
License
Select the license according to your Oracle licence (Enterprise Edition).
- Standard Edition (SE): Oracle Standard Edition 2
- Enterprise Edition (EE): Oracle Enterprise Edition
Plan
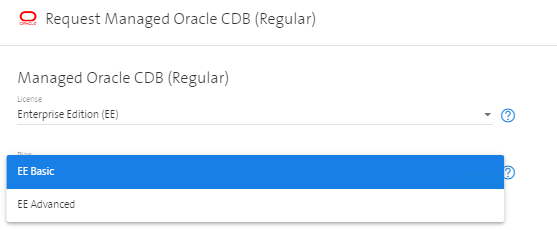
Select the plan according to your disaster recovery availablity requirements. The dropdown list is based on the selected license.
- EE Basic: single instance deployment with Oracle Enterprise Edition
- EE Advanced: primary/standby database deployment with Oracle Enterprise Edition
- SE2 Basic: single instance deployment with Oracle Standard Edition
- SE2 Advanced: primary/standby database deployment with Oracle Standard Edition
See chapter Advanced Plan for details
Note: the Advanced plan can be enabled also as day-2 action too. An ADVANCED setup can not be changed to BASIC afterwards.
Example screenshot when license Enterprise Edition is selected.
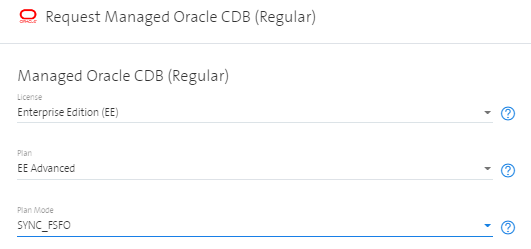
Step 4 - Plan Mode
This step is only applicable when license Enterprise Edition (EE) amd plan EE Advanced is selected. The following plan modes are available and depends on your RPO/RTO requirements:
- SYNC_FSFO: synchronized log transport with fast start fail over (this is the default plan mode)
- SYNC_NOFSFO: synchronized log transport without fast start fail over
- ASYNC: asynchronious log transport
Example Screenshot when Plan _SYNC_FSFO is selected.
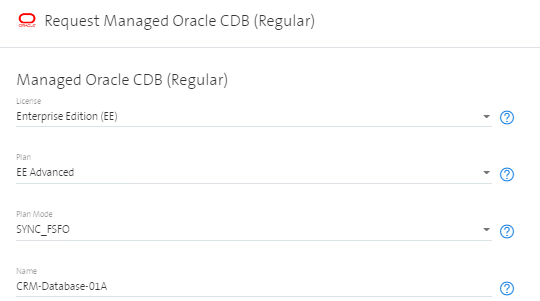
Step 5 - Name
Define the name for your Container database provisioning. This name is called Friendly Name and is not equal the technical name of the Container database in the back.
Name Examples:
- CRM-Database-01A
- HR-APP-DB-201
- Geodata-Socks-A
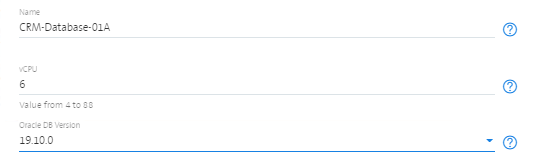
Example Screenshot when Name CRM-Database-01A is set.
Step 6 - vCPUs
Define the required vCPUs.
Notes:
- The number of vCPUs can be changed as day-2 action
- For each additional 4 vCPU, one additional EE CPU license is required
- For each vCPU we allocate 8 GB RAM (vCPU * 8GB = n GB RAM)
- In ADVANCED environments, both nodes have the same vCPU count
Example Screenshot when 6 are selected.

Step 7 - Oracle DB Version
Select the Version. Basically the last three Oracle Release Updates are available.
Example Screenshot when 19.10.0 is selected.
Step 8 - Database Backup
Database backup can be enabled by choosing the backup checkbox while creating the instance, or as day-2 action. By default, database backup is not enabled. If the backup option is selected, an instance backup will be set up with point in time restore capabilities. The amount of backup storage used is charged per GB.
Notes:
- Backup is disabled by default, and needs to be enabled explicitly (this applies for BASIC and ADVANCED configurations)
- The backup can be enabled/disabled as day-2 action
Example Screenshot when Database Backup is enabled. 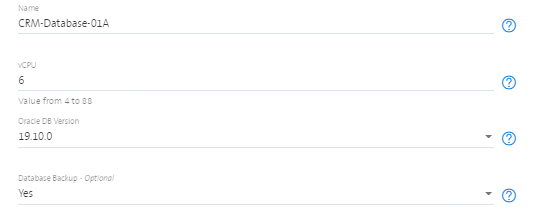
Step 9 - Aggregate
Aggregate defines you network which contains the sub IP ranges.
Example Screenshot when aat-mods is selected.

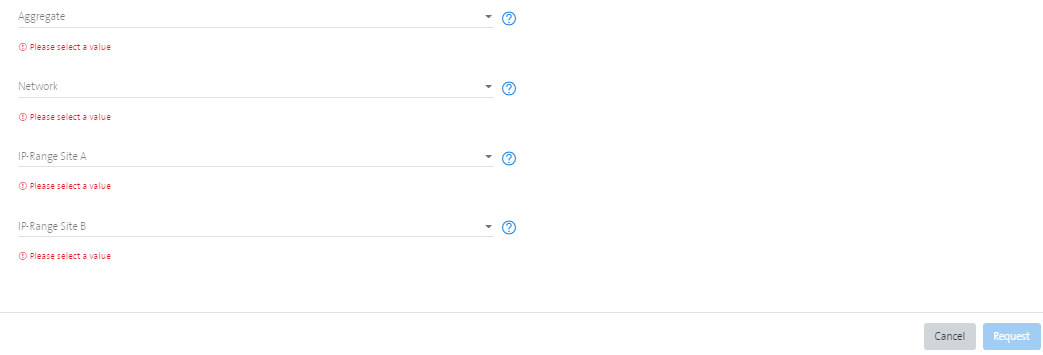
Step 10 - Network, IP-Range Site A, IP-Range Site B
Select the network name and the IP ranges for site A and site b. Even when plan mode BASIC is selected, an IP range for site B is required.
For both deployment types - BASIC and ADVANCED - two /29 networks (2 x 8 IP adresses) have to be specified.
Example for network name aat and two selected IP ranges.

Basically, the port is incremented per tenant with every new instance: 49152, 49153, etc.. If an instance is deleted, the port will be reused in the next deployment. An active port is unique within a tenant, i.e. port 49152 exists in the customer A tenant, the customer B tenant, etc.. We use range 49152-65535 to assign ports to the VMs. According to IANA, these are private ports that do not conflict with existing services.
Step 11 - Request
Review all the values entered and start the CDB deployment workflow by pressing the Request button. The button can not be selected when not all field values are set properly.

Show progress of deployment
Once the deployment is submitted, the progress can be monitored under tab Requests.

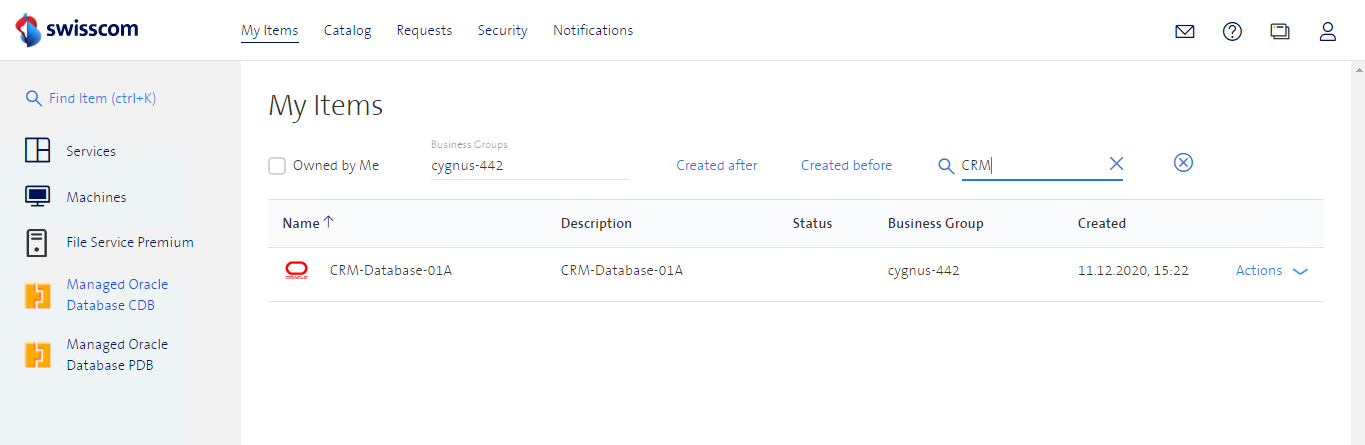
Review the result
After the workflow has been executed (Status Successful), you can retrieve the details of the created CDB.
Example Screenshot for new created Container Database CRM-Database-01A.