Create Pluggable Database PDB
API Documentation
Please reference the API documentation for the detailed specification of the available PDB resource actions.
Step 1 - CDB Action: Create PDB
Select Create PDB from the CDB Actions dropdown list to create a new and empty PDB.

Step 2 - PDB Creation Page
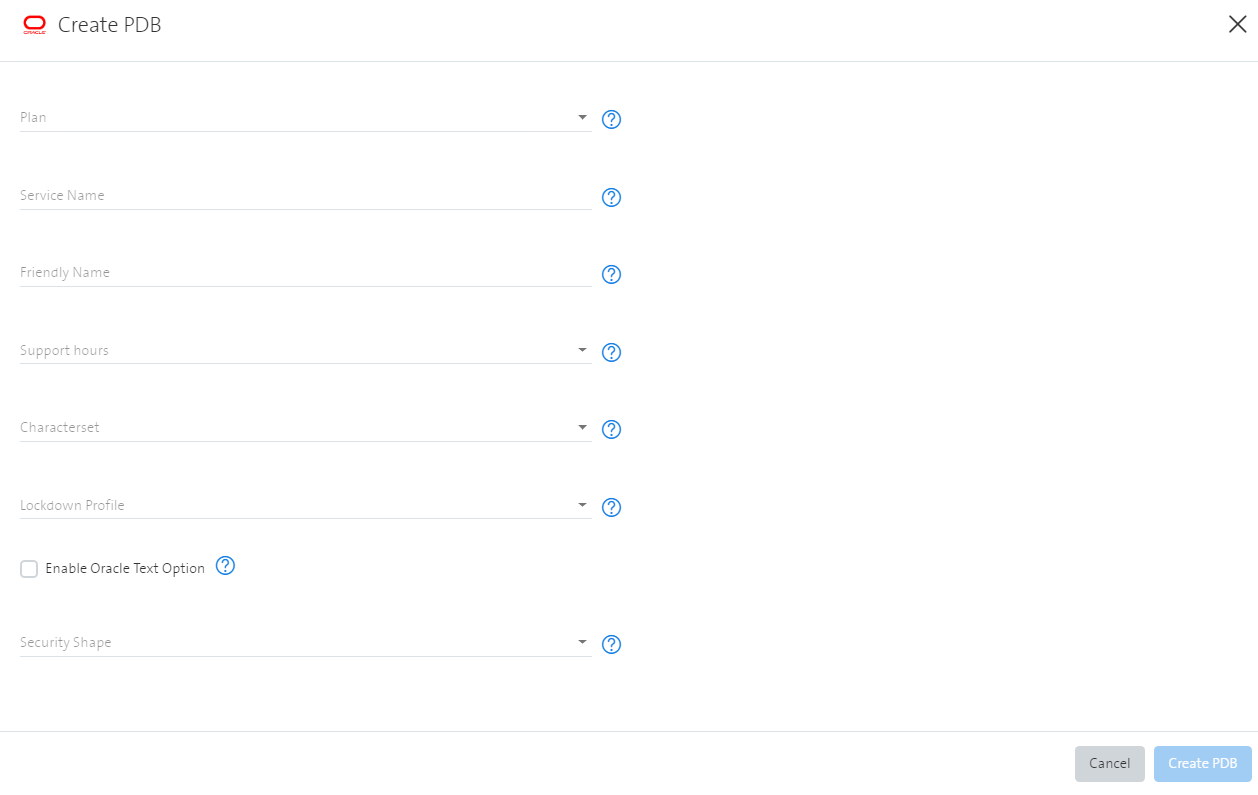
The CDB creation page displays all PDB deployment parameters.
Step 3 - Plan
The plan is inherited from the CDB plan specification.
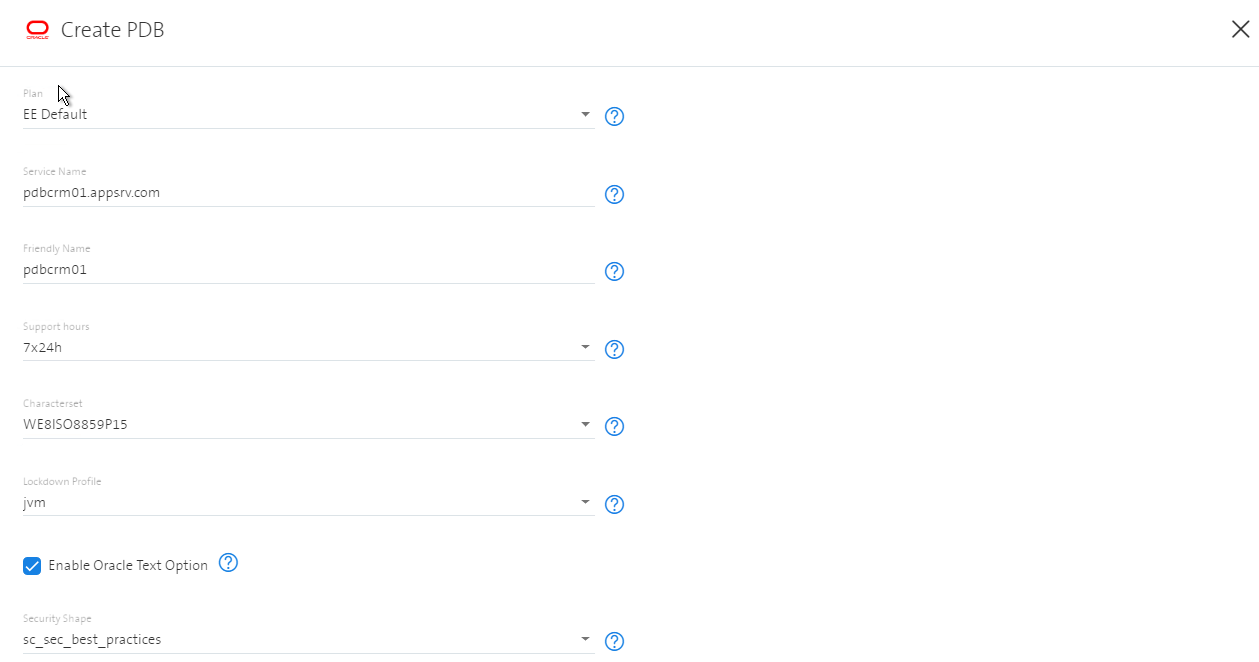
Example Screenshot for plan EE Default.
Step 4 - Service Name
Service Name specifies the service name (with or whithout domain)
You don't need to specify a domain in the service name. If you do not specify a domain, the standard domain "vmmgmnt.trivadis.com" will be added automatically. In this case you have to specify the service name including the standard domain to connect to your database. With the "get credential" function (see step 11 below) you always get the correct connect string.
Syntax for PDB service name: (leading number(s) allowed; size: 1-64 characters):
regexp: [a-zA-Z0-9]+[a-zA-Z0-9\\-\\.\\_]{0,64}
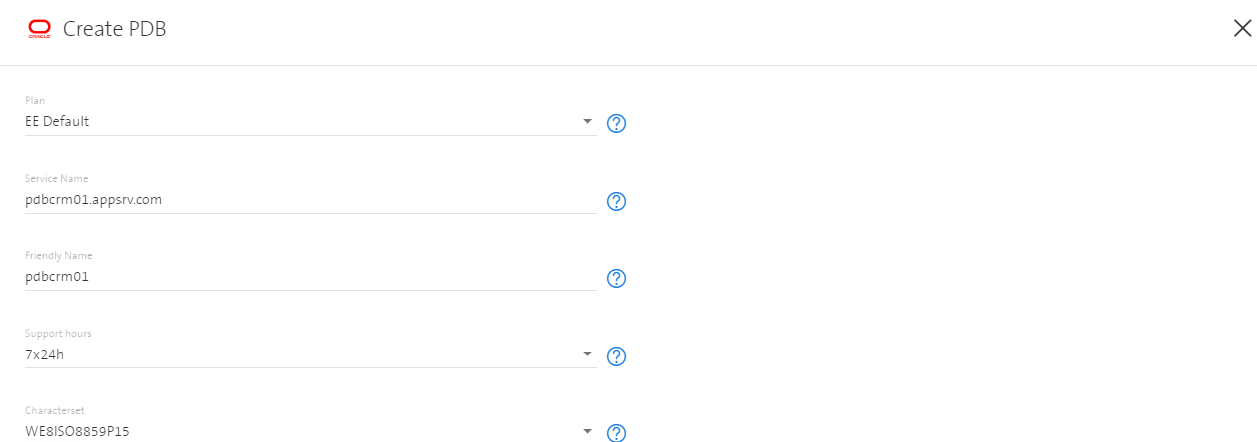
Example Screenshot for Service Name pdbcrm01.appsrv.com.

Step 5 - Friendly Name
Friendly Name can be used to identify the Pluggable Database among other PDBs.
You are able to apply your own naming standards. The friendly name will not be used internally. The name can be used once per CDB.
Example Screenshot for Friendly Name pdbcrm01.

Step 6 - Support Hours
Support Hours determine the period in which the PDB is monitored and when incidents to this PDB are worked on.
This option is SLA relevant, and therefore cost related.
Example Screenshot for Support hours 7x24.

Step 7 - Characterset
Four different PDB charactersets are available, the are not changeable after PDB creation:
- AL32UTF8
- WE8ISO8859P1
- WE8ISO8859P15
- WE8MSWIN1252
Example Screenshot for PDB Character Set WE8ISO8859P15.
Step 8 - Lockdown Profile
Further information: see chapter Security Architecture for details.
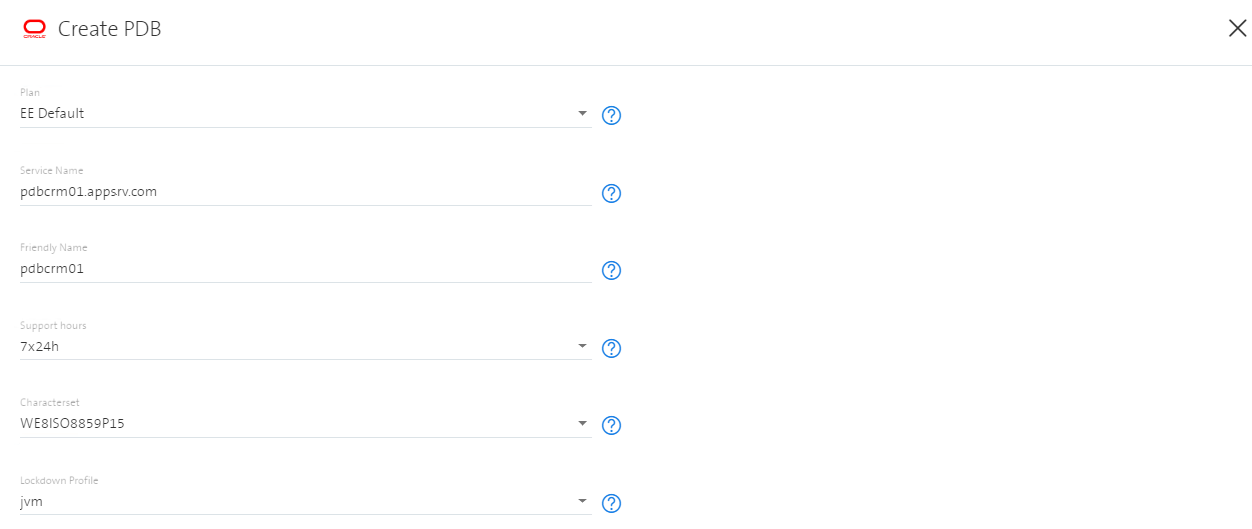
Three different Lockdown profiles are available. A lockdown profile can be changed as day-2 action after PDB creation.
- Default
- Default MODS Regular
- Java
- Legacy
- Next Generation
- Restricted
Example Screenshot for Lockdown Profile jvm.
Step 9 - Oracle Text
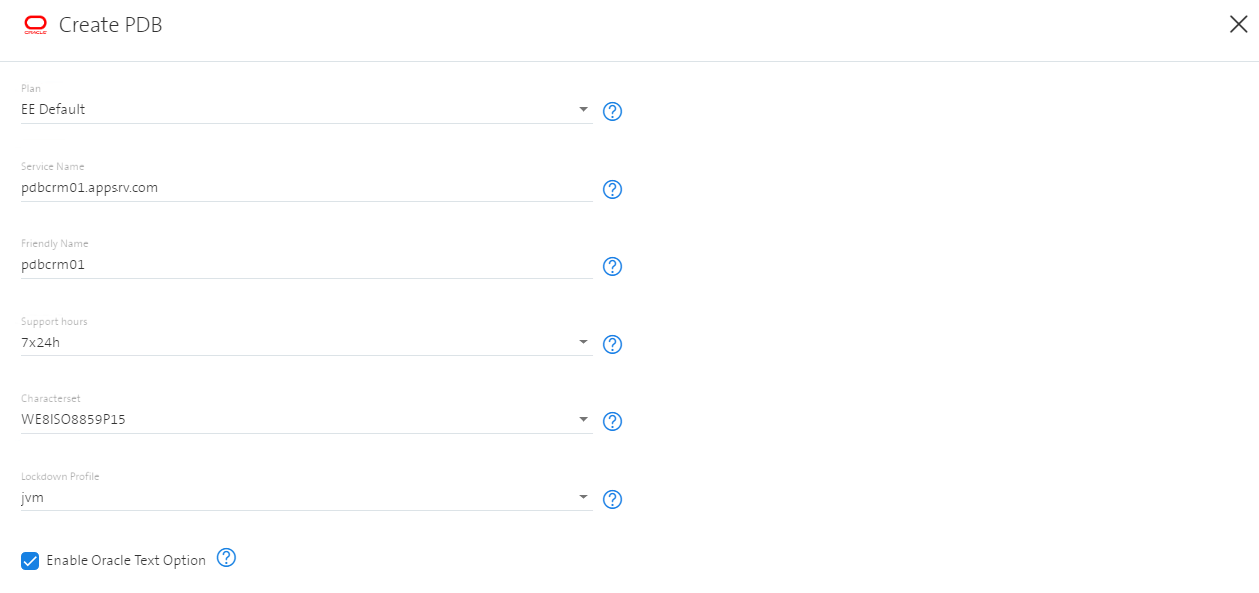
Oracle Text can be optionally enabled for this PDB. Once enabled, Oracle Text cannot be disabled. Oracle Text can be enabled as day-2 action after PDB creation.
Example Screenshot for Oracle Text Option enabled.
Step 10 - Security Shape
Three security shapes area available. A security shape defines what an user can do in a database, for example "CREATE TABLESPACE". Three different Security Shapes are available. A shape can be changed as day-2 action after PDB creation.
- sc_ora_default
- sc_cis_recommendations
- sc_sec_practises
Example Screenshot for Security Shape sc_cis_recommendations.
Step 11 - Create PDB
Review all the values entered and start the PDB deployment workflow by pressing the Create PDB button. The button can not be selected when not all field values are set properly.
Show progress of deployment
Once the deployment is submitted, the progress can be monitored under tab Requests.

Review the result
After the workflow has been executed (Status Successful), you can retrieve the details of your created PDB by selecting the CDB.
Example Screenshot for new created Pluggable Database pdbcrm01.

Get Credentials
The necessary login and connection information needs to be retrieved by using the Get Credentials action.
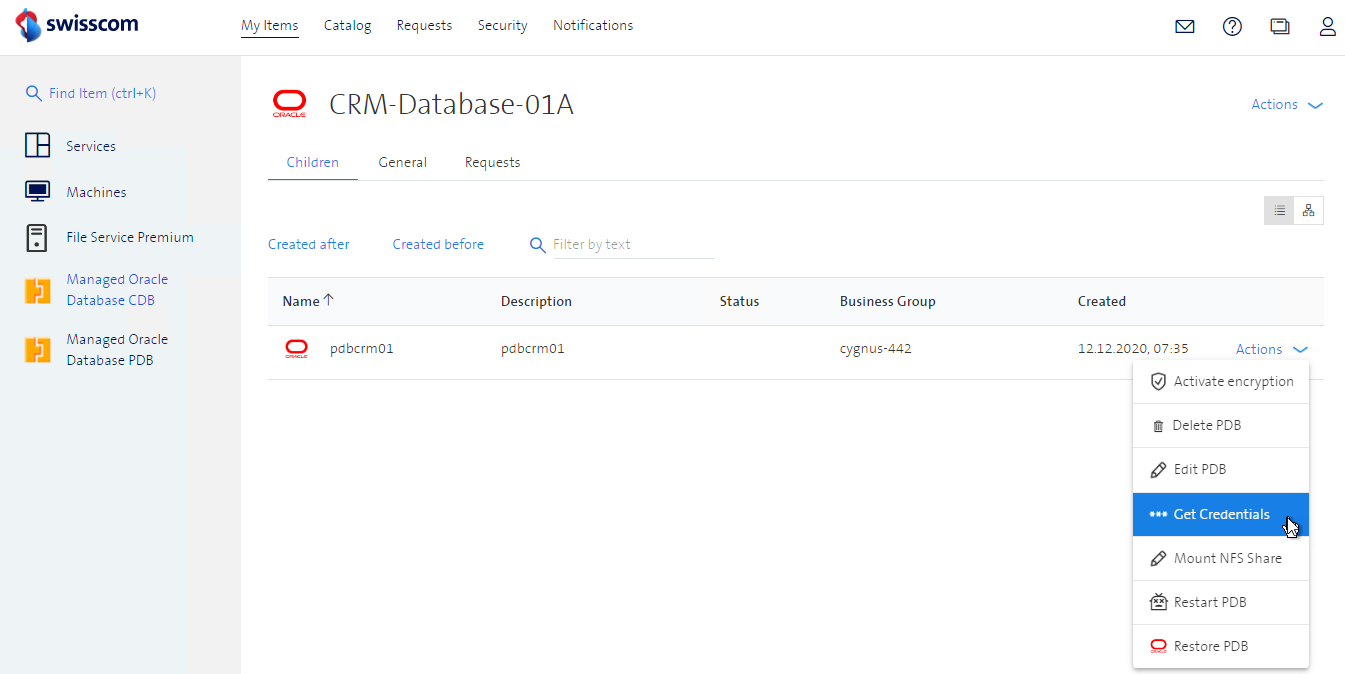
Press Get Credentials button to submit the job.
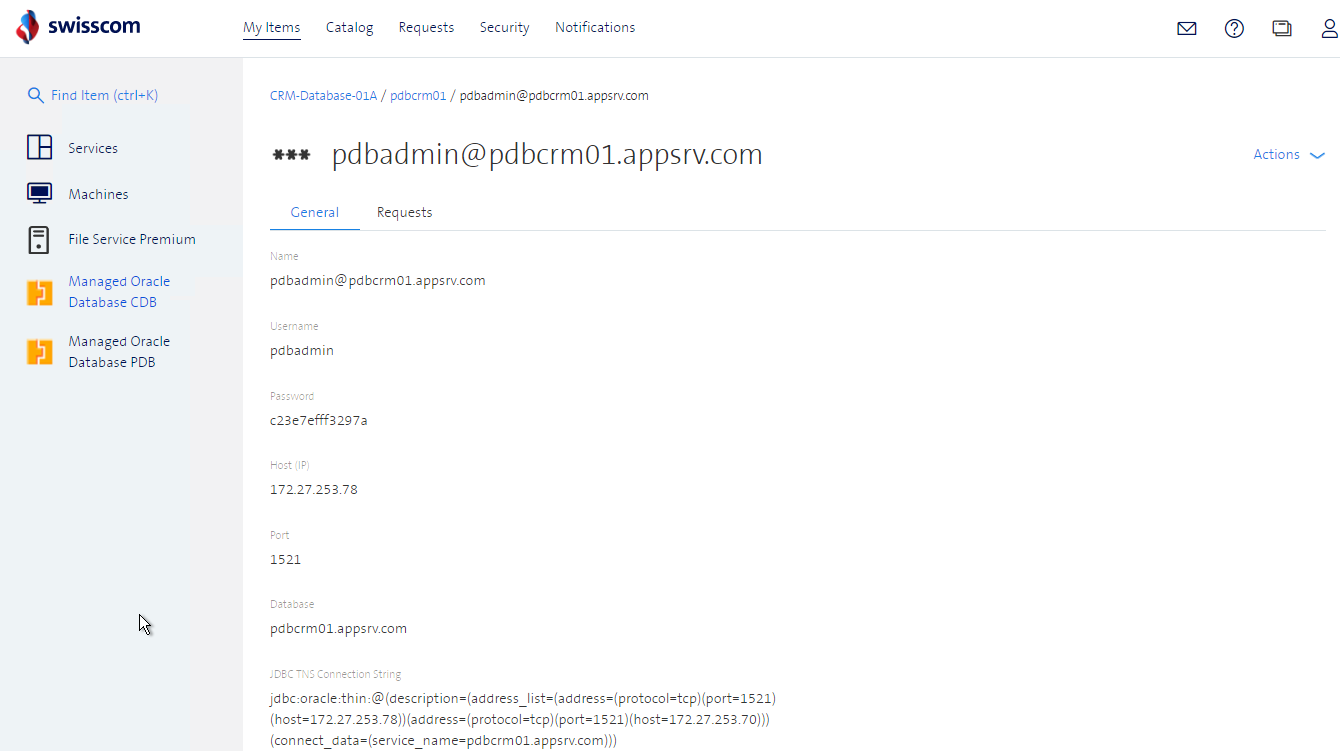
Select the PDB. The initial PDB login credentials for database user pdbadmin is shown.

The initial password for user pdbadmin has to be changed within 24 hours otherwise the account is locked. Please refer to Credential Handling for more details about PDBADMIN locking and the required password change within 24 hours. The JDBC connect string is listed as well.
Note: Before a Pluggable Database can be deleted, the credential has to be removed first.
