Create a Swisscom RHEL VM
A Swisscom RHEL VM can be ordered with one of the following catalog items (blueprints) in the portal:
- Swisscom RHEL 8
- Swisscom RHEL 9
Choose a catalog item and click on REQUEST
Webportal 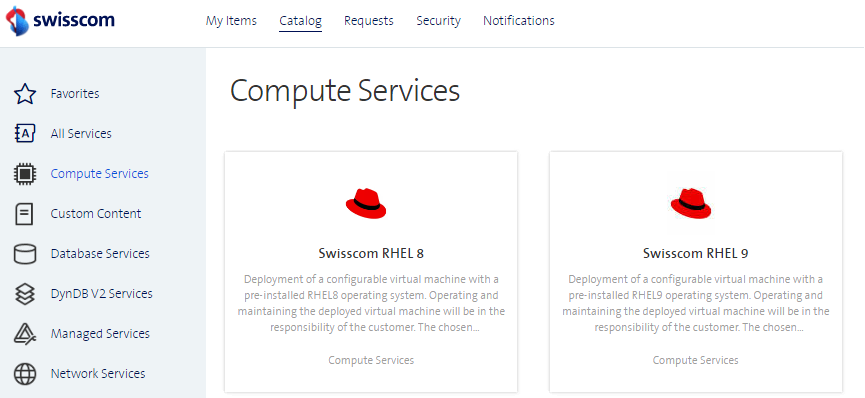
vRA 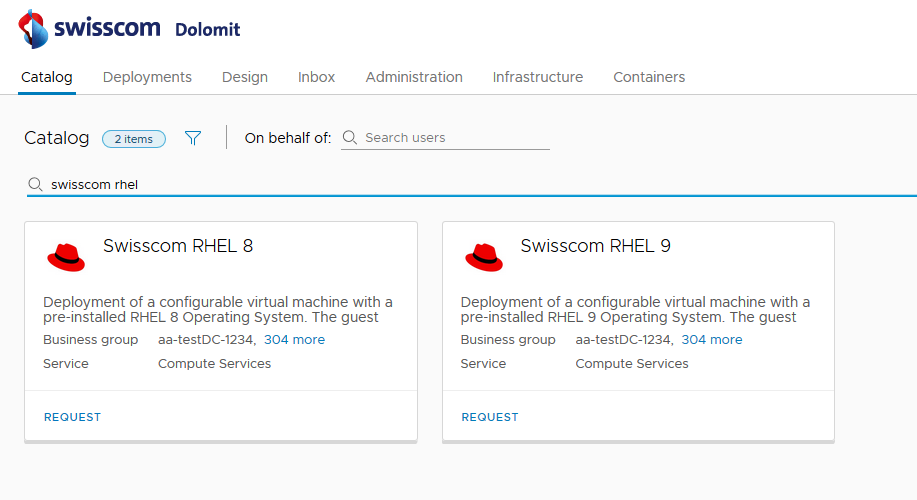
Chose the Business Groups you want the VM to be deployed to.
Add a description for the deployment and a reason for the request (optional). When ordering a Swisscom RHEL VM, it is possible to activate extensions. By activating the extensions, additional features are configured when creating the Swisscom RHEL VM, which turn an unmanaged Swisscom RHEL VM into a managed Swisscom RHEL VM.
Webportal 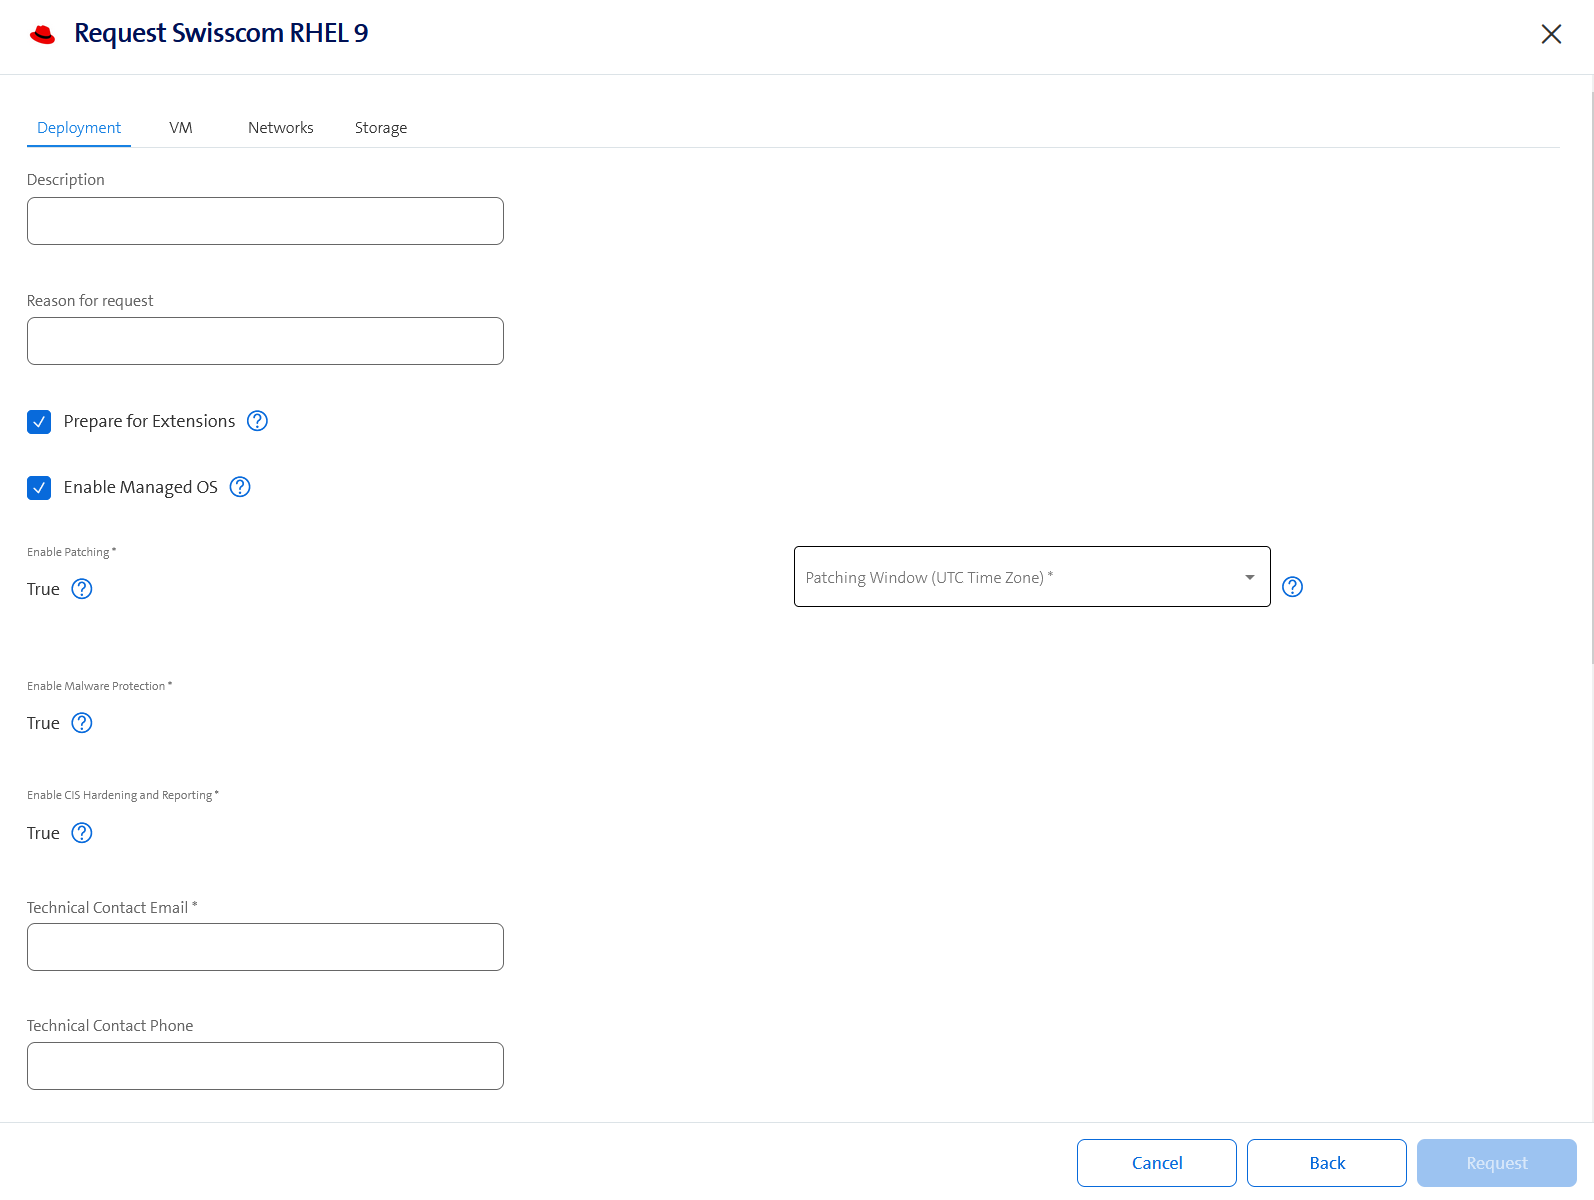
vRA 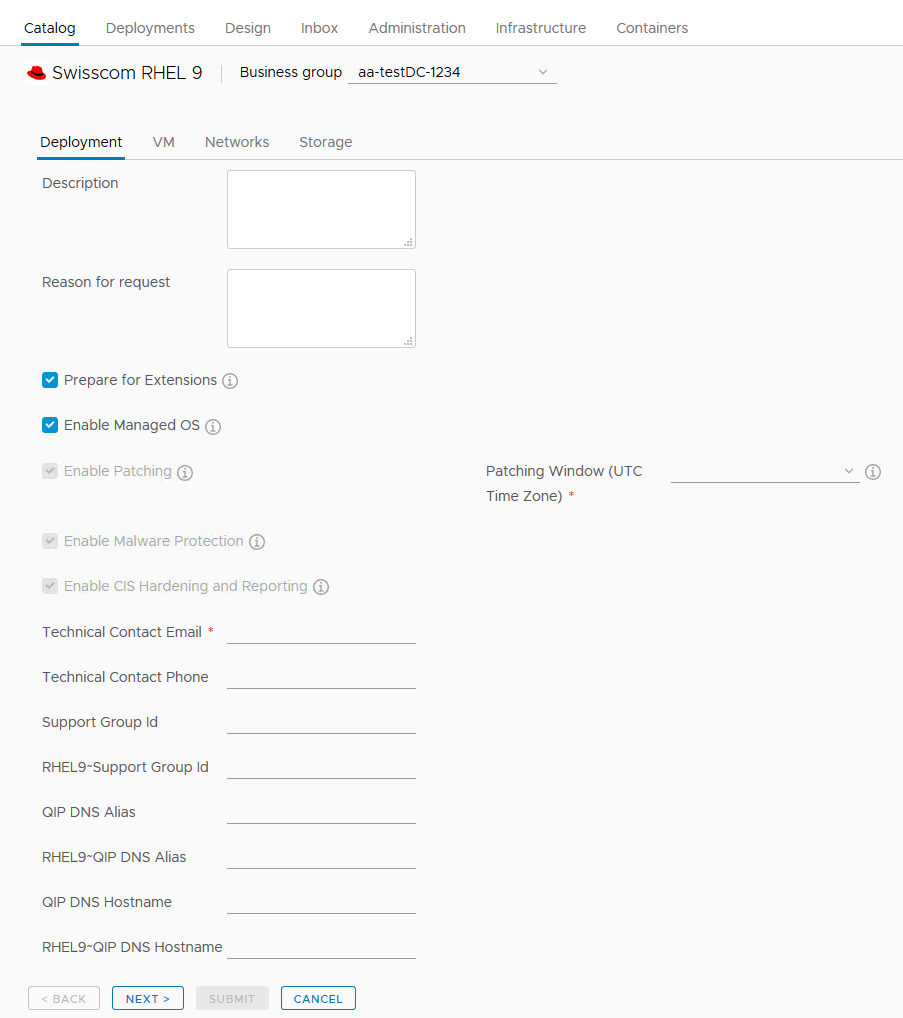
Prepare for Extensions: This will prepare the VM for the usage of the configuration management tool. A dedicated service user is created and the required sudo permissions are configured. This is always needed as a prerequisite for the Managed RHEL service.
Enable Managed OS: If this extension is switched on, the Operating System is configured according to Swisscom standards so that the operation can be taken over by Swisscom. In addition, the extensions Patching, Malware Protection and CIS Hardening and Reporting are also switched on implicitly. All these extensions are necessary for the Managed RHEL service.
Patching Window: The patching window is used to patch the Operating System and, if necessary, to reboot the Operating System.
Technical Contact Email: Define an email address for the Technical Contact. In case of an issue with the VM, the Swisscom operation team can easily contact you.
Configure the VM settings.
Webportal 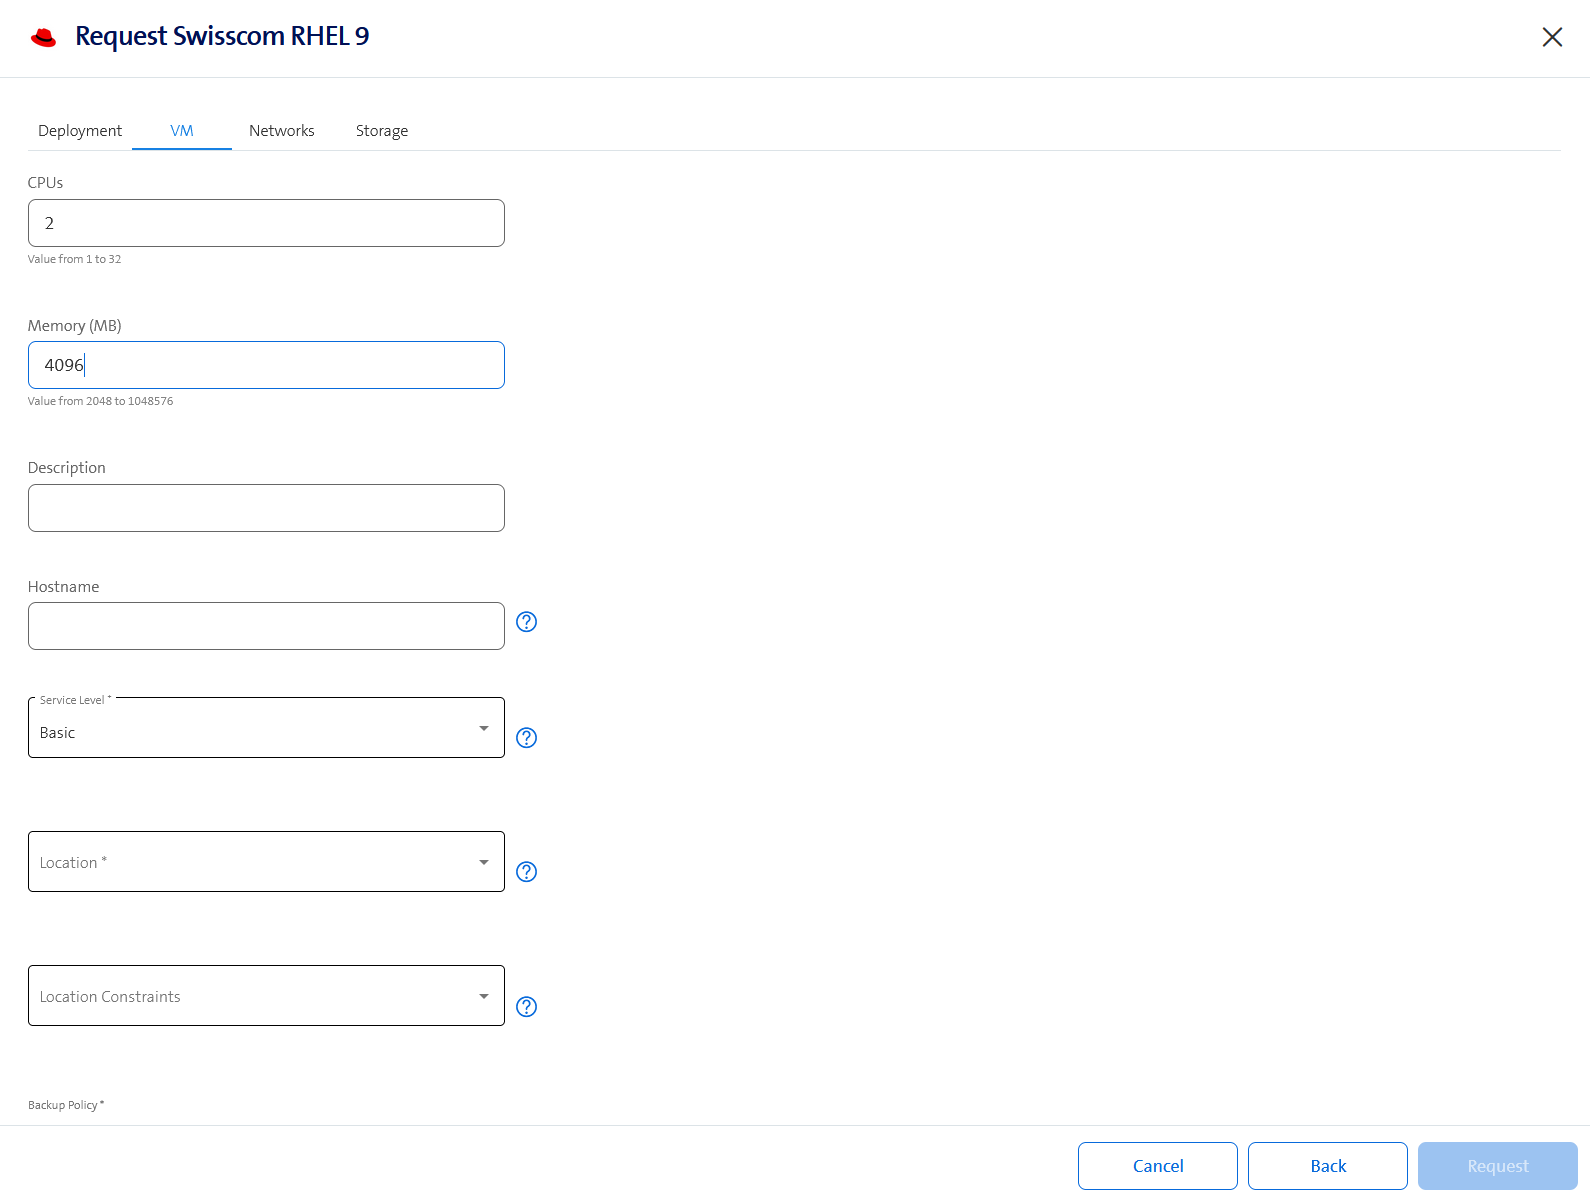
vRA 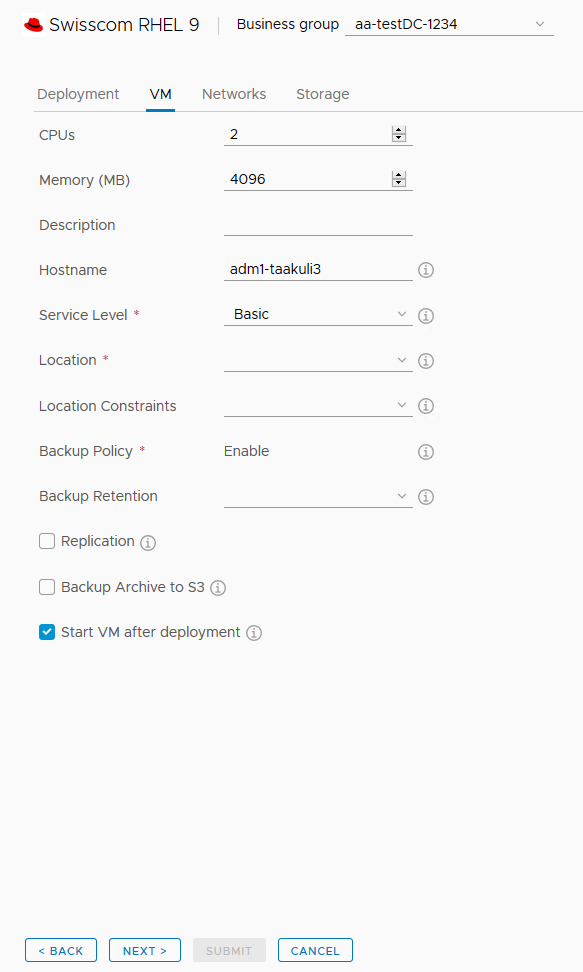
CPUs: Specify the number of CPUs here. It is recommended to allocate at least 2 CPUs for a standard VM. Please refer to VM configuration recommendations for more details regarding ESC hypervisors and NUMA.
Memory (MB): Specify the memory size for the VM. For optimal performance of the OS and installed applications, it is recommended to allocate a minimum of 4 GB of memory.
Description: Optional, specify a description for the VM.
Hostname: Specify the hostname of the VM. Please follow the RFC hostname specification, otherwise the validation of the field will fail. Please note that only the hostname of the guest operating system will be changed, the displayed name in the vRA portal is not affected. If left empty, the displayed name of vRA will be taken as the hostname.
Root Password: This field is not visible, when the Managed OS extension is selected. For a Managed OS VM, a root password will be set that is only known to the Swisscom operation team.
Service Level: Select the Service Level that should be assigned to the VM. The Service Level defines the values for High-Availability and IT Business Continuity (ITBC):
Service Level High Availability ITBC Basic No No Standard Yes No Advanced Yes Yes Location: Select on which cluster in what location your VM will be placed. The available choice depends on the chosen Service Level. A VM can only be placed on a stretched cluster if the Advanced Service Level is selected.
Location Constraints: If Advanced Service Level is selected, a wish on which cluster in what location the VM should be placed can be selected.
Backup Policy: The backup of the VM is enabled by default and cannot be disabled. For more details, see here.
Start VM after deployment: Select if the VM should or should not be started after its creation.
Configure the network settings.
Webportal 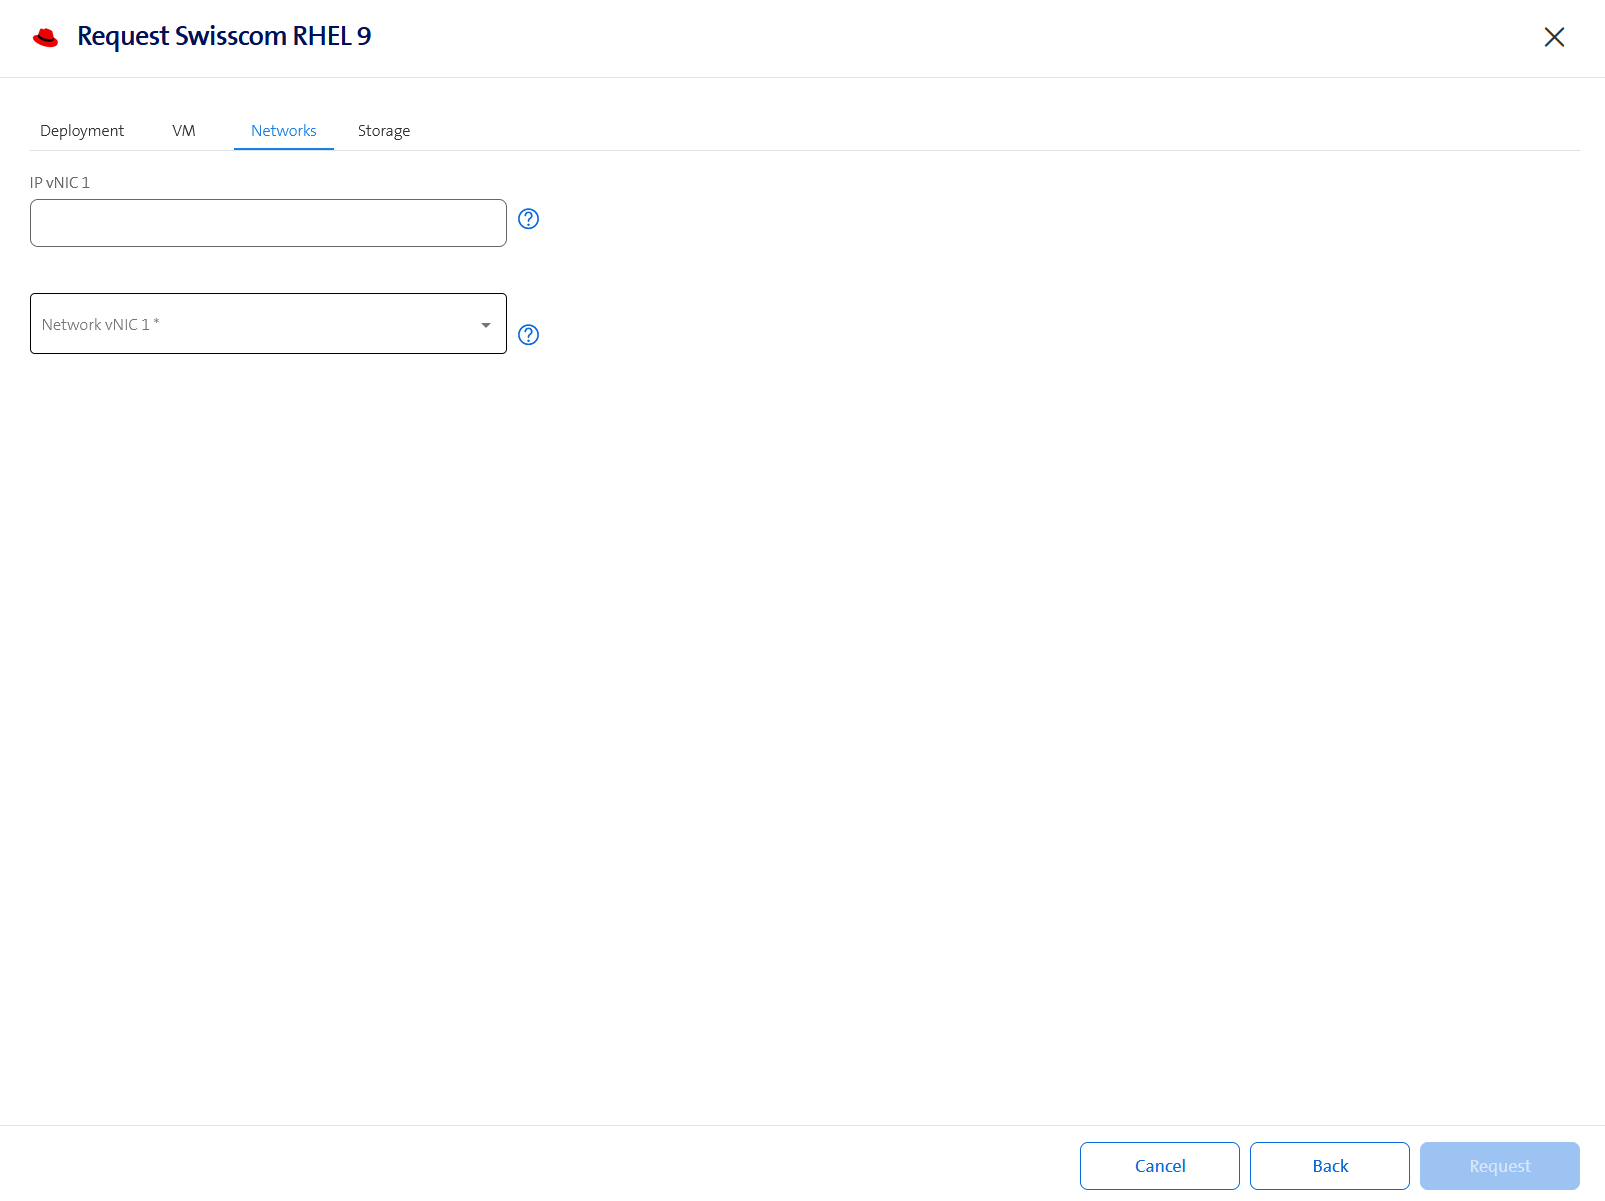
vRA 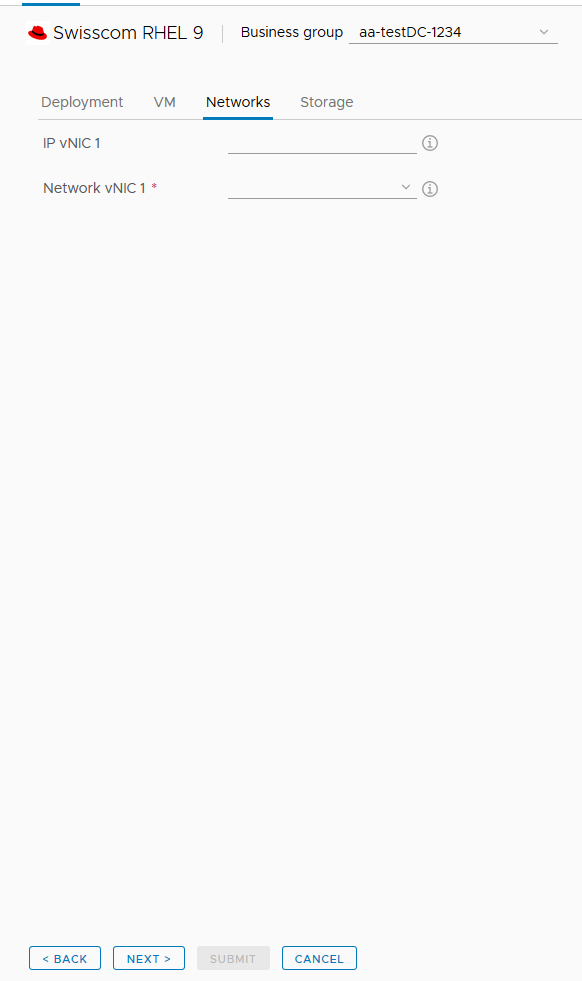
- vNic 1-8: Select up to eight networks in which the VM should be attached.
Configure the storage settings.
Webportal 
vRA 
The Disk 0 is reserved for the OS. Therefore, do not edit the Disk 0 except the Disk 0 Policy. It is possible to add additional disks for your application. Configure the storage reservation policy, disk size in GB, the mount point and the logical volume name (Disk Label). The provisioning workflow then adds the disk to the VM, creates the partitions, adds the disk to the
datavgvolume group, creates the logical volume, creates the XFS file system and creates the entry in/etc/fstab.For more details, read the Disk Management section.
As soon as the deployment is finished, you can find your Swisscom RHEL VM under the My Items tab.